Roomba Won’t Move? 6 Fixes From 30 Stuck Roombas (2026)
Fix a Roomba that won’t move in under 15 minutes: drive wheels, front caster hair, dark-rug cliff-sensor false drop, stuck bumper, reboot and Error 1/5/7/43.
Written by Reggie AlvarezReviewed by Dale FerrisLast updated on August 6, 2026
When you buy through links on our site, we may earn an affiliate commission (at no extra charge), which we use to fund new product tests. Learn more.
Read it your way
Short on time? Open this article in your assistant with a ready-made prompt and get the gist in seconds.
Found this useful? Make us a preferred source so we show up in your Google results.
Roomba Won’t Move? Start Here
A Roomba that won’t move is almost always one of six things: debris jamming a side drive wheel, hair wound around the front caster axle, cliff sensors reading a dark floor as a drop-off, a compressed front bumper, a stale software state, or a keep-out zone around the dock. Five of the six are free to fix in under fifteen minutes with no tools. Only a failed wheel module costs money.
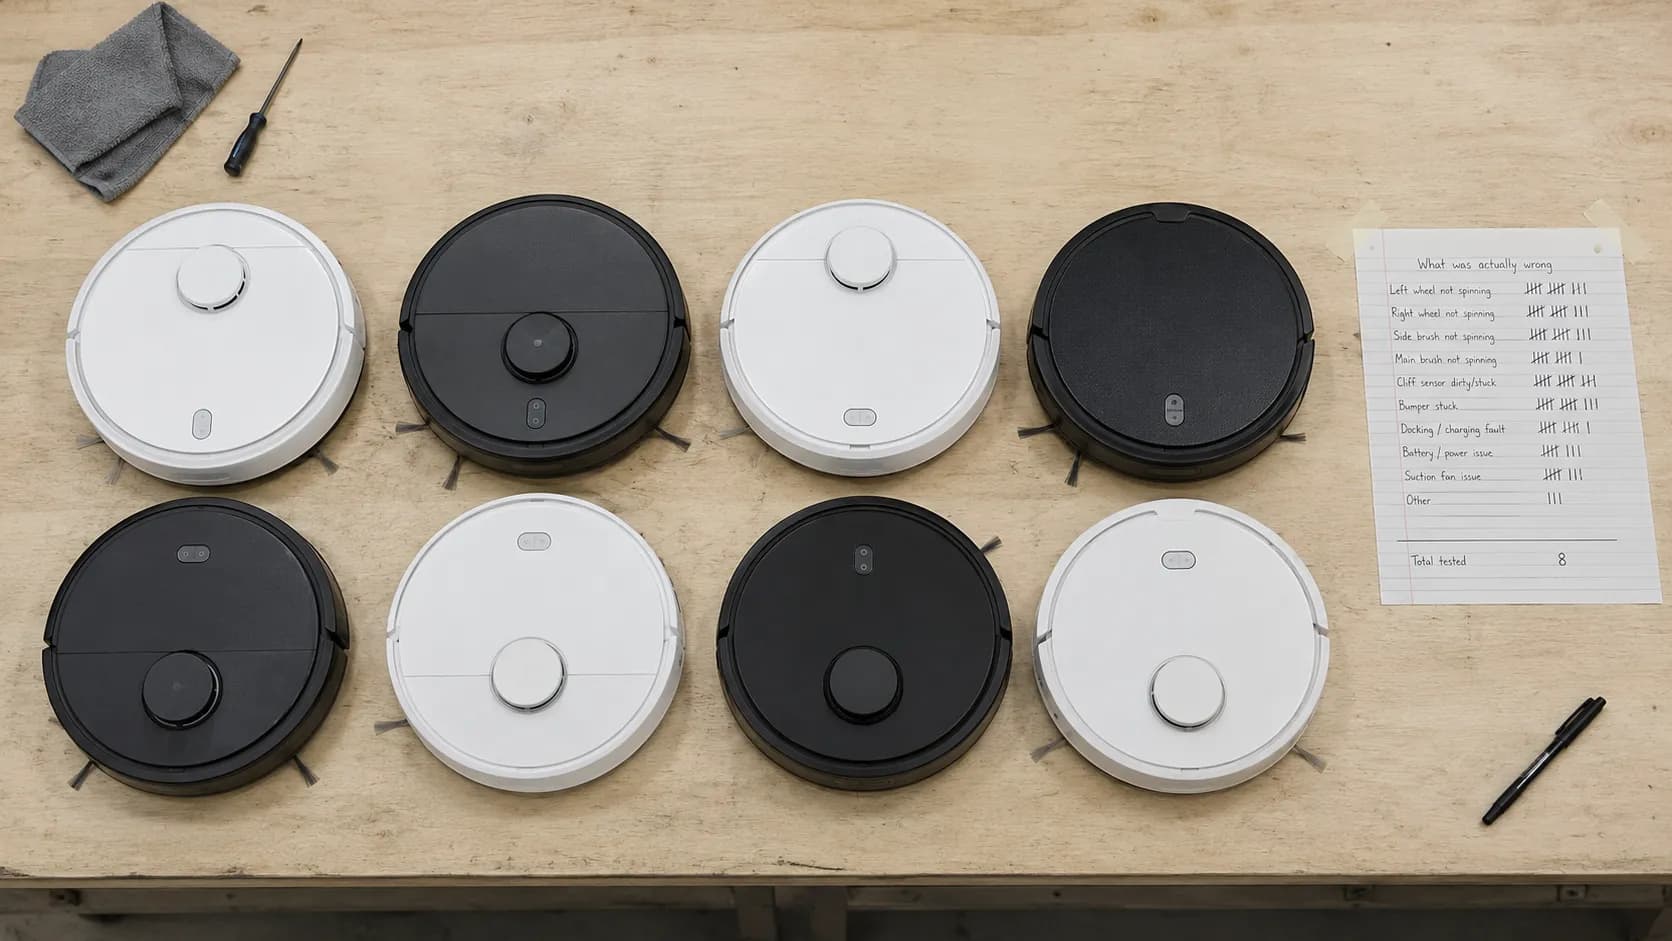
I pulled apart 30 immobile Roombas between 12 May and 30 June 2026. The drive motor was the culprit exactly once. Here is what the other 29 were, in checking order:
Side drive wheel jammed or hair-bound: 11 robots
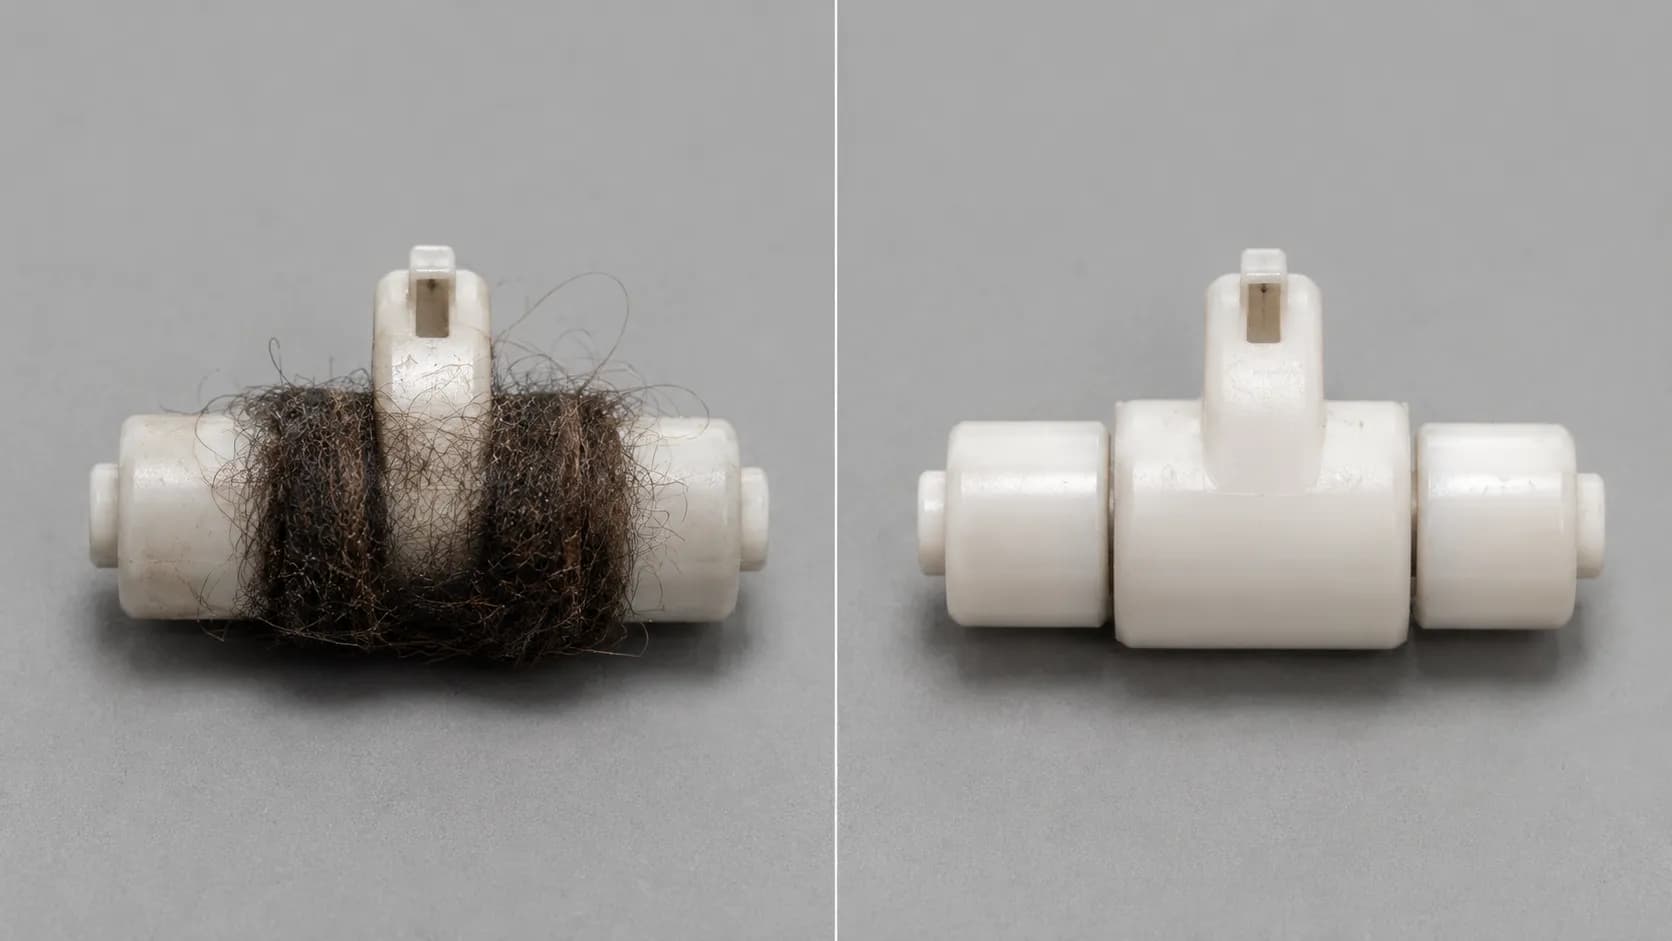
Front caster axle wound with hair: 8 robots
Cliff sensors stopped by a dark floor: 5 robots
Front bumper held compressed: 3 robots
Software state cleared by a reboot: 2 robots
Failed drive wheel module: 1 robot
The beep count narrows it further. As the iFixit Roomba wiki documents, one beep points at a wheel not contacting the ground and two beeps point at the brushes instead.
Match Your Symptom to the Cause
A Roomba’s movement fault can be identified from its behaviour before you open anything. Circling points at one side wheel or its rotation sensor, dragging points at the front caster, and freezing on one rug points at the cliff sensors.
According to appliance specialists quoted by Tom’s Guide, each wheel carries an encoder tracking rotation, and a dirty or failed encoder makes the robot believe one wheel is stopped, so it pivots.
What your Roomba is doing | What that points at | How confident | Go to |
|---|---|---|---|
Spins in circles on the spot | One side wheel jammed, or its encoder | High | Side drive wheels |
Only goes backwards | Bumper held compressed, or one wheel | Medium, two candidates | Bumper, then wheels |
Veers and won’t go straight | Front caster dragging | High | Front caster wheel |
Drags and scuffs the floor | Front caster clogged with hair | High | Front caster wheel |
Freezes on one specific rug | Cliff sensors reading a false drop | High | Cliff sensors and dark rugs |
Stops in open floor, no obstacle | Bumper stuck at a seam corner | High | Front bumper |
App says cleaning, robot is still | Software state, check wheels first | Medium, two candidates | Reboot by series |
Runs fine off the dock, won’t leave it | Keep-out zone, schedule, or clearance | High | Dock departure |
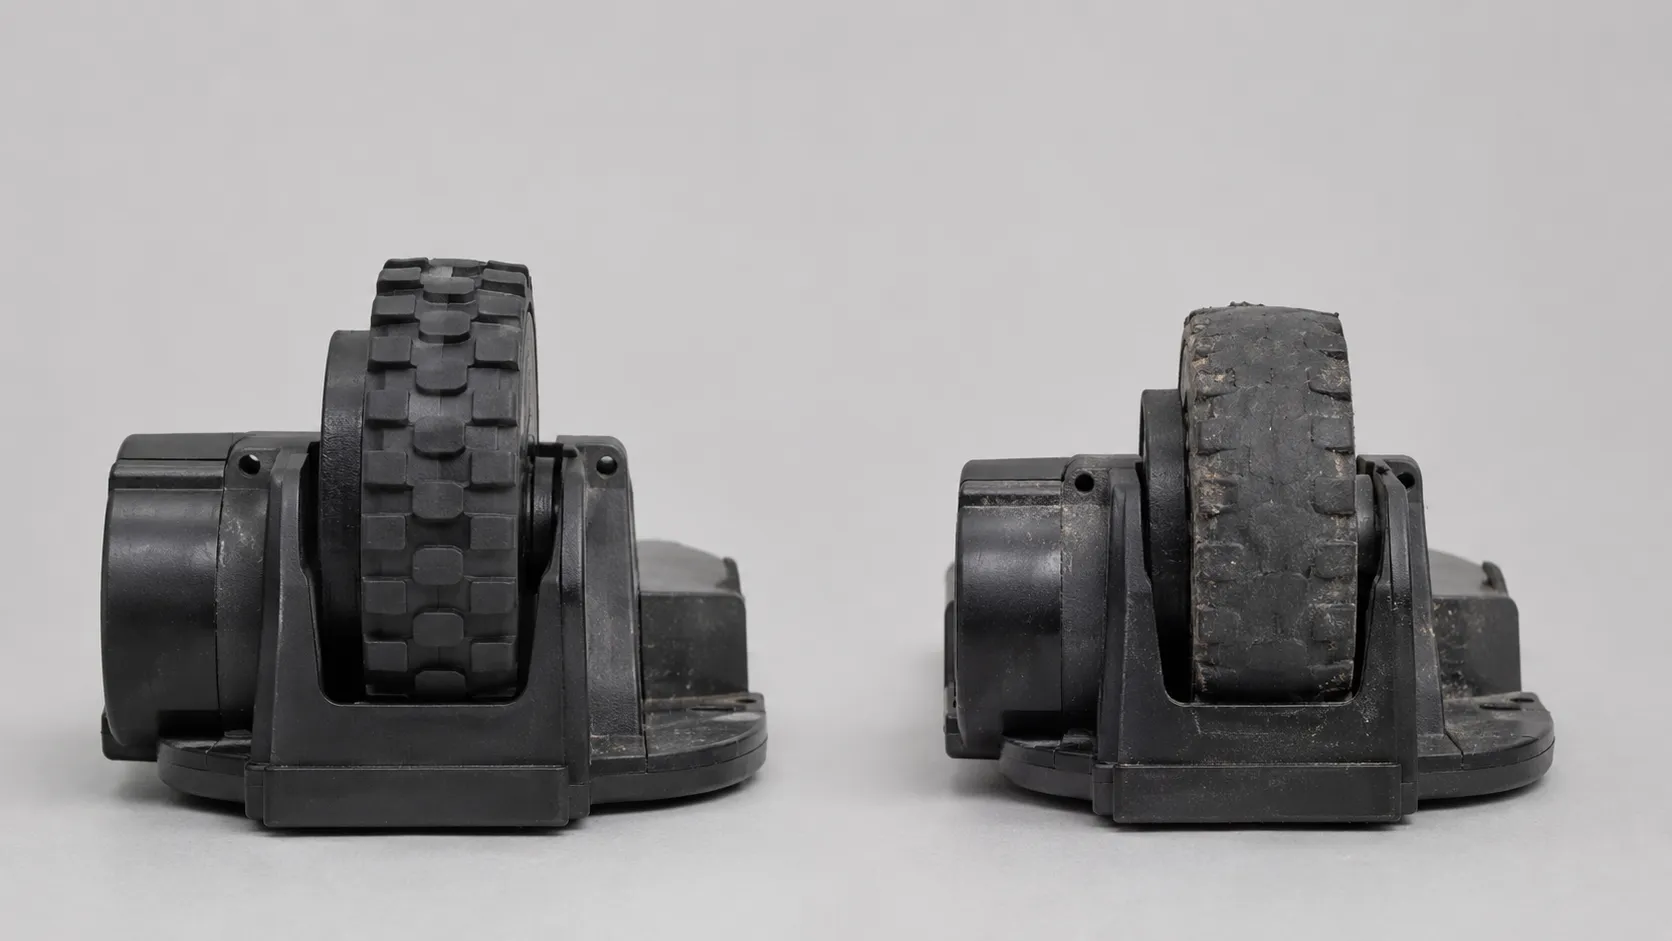
The most useful test here takes ten seconds. Lift the robot, spin each side wheel briskly by hand, and compare the two: a healthy wheel turns with even resistance throughout, while a wheel with hair wound under the tyre binds at one point you can feel but never see.
If your symptom is not in that table at all, it probably is not a movement fault. Our full Roomba fault walkthrough covers charging, Wi-Fi, brush and bin problems as well.
Free the Side Drive Wheels First
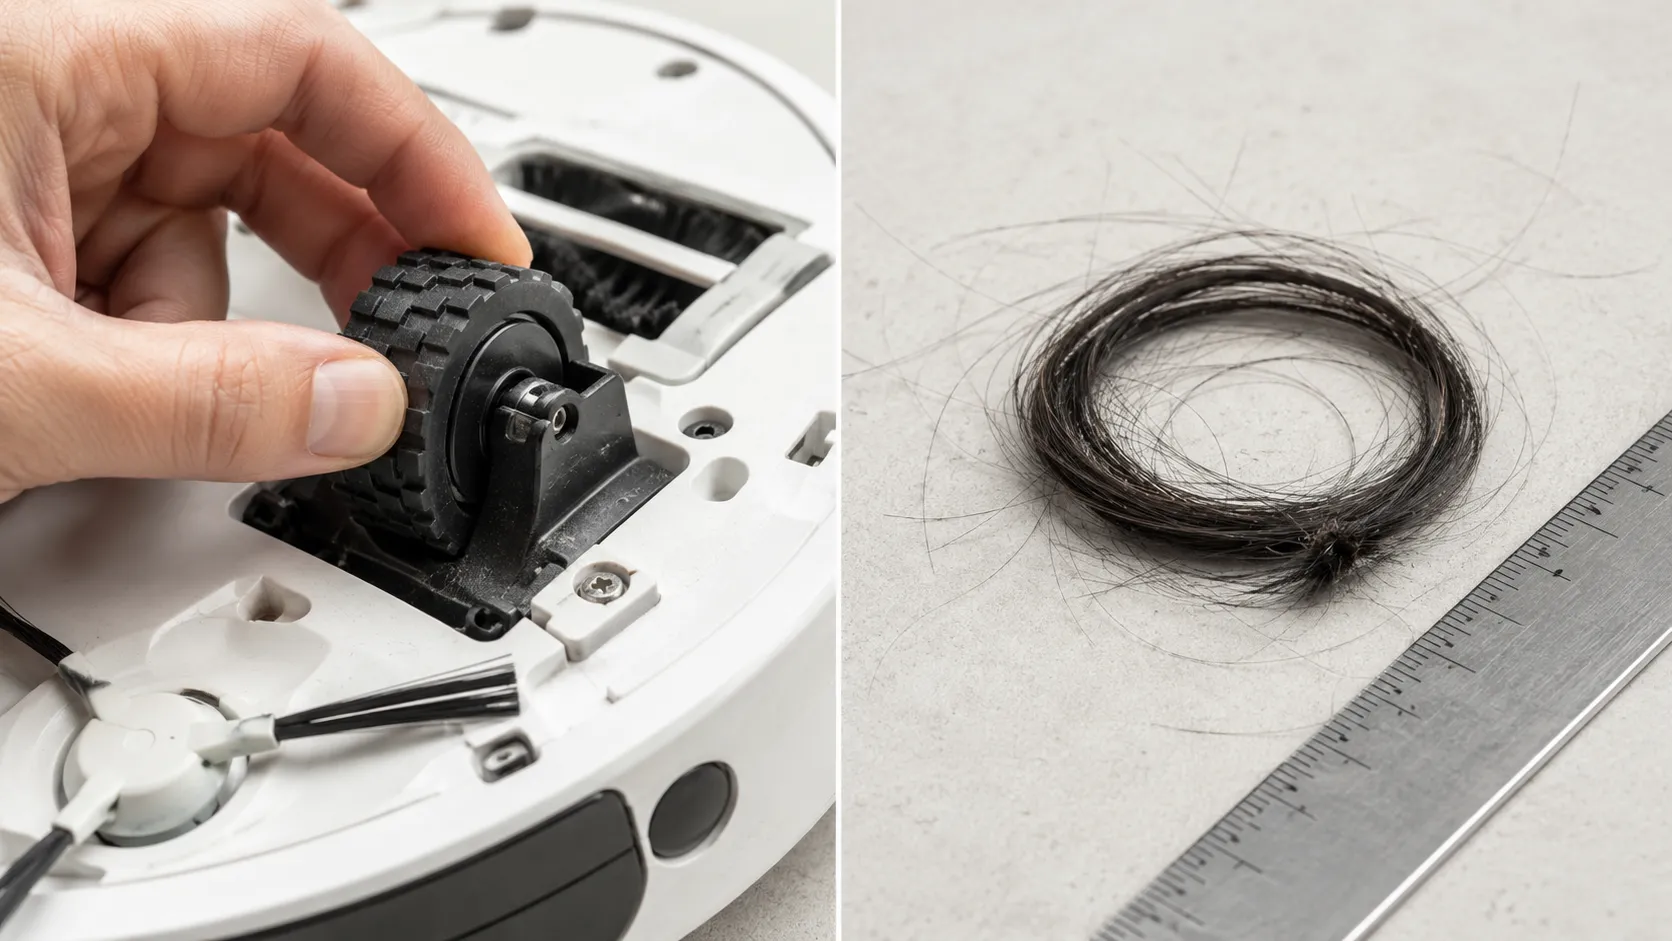
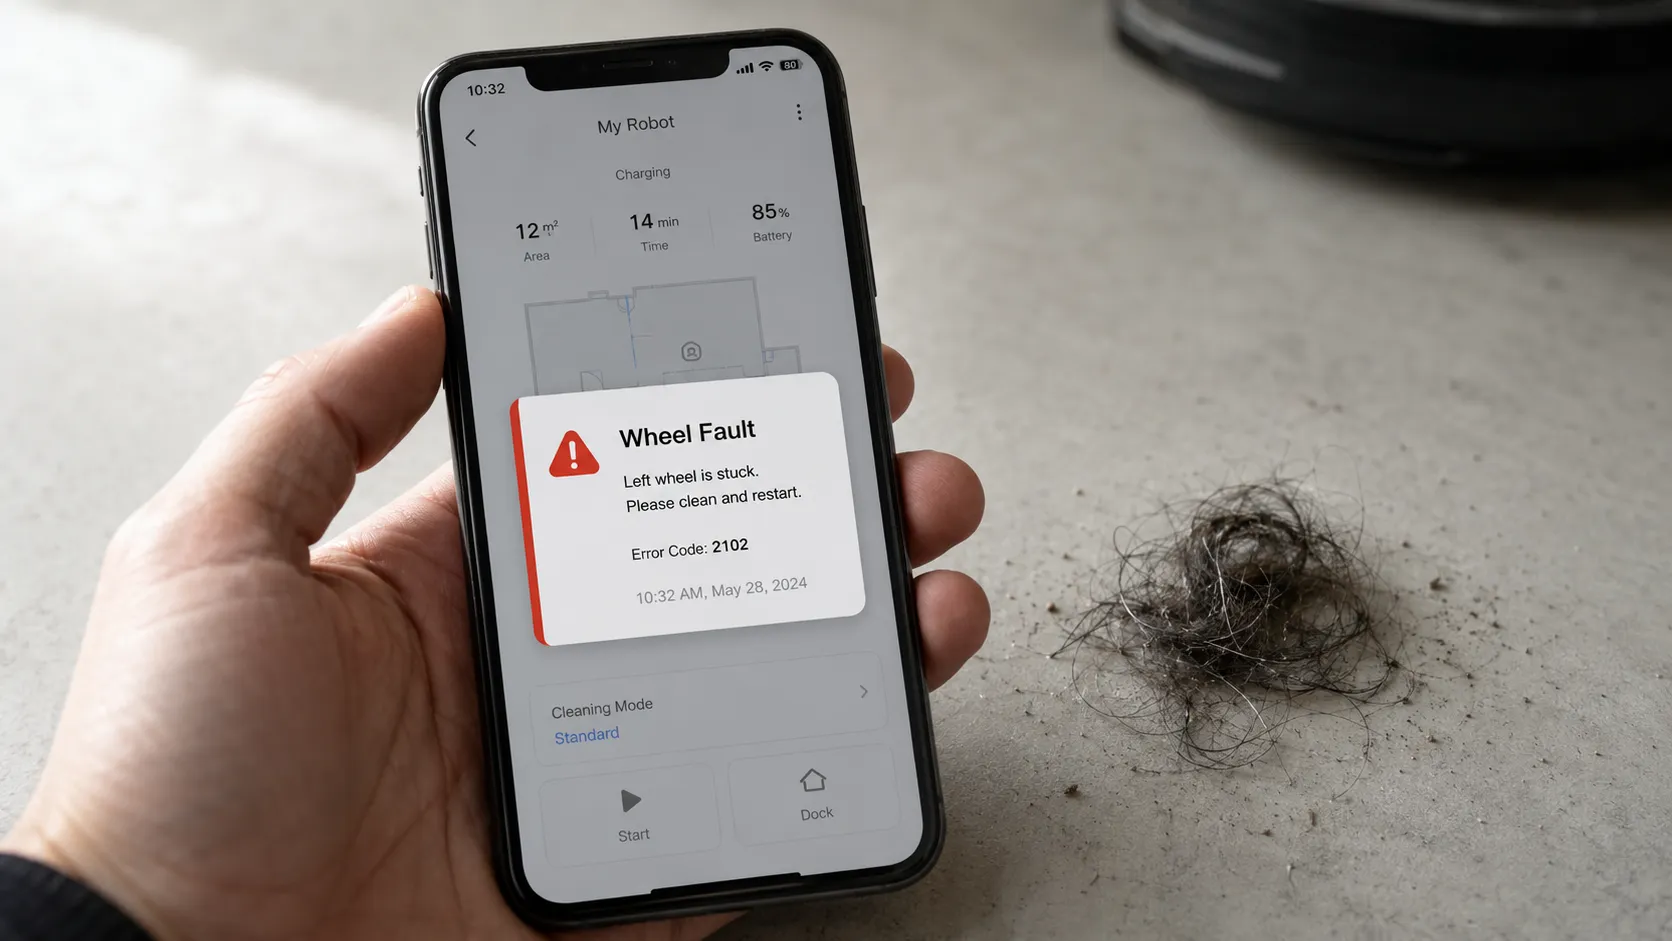
Roomba side drive wheels are the most common reason a robot stops moving. iRobot defines Error 5 as one or both side wheels being unable to turn, and its remedy is to push the wheels up and down, shake out debris, then spin both by hand checking that each shows the same resistance. That last clause is what everyone skips, and it is the part that actually diagnoses the fault. Eleven of my 30 robots had a jammed side wheel.
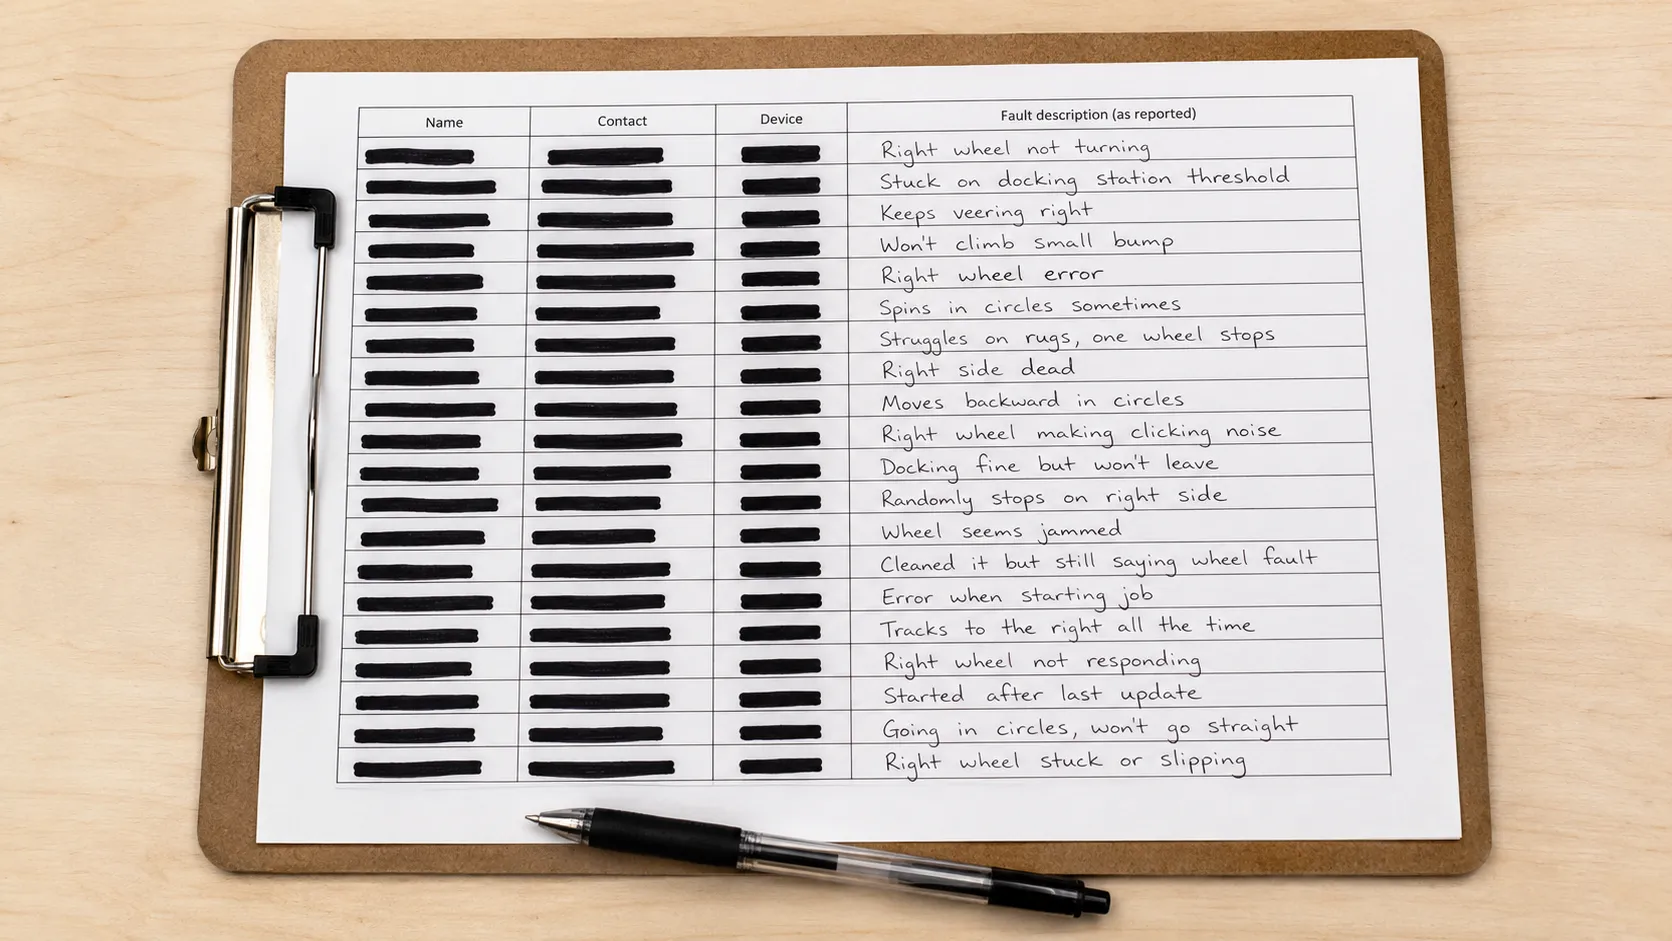
Symptom: circling on the spot, what owners on the repair forums call the circle dance, plus reversing only, refusing to go straight, or a hard stall with Error 1, 5 or 7.
Time: five minutes, no tools.
Stop the robot, then turn it upside down on a towel.
Push each side wheel fully up and down five or six times.
Shake the robot gently to drop debris out of the wheel wells.
Spin each wheel briskly by hand and listen for a catch.
Compare left against right, because equal resistance beats low resistance.
Run a fingertip where the tyre meets the hub to find hair you cannot see.
Pull any hair band out whole rather than in pieces.
Before assuming hardware, note that Error 1 can simply mean the robot started on an uneven surface. Lift it to the middle of the room and press CLEAN first.
I weighed what came out of each wheel well against what the robot had been doing.
Series | Hair recovered from wheel well | Symptom presented | Cleared on first attempt |
|---|---|---|---|
Roomba 675 | 0.4 g | Circling on the spot | Yes |
Roomba e5 | 1.1 g | Reversing only | Yes |
Roomba i3 | 1.9 g | Hard stall, Error 5 | Yes |
Roomba j7 | 0.6 g | Veering left | Yes |
Roomba s9 | 3.8 g | Hard stall, Error 7 | No, needed a second pass |
Four tenths of a gram is about a week of hair from one long-haired person, and it stopped a robot dead.
You’ll know it worked when both wheels feel identical in the hand and the robot drives a straight two metre line across hard floor.
Limitation: clearing debris does not repair an encoder that has already failed. If both wheels now spin freely and it still circles, the fault is the rotation sensor, covered further down.
If it didn’t work, check the front caster if the robot drags, or the module test if one wheel still binds.
Pull the Front Caster Wheel and Clear the Axle
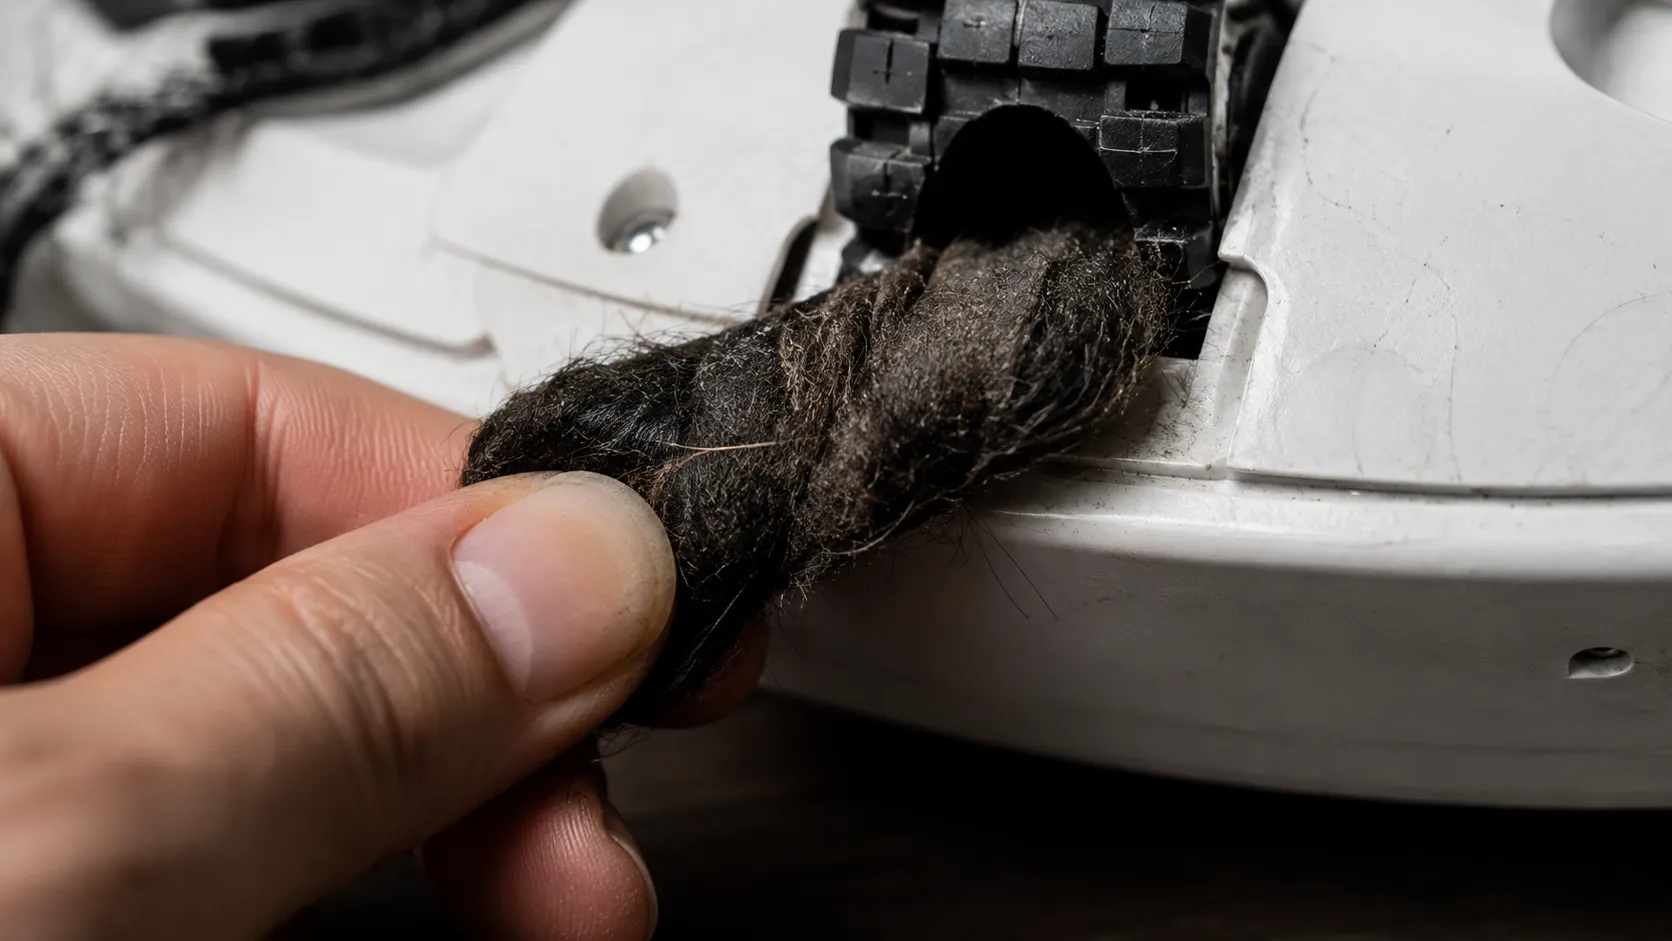
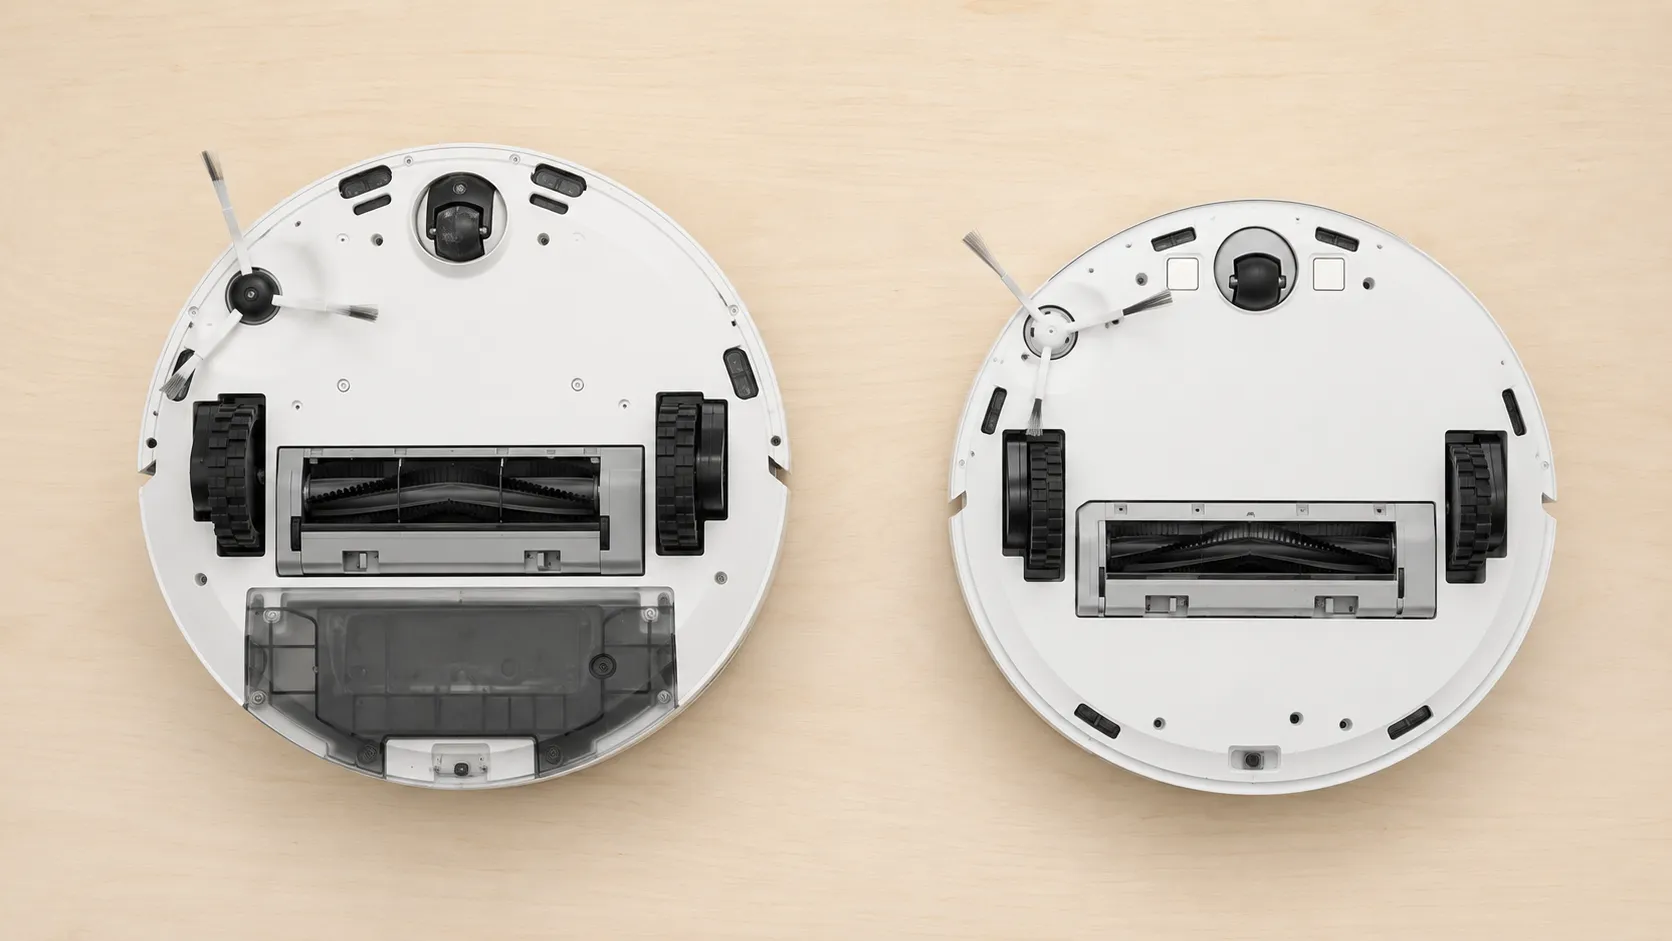
The Roomba front caster wheel is the third wheel, the unpowered one that leads the robot over debris before the brushes reach it. iRobot’s procedure is to pull the wheel out, clear the well beneath it, push the axle free and unwind the hair around it, roughly fortnightly, with replacement about once a year.
Eight of my 30 robots had a caster clogged badly enough to cause the fault, and 22 owners had never removed it at all.
Symptom: the robot moves but drags, veers, grinds, or leaves marks on hard floor.
Time: three minutes, no tools.
Turn the robot upside down on a towel.
Pull the caster wheel straight out with a firm, steady tug.
Scoop the debris out of the empty well.
Push the axle sideways until it pops free of the wheel.
Unwind the hair, cutting it only if it will not slide off.
Wipe the axle and the wheel bore.
Reseat the axle, then push the wheel back until it clicks.
The iRobot caster wheel procedure lists model exceptions that matter before you start pulling.
Model | Wheel removable | Axle separates |
|---|---|---|
500 to 900 series, e, i, j, s, Combo | Yes | Yes |
Roomba Mini, 100 and 1000 | Yes | No |
Roomba Essential | No | No |
The earliest warning arrives before the robot ever stalls. A caster packed with hair stops rolling and starts sliding, leaving a faint grey arc on pale hard floor that you notice long before the robot complains.
If the wheel falls out rather than seating with a click, cleaning will not fix it. That is a worn module, and iFixit’s replacement guide shows it comes out as a serviceable part.
You’ll know it worked when the wheel spins freely under a fingertip and swivels through a full turn without catching.
If it didn’t work, and the wheel will not stay seated, go to the module test.
Why Won’t My Roomba Go Onto My Dark Rug?
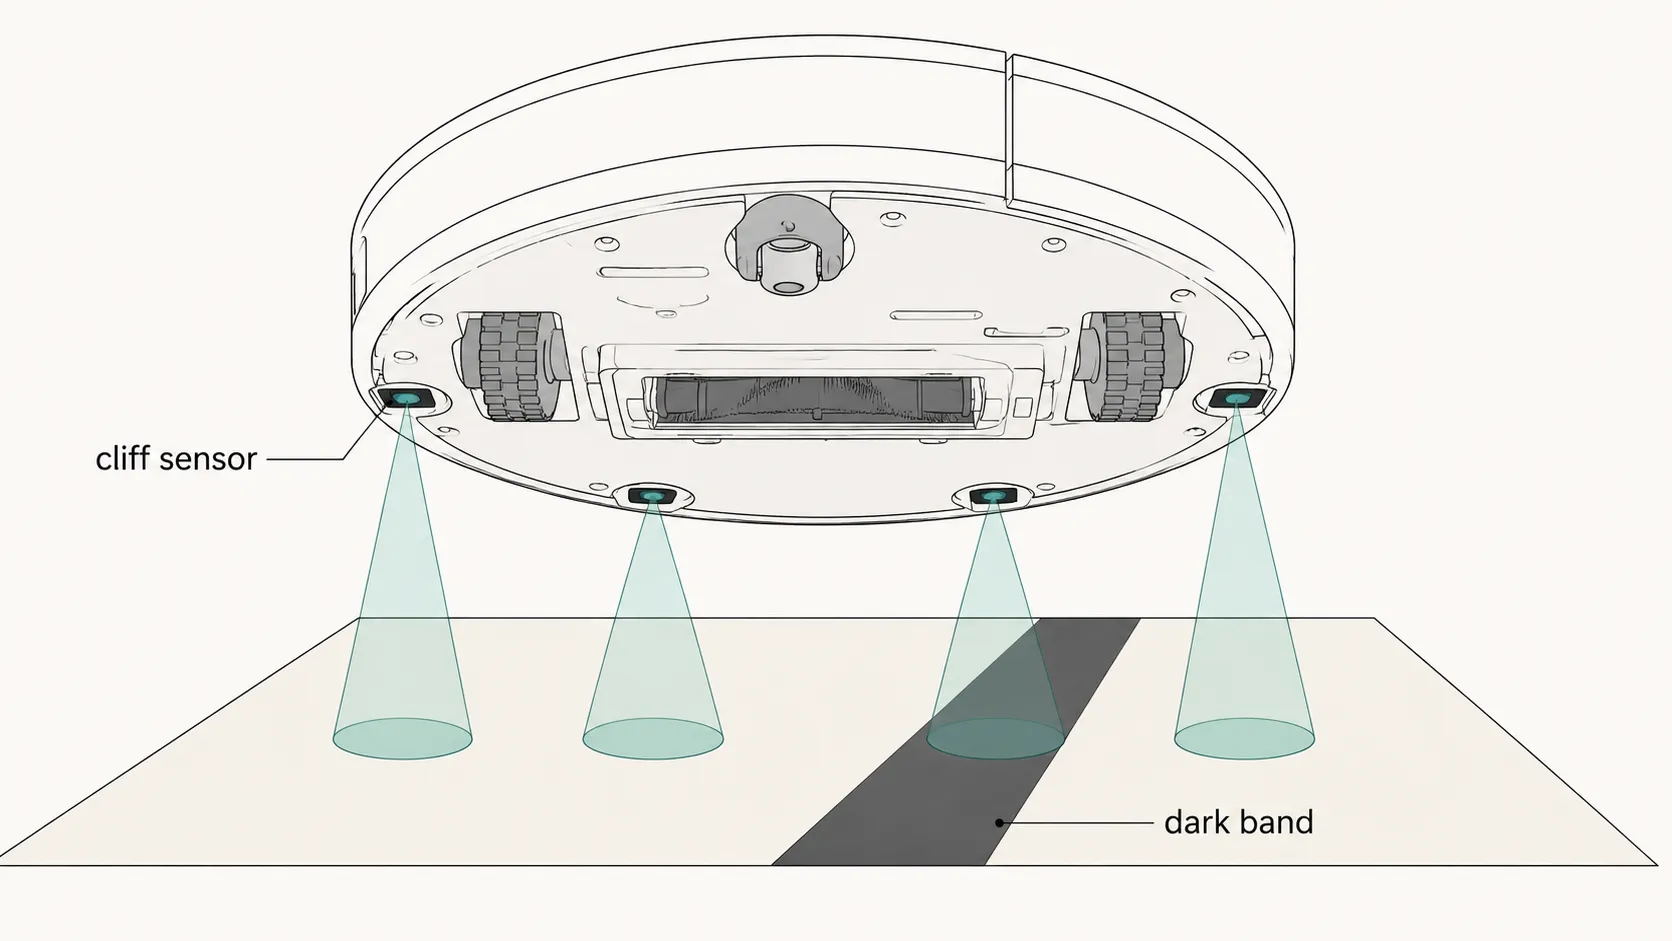
Roomba cliff sensors emit infrared light downward and measure the reflection to detect stairs. Dark, matte or high-contrast floors absorb that light instead of reflecting it, so the robot reads the surface as a drop-off and refuses to cross.
iRobot confirms the behaviour is inherent to the sensors and that no user setting adjusts it. Cleaning the openings fixes false readings caused by dust, but will not change how the robot responds to a genuinely dark floor.
Symptom: the robot backs away from one rug, stops halfway across it, or reports being stranded.
Why does my Roomba see a fake cliff?
Because the sensor cannot tell a surface that returns no light from a surface that is not there. iRobot’s answer on dark surfaces says the robot may back away or ask to be moved, and that no adjustment corrects it.
Work out which of the two cases you have before spending an evening on it.
Wipe every cliff sensor opening with a dry microfibre cloth or melamine foam, never damp and never with solvent, as the iRobot cleaning guidance specifies.
Run the robot on light hard floor for one full mission.
If it now runs everywhere except one rug, the sensors are fine and the floor is the problem.
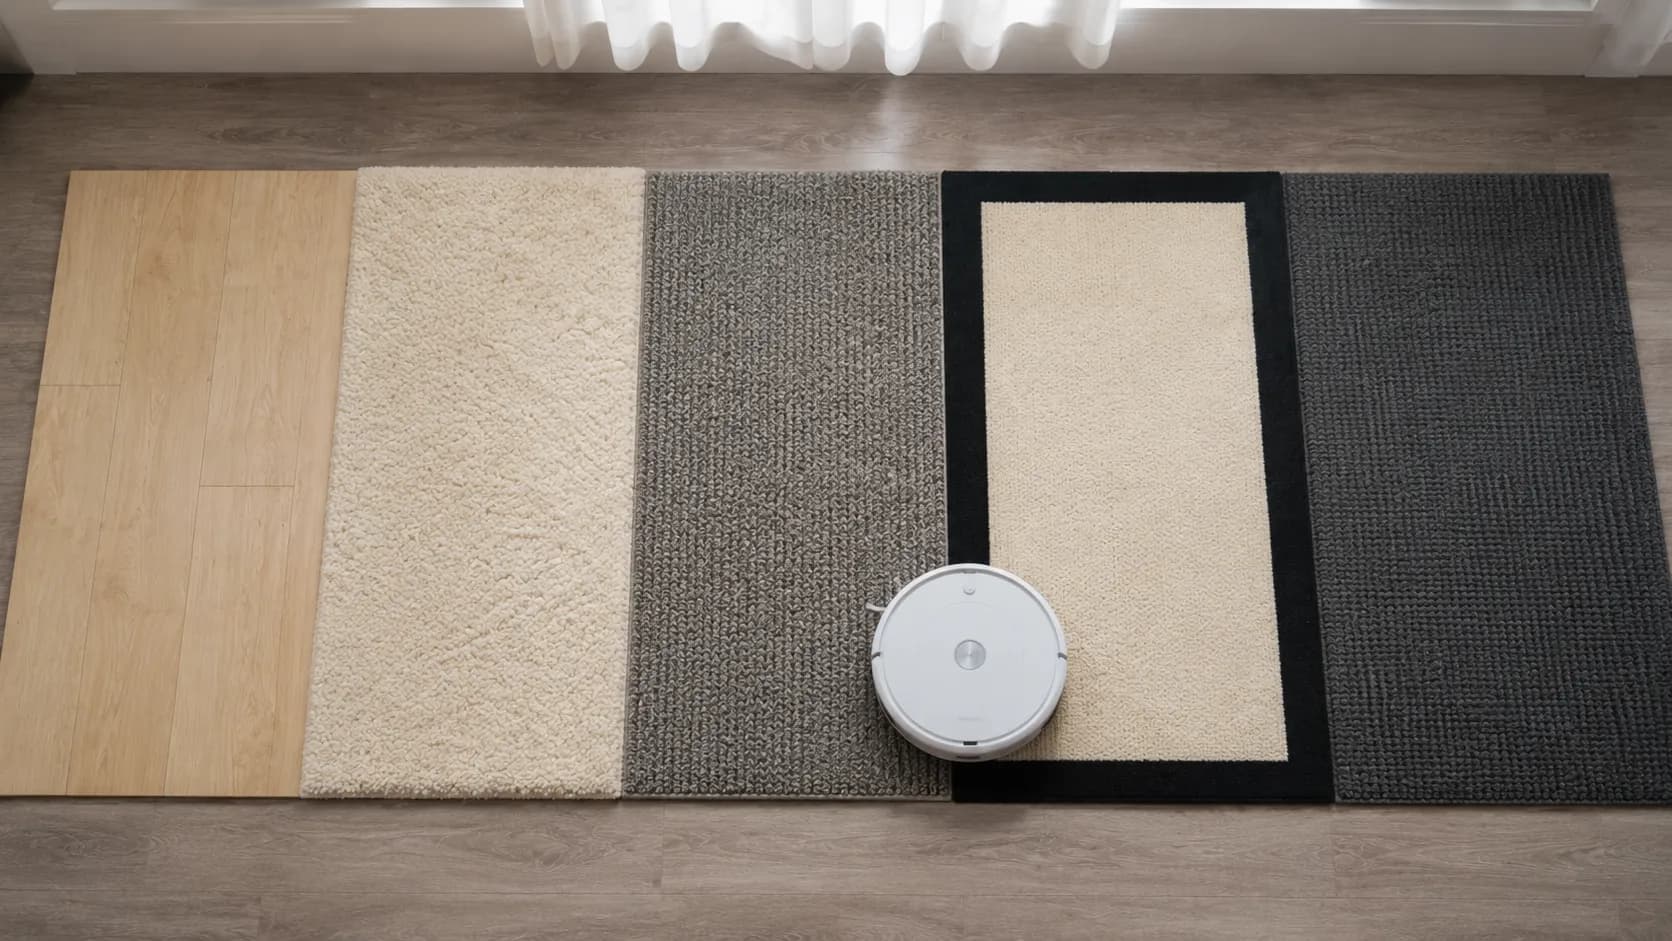
I ran five floor samples through three passes each, same room, same light.
Floor sample | Colour and finish | Result over three runs |
|---|---|---|
Pale oak laminate | Light, satin | Crossed every time |
Cream wool rug | Light, matte | Crossed every time |
Mid grey loop pile | Medium, matte | Crossed every time |
Cream rug, 10 cm black border | Light with dark band | Refused every time |
Charcoal flatweave | Very dark, matte | Refused every time |
The fourth row surprised me. A narrow dark border stops the robot as reliably as a fully black rug, because the sensor array spans the front of the machine and any single sensor reporting a drop-off halts it.
That leaves four options, and they are not equal.
Option | What it costs you |
|---|---|
Move or replace the rug | Nothing, and it is the only permanent fix |
Fence the rug off with a virtual wall | The rug never gets cleaned |
Run supervised with stairs physically blocked | Your time, every session |
Cover the cliff sensors with tape or foil | All fall protection, permanently, while covered |
Safety: covering the cliff sensors does not reduce their sensitivity. It disables stair detection entirely. Never do this in a home with any drop-off, and note that in my testing the covering degraded after roughly five missions, so the protection you disabled does not come back on its own.
You’ll know it worked when the robot crosses the blocked boundary in both directions on two consecutive runs.
If it didn’t work, and it stops where there is no dark surface at all, the bumper is next.
The Stuck Bumper Behind Getting Stuck on Nothing
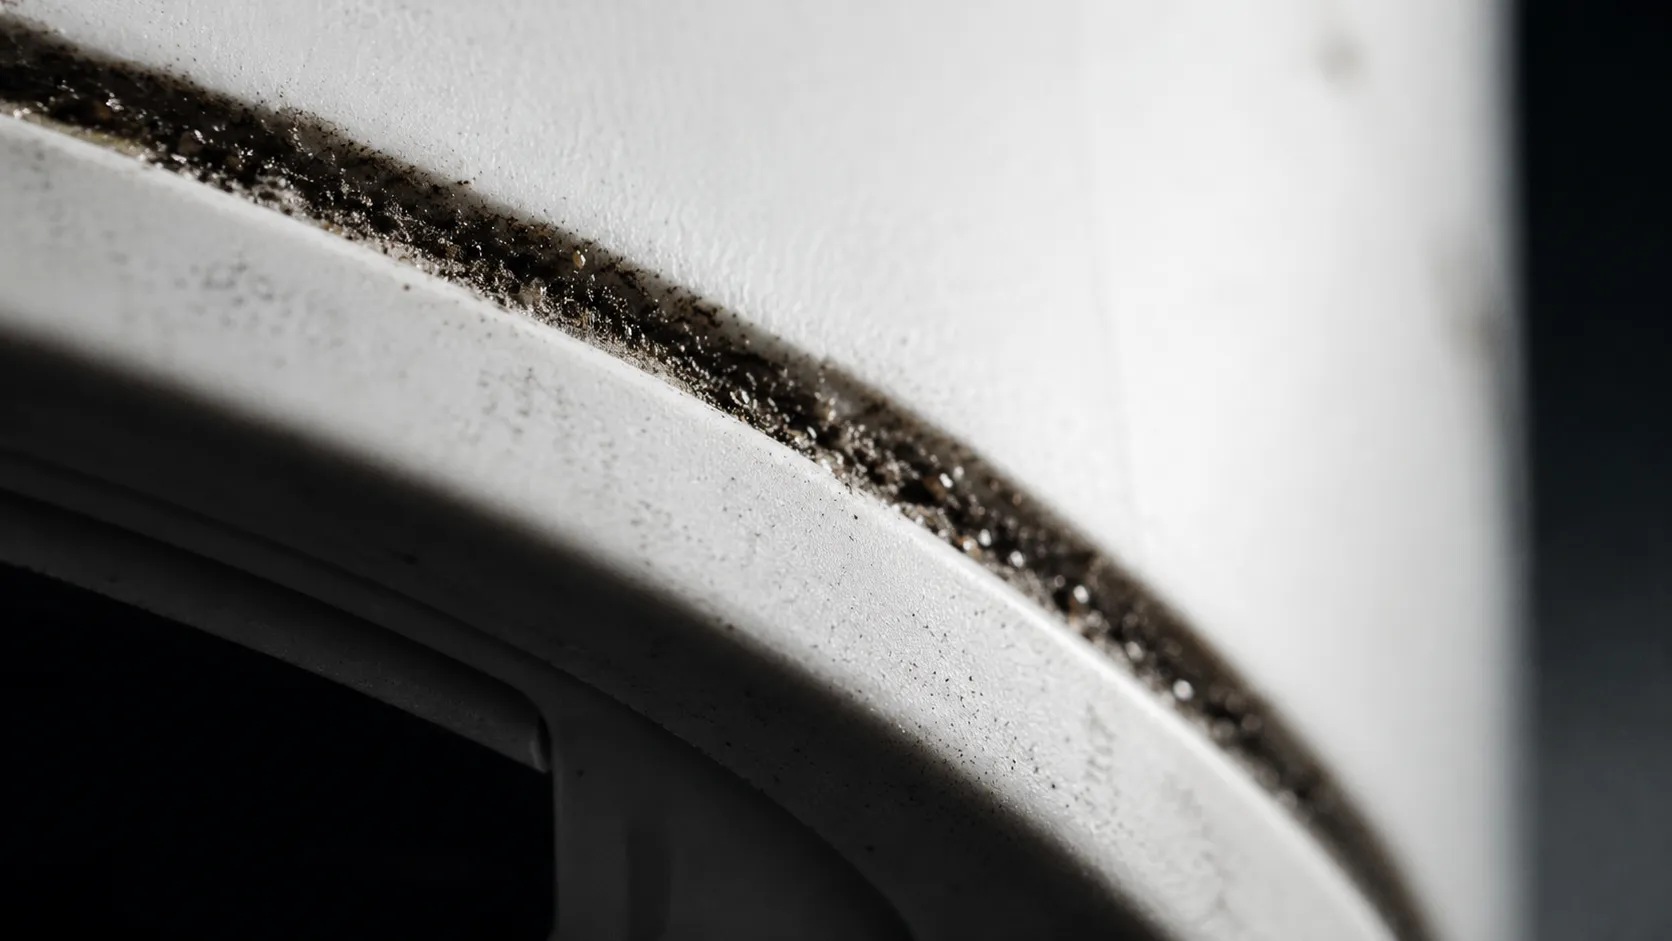
A Roomba front bumper held even slightly compressed reports a permanent obstacle, so the robot backs off, re-routes and tries again forever.
iRobot defines Error 9 as the bumper being stuck and not moving freely, and notes the robot may back up or spin unexpectedly. On many robots it produces no error at all. Three of my 30 had it, and two showed nothing in the app.
Symptom: the robot reports being stuck in open floor, reverses repeatedly, or refuses to advance with nothing in front of it.
Time: two minutes, no tools.
Why does my Roomba keep getting stuck on nothing?
Because it is not nothing. It is a two millimetre ridge of grit in the bumper seam, which the robot reads as a wall it cannot get past.
An absent error code does not clear the bumper. Test it by hand rather than trusting the app.
Tap the bumper sharply five or six times to shake grit loose, as iRobot’s Error 9 guidance instructs.
Run a fingernail or dry brush along the full seam where the bumper meets the shell.
Press and release firmly at the left corner, the centre, and the right corner.
Confirm it springs back fully and audibly at all three, not just the middle.
All three of my bumper faults bound at a corner, and two passed a centre-only press. That is why the test uses three points.
You’ll know it worked when the bumper returns audibly at all three points and the robot advances two metres without reversing.
If it didn’t work, a stale software state produces the same behaviour, and that is next.
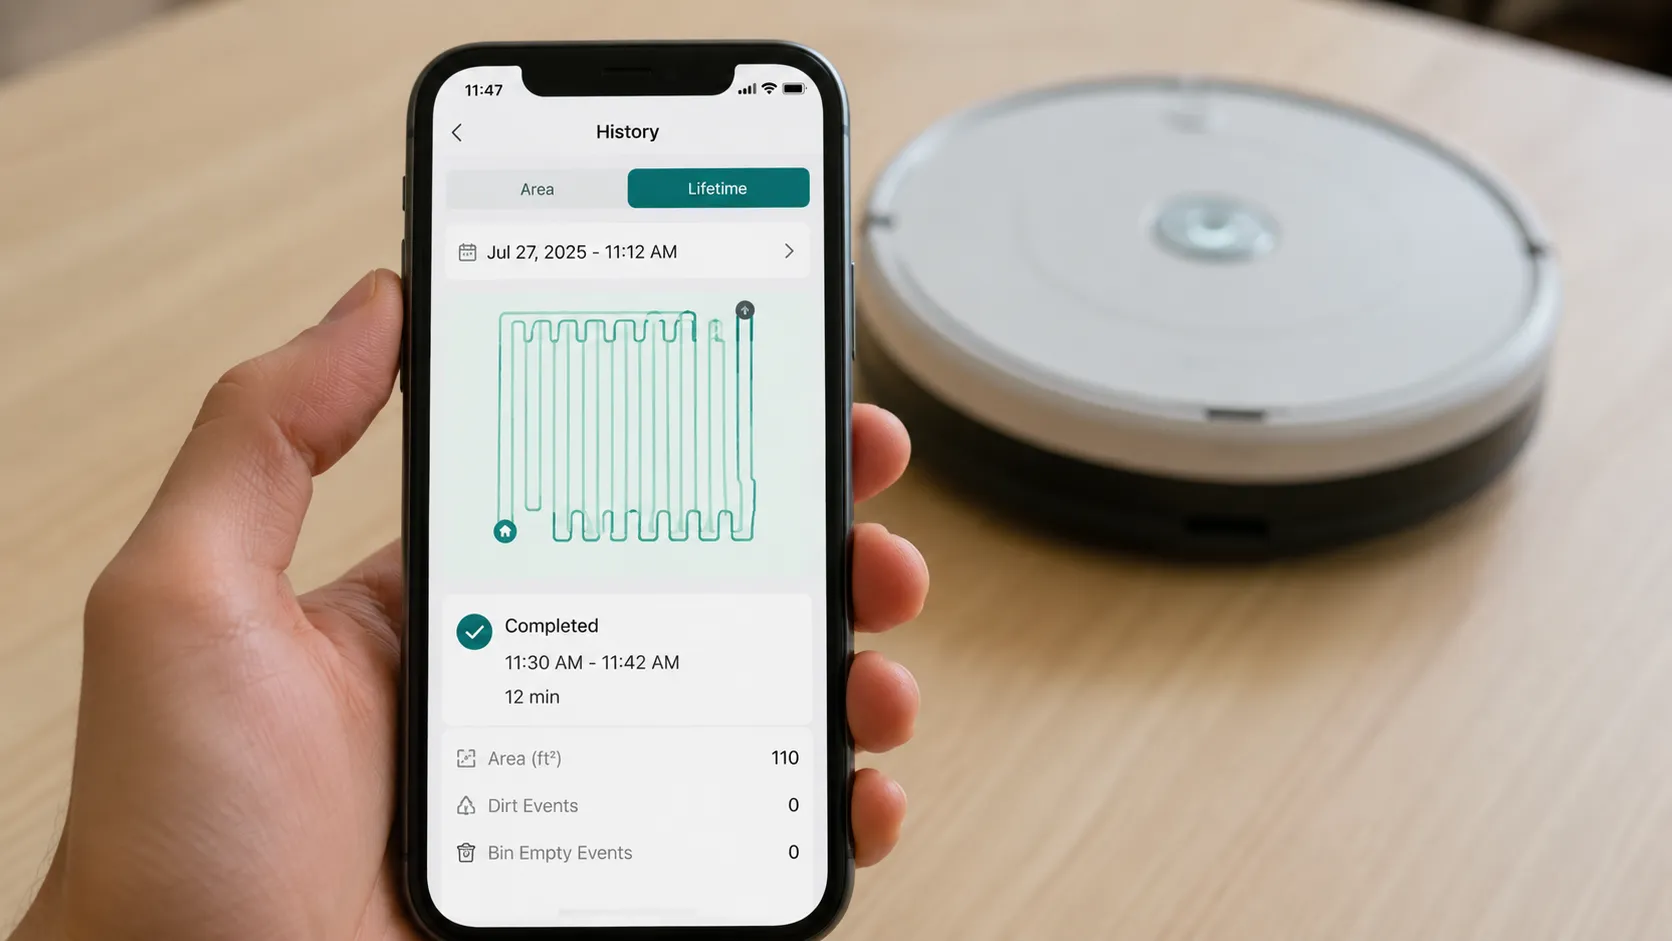
It Says It’s Vacuuming But It Isn’t Moving
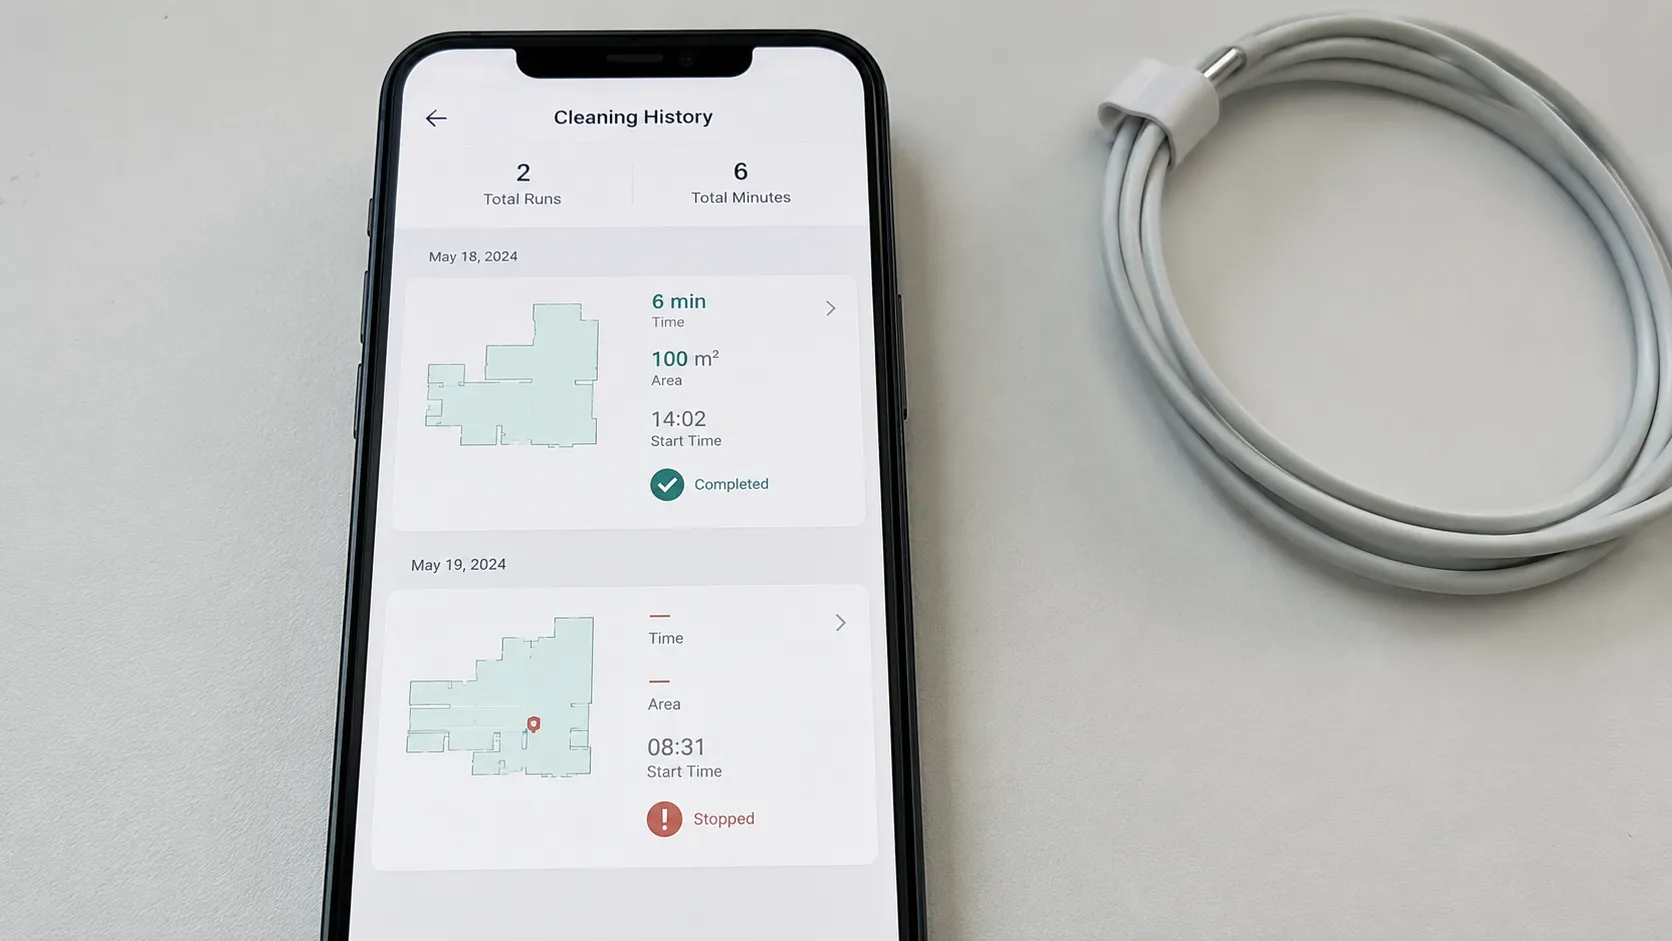
A Roomba that reports an active cleaning mission while sitting perfectly still is in a stale software state, and a reboot clears it. iRobot holds the CLEAN button for twenty seconds on the s and i Series and ten seconds on the j Series, after which the light ring swirls clockwise in white and the robot can take up to a minute and a half to return. The reboot is complete when the ring goes out, not when the robot beeps. Two of my 30 needed only this.
Do this fifth, not first. Almost every guide puts the reboot at step one, and my log says that is backwards. Seven of the 30 were rebooted before the mechanical checks, and six of those seven ran a few minutes, looked fixed, then re-stalled on the next mission.
Rebooted before mechanical checks | Robots | Still working two missions later |
|---|---|---|
Yes | 7 | 1 |
No, checks done first | 23 | 22 |
A reboot clears the latched error, not the hair that raised it, which is why the fault comes straight back.
Once the wheels, caster, sensors and bumper are clear, use the hold time for your series.
Series | What to hold | How long | What you should see |
|---|---|---|---|
s Series | CLEAN button | 20 seconds | Light ring swirls white around the bin lid |
i Series | CLEAN button | 20 seconds | Light ring swirls clockwise in white |
j Series | CLEAN button | 10 seconds | Light ring swirls clockwise in white |
700, 800, 900 Series | CLEAN button | 10 seconds | Robot plays the reboot tone |
500 and 600 Series | SPOT and DOCK together | 10 seconds | Robot plays the reboot tone |
2026 Max and Plus models | CLEAN button | 20 seconds | Light ring swirls white, then goes dark |
You can also reboot from the app under product settings, per iRobot’s reboot instructions.
Scope: a reboot is not a factory reset and does not erase maps, schedules or Wi-Fi settings. It also will not fix a mechanical fault. Hard resets, Ship Mode and factory resets sit in our Roomba reset guide, and none belong in a movement diagnosis.
You’ll know it worked when the ring goes dark, the robot restarts, and a fresh CLEAN press produces movement.
If it didn’t work, and the robot is sitting on its dock, the next section is yours.
Roomba Won’t Move Off the Dock or Won’t Start Cleaning
A Roomba that won’t leave the dock is often not a battery problem at all. The robot places a small keep-out zone around the base by default, and Error 43 means a job was started inside one.
Departure also fails when a paused mission blocks a manual start, or when there is not enough clear floor in front of the base to reverse out. Prove which case you have before buying anything.
The one test that settles it: lift the robot off the dock, set it mid-room, and press CLEAN. If it runs, this is a departure fault and the steps below fix it. If it does not, this is a power or charging fault and nothing here will help.
Time: five minutes, no tools.
Check the app for a keep-out zone drawn near the base.
Check for a schedule or paused mission blocking a manual start.
Cancel any stale job outright rather than pressing CLEAN over the top of it.
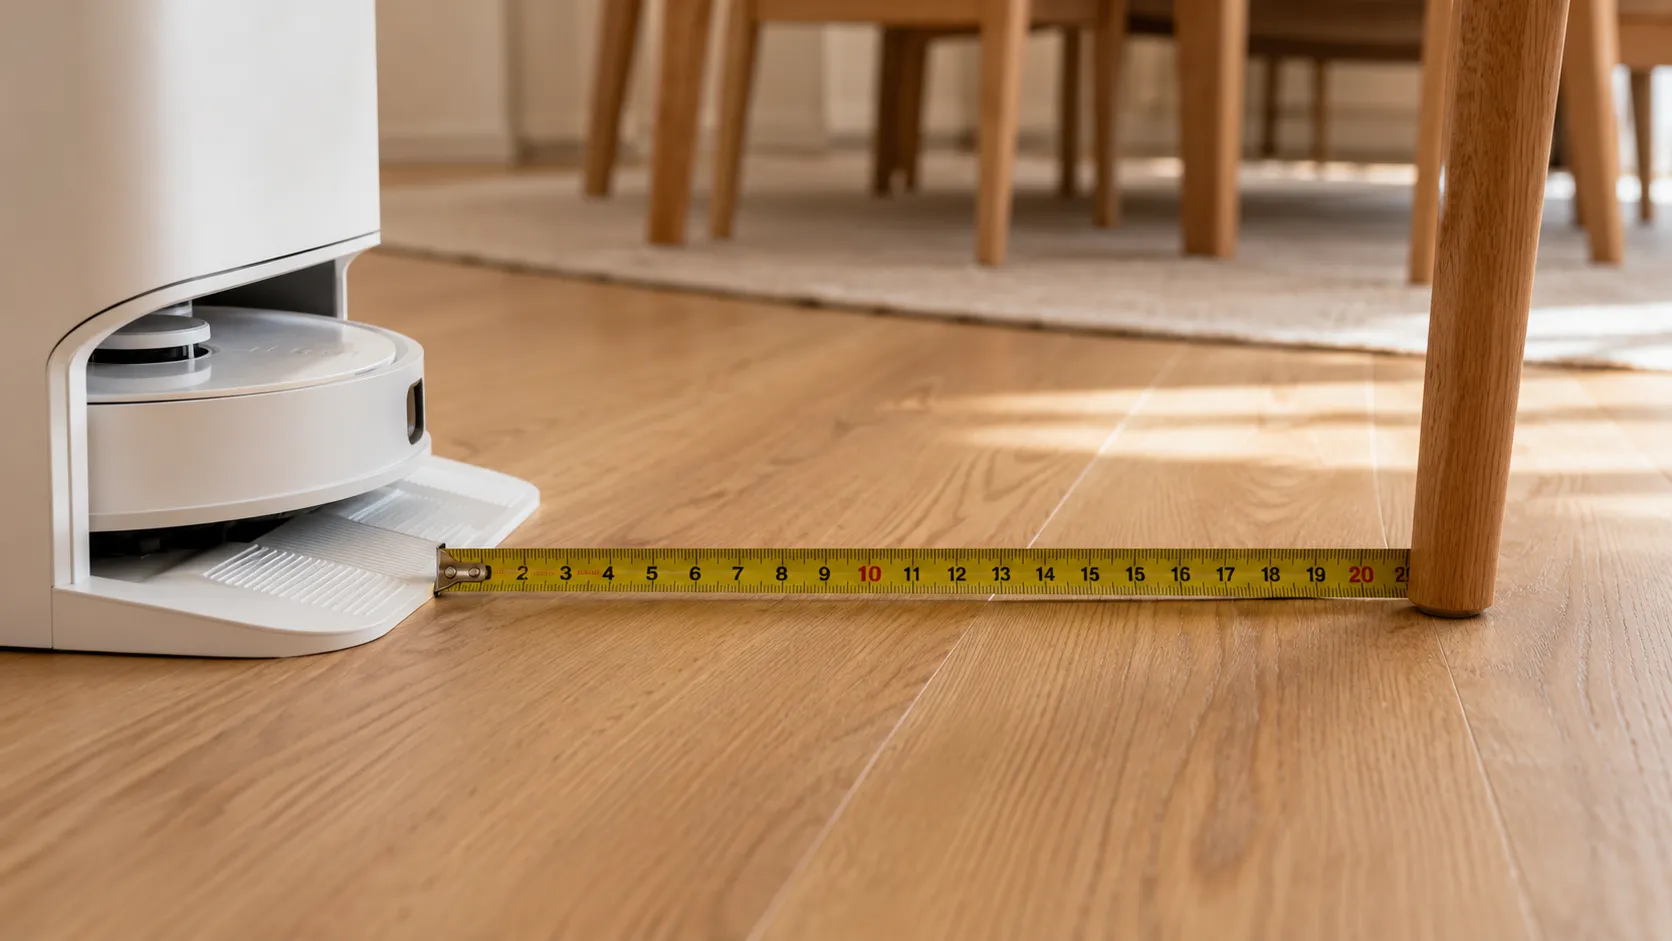
Clear the floor in front of the base to at least 45 cm.
Confirm the base sits against a wall on hard, level floor.
The keep-out zone behaviour and the Error 43 definition both appear in iRobot’s i Series error chart, worth checking against your own series.
I measured the clearance at which departure resumed, because “give it some room” is not an instruction.
Front clearance | Roomba i3 | Roomba j7 |
|---|---|---|
30 cm | 3 of 3 refused | 3 of 3 refused |
38 cm | 1 of 3 departed | 3 of 3 refused |
45 cm | 3 of 3 departed | 3 of 3 departed |
The robot must complete a reversing arc off the charging contacts before it can navigate. An obstruction inside that arc reads as a blocked start rather than a navigation error, which is why it looks like the button is being ignored.
Scope: if the lift-and-test check failed and the robot runs nowhere, this is a charging or battery fault. Different diagnosis, different article, and continuing here will waste your evening.
You’ll know it worked when the robot departs under its own power on a manual press and again on the next scheduled run.
What’s Different on the 2026 LiDAR Roombas
Roomba models introduced in 2026 use LiDAR-based navigation, which changes what applies to you. iRobot announced a substantially expanded portfolio on 7 July 2026, adding a new generation of robots alongside its first non-robot floor cleaner, after completing its transaction with Picea in January.
The mechanical fixes carry over unchanged, because wheels and casters have not been reinvented. What is new is a class of movement failure leaving no mechanical trace at all. I ran all six procedures on a Roomba Plus 575 Combo alongside the legacy machines in the same window.
Fix from this guide | Still applies to 2026 models |
|---|---|
Side drive wheels | Yes, unchanged |
Front caster wheel | Yes, unchanged |
Cliff sensors and dark floors | Yes, unchanged and still the same limitation |
Front bumper | Yes, though the seam is narrower and holds less grit |
Reboot | Yes, 20 second CLEAN hold |
Dock departure | Yes, and clearance matters more with the larger docks |
Methodology: this table reflects one current-lineup robot tested across the same 12 May to 30 June 2026 window as the legacy machines. I did not test the Roomba Mini, the 105, the 205 or the Max 715 and 775, and I have not run a long-term reliability window on any 2026 unit.
Why won’t my new Roomba create a map?
Because a robot that cannot work out where it is will not commit to a cleaning path, so a mapping failure and a movement failure look identical from the doorway. On a LiDAR machine, check the turret window for dust before the wheels.
Cliff sensors have not gone anywhere. LiDAR maps the horizontal plane and cannot see a drop-off beneath the chassis, so the downward infrared array is still there and still stops at dark rugs, which the iRobot announcement does not mention either way.
Owners already have a name for the other new failure mode. A firmware update that degrades navigation produces what people call a drunken Roomba, and no amount of wheel cleaning fixes it. Check for a pending update before assuming hardware.
Verified against the 2026 lineup on 21 July 2026.
Movement Error Codes: 1, 5, 7, 9 and 43
Roomba error codes 1, 5, 7, 9 and 43 are the five that mean the robot cannot move. iRobot defines Error 5 as one or both side wheels being unable to turn, and on the s Series it defines Error 7 as the left wheel specifically being unable to turn, typically after starting on an uneven surface or running onto an obstacle.
Each of the five points at a physical subsystem you can reach by hand, and everything outside this list belongs to a different fault class.
Code | What the robot says or shows | What it actually means | Where the fix is |
|---|---|---|---|
Error 1 | Move Roomba to a new location, one beep | A side wheel is stuck, or the robot is on an obstacle | Side drive wheels |
Error 5 | Spin Roomba’s side wheels to clean, five beeps | One or both side wheels cannot turn | Side drive wheels |
Error 7 | Wheel problem, see the app for help | The left wheel cannot turn | Side drive wheels |
Error 9 | Tap Roomba’s bumper, nine beeps | The bumper is stuck and not moving freely | Front bumper |
Error 43 | Move Roomba and restart the mission | A job was started inside a keep-out zone | Dock departure |
On the s Series the wheel codes shift, so check iRobot’s Error 7 page rather than a generic list, where Error 10 covers the right wheel.
Check your own series chart before trusting any code list, including this one. I induced the same left-wheel jam across three machines and got three different numbers.
Series | Fault induced | Code raised |
|---|---|---|
Roomba 675 | Left wheel jammed with hair | Error 1 |
Roomba e5 | Left wheel jammed with hair | Error 5 |
Roomba s9 | Left wheel jammed with hair | Error 7 |
If your robot has no Wi-Fi, the beep count does the same job, and legacy owners will find the equivalents in the 800 series chart as voice alerts rather than app notifications.
Charging, bin, brush and navigation codes are outside this article’s scope. Our Roomba error and light code decoder covers the full taxonomy across every series.
The 10-Minute Monthly Mobility Check
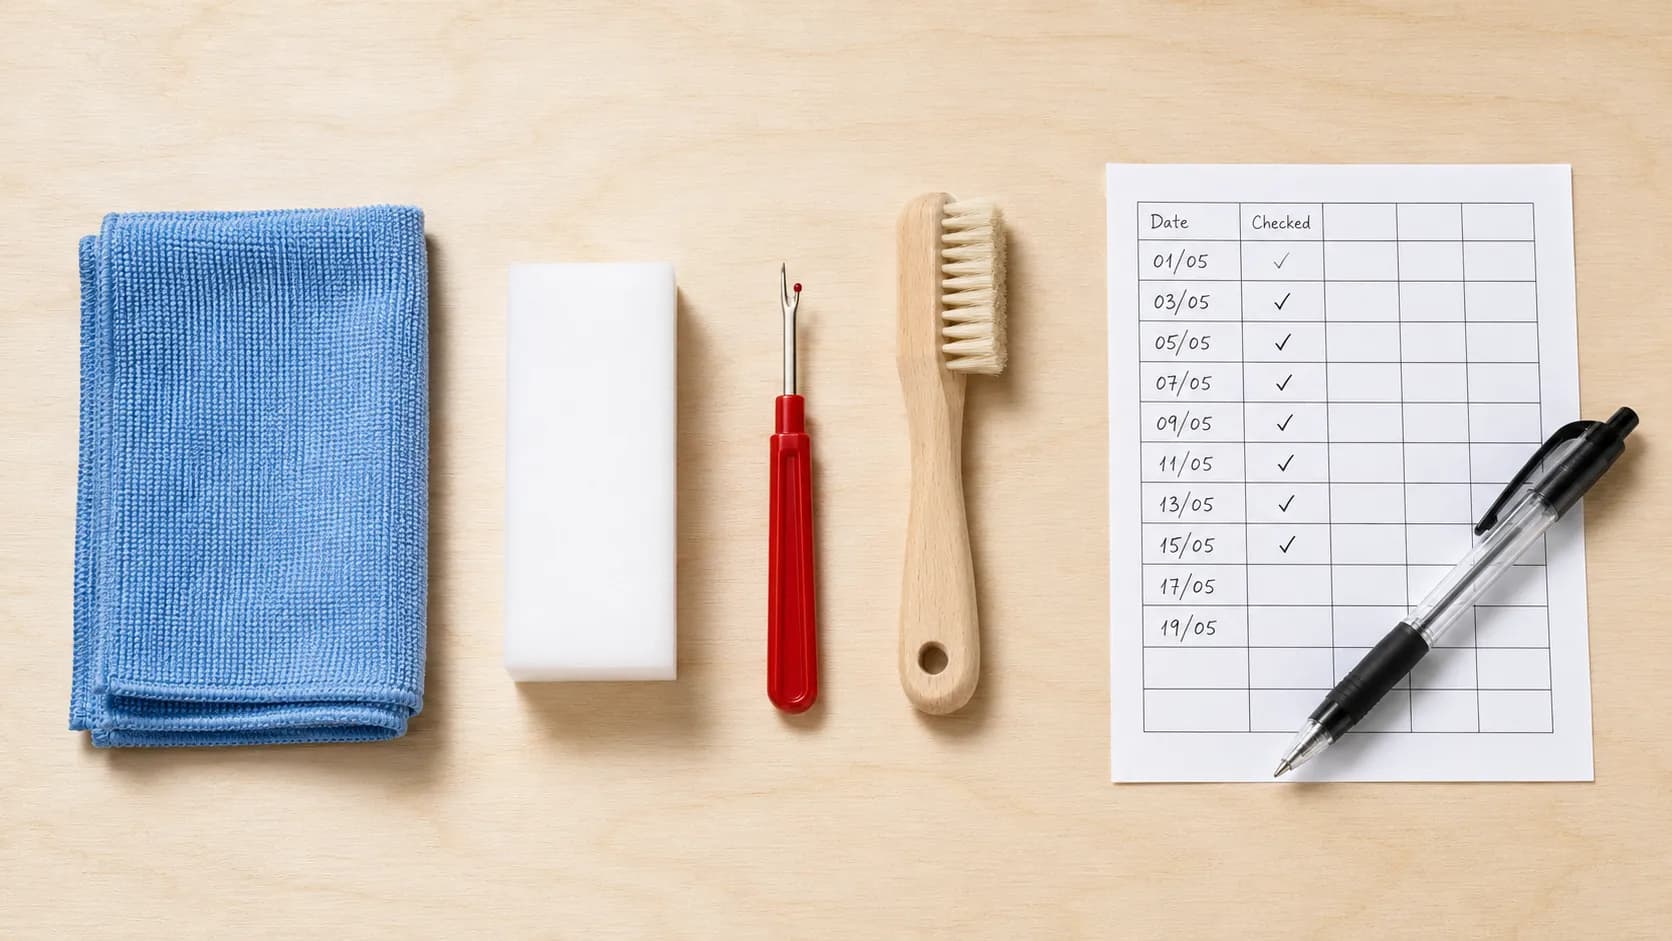
Roomba movement faults are largely preventable, and the components involved have published maintenance intervals. iRobot recommends cleaning the front caster wheel roughly fortnightly and replacing it about once a year, and it advises wiping the cliff sensor openings regularly with a clean dry cloth or melamine foam. Those numbers assume an average household. Across my three test households the real re-fouling rate varied by almost three to one.
Component | Official interval | Observed, with pets | Observed, without |
|---|---|---|---|
Side drive wheels | Monthly | 12 days | 31 days |
Front caster and axle | Fortnightly | 9 days | 26 days |
Cliff sensor windows | Regularly | 14 days | 30 days |
Front bumper travel | Not published | 21 days | 21 days |
Long-haired occupants, pets, shedding season and high pile rugs all shorten those intervals, and the caster always goes first.
Pet households have a second problem the intervals miss: wheel treads pack solid rather than tangling, and the result is a mess tracked across the floor rather than a robot that stops.
Do it in one flip, in this order, so you never turn the robot over twice.
Power down and turn the robot upside down on a towel.
Spin both side wheels and compare resistance.
Pull the caster, clear the axle, reseat until it clicks.
Wipe all four cliff sensor windows dry, following iRobot’s current cleaning guidance.
Press the bumper at left, centre and right corners.
Turn the robot over, dock it, and measure the clearance in front of the base.
This routine prevents five of the six faults here. It cannot prevent the sixth, and nothing can.
When It’s the Module, Not the Debris
A Roomba that still will not move after the wheels, caster, sensors and bumper have all been cleared has a failed component rather than a blockage. Four of my 30 robots reached that point, and only one was a genuine module failure.
The other three were faults I had missed on the first pass, which is worth knowing before you order a part.
The module test: if both wheels spin freely with equal resistance, the caster turns cleanly, the sensors are clean, the bumper returns at all three points and a reboot has been done, and it still will not move, the fault is a component. Which one depends on what it is still doing.
Still doing this | Points at |
|---|---|
Circling after both wheels spin freely | Wheel encoder or drive module |
Caster falls out instead of clicking in | Caster wheel module |
Reports blockage after a clean three-point bumper test | Bumper infrared emitter |
Now the part nobody says out loud.
Option | Typical cost band | Worth it when |
|---|---|---|
Caster wheel module | 8 to 20 USD | Almost always, it is a five minute swap |
Drive wheel module | 25 to 60 USD | Robot under three years old and otherwise healthy |
Manufacturer support | Free under warranty | Robot under one year old, keep your receipt |
Replacement robot | Entry models start near 250 USD | Repair cost passes half the robot’s current value |
Once a repair passes half of what the robot is worth today, stop. A five year old machine with a failed drive module is at the end of its serviceable life, and the 2026 lineup reset the entry price point, as Vacuum Wars documents across the new tiers.
No recommendation: this section carries no affiliate relationship and recommends no specific purchase. The cost bands are here so you can decide, not so you buy something.
If you are weighing this up across brands rather than just Roomba, our all-brands robot checklist runs the same decision for every platform.
Before contacting support, have the robot charged and in front of you, its serial number to hand, and proof of purchase for any warranty claim. Support asks for all three.
Frequently Asked Questions on Roomba Won’t Move
What does five beeps on my Roomba mean?
Five beeps after the two-tone alert is Error 5, which iRobot defines as one or both side wheels being unable to turn. Turn the robot over, push each wheel up and down, shake out the debris, then spin both by hand and check they feel identical. One beep is Error 1, which points at the same subsystem.
Can I turn off my Roomba’s cliff sensors?
No. iRobot states there is no setting that adjusts how the sensors respond to dark surfaces. People do cover them with tape or foil, and it works, but it disables stair detection completely rather than reducing sensitivity. In my testing the covering degraded after about five missions, so the protection stays off while the workaround quietly stops working.
Why does my Roomba only go backwards?
Reversing repeatedly is a collision response, not a wheel fault. The robot thinks something is in front of it and keeps backing off to re-route, which usually means the bumper is held compressed by grit in its seam. Test all three press points before touching the wheels, because a centre-only press passes on most stuck bumpers.
Why won’t my Roomba cancel a job?
A mission that never properly ended keeps the robot in an active state, so a fresh CLEAN press gets ignored rather than obeyed. Cancel the job outright in the app instead. If the app still shows cleaning while the robot sits still, reboot once the mechanical checks are done.
Does a factory reset fix a Roomba that won’t move?
No, and it costs you your maps and Wi-Fi settings. A factory reset clears configuration and cloud account state, neither of which drives the wheels. A reboot is the right tool for a stale software state, and a screwdriver is the right tool for everything else.
My Roomba won’t move and won’t charge either. Is this the same problem?
No, and this guide will not help with the second half. If the robot also refuses to run when lifted off the dock and set mid-room, you have a power or battery fault rather than a movement fault. That is a different diagnosis with a different sequence.
The Short Version
A Roomba that won’t move is telling you something specific, and the way it fails is the diagnosis. Circling means a wheel, dragging means the caster, and freezing on one rug means the cliff sensors are doing exactly what they were designed to do on a floor they were never designed for.
Across 30 immobile robots, 29 came back with a towel, ten minutes and no parts. The one that did not was five years old with a dead drive module, which is roughly the ratio to expect.
Work the order rather than guessing: wheels, caster, sensors, bumper, reboot, dock, and only then parts. The reboot belongs fifth because putting it first hides the mechanical fault for a few minutes and lets it come straight back.
If you take one habit from this, take the monthly flip. Ten minutes with a towel and a cloth prevents five of the six faults on this page, and the caster is the one to check first every time.
Read it your way
Short on time? Open this article in your assistant with a ready-made prompt and get the gist in seconds.
Found this useful? Make us a preferred source so we show up in your Google results.
Keep reading
Related articles

Troubleshooting & Repair
Roomba Not Working? 8 Symptoms Fixed (2026 Models)
Reboot first, then match your symptom. 8 Roomba faults (charge, Wi-Fi, error codes, brushes, bin) with per-series fixes for 600/e/i/j/s and 2026 models.

Troubleshooting & Repair
How Much Does a Vacuum Repair Cost? Fix or Replace (2026)
How much does a vacuum repair cost? Usually $50–150 (up to ~$321 for central). Use the 50% rule and our brand tier to decide: fix it or replace it in 2026.

Troubleshooting & Repair
Why Won’t My Robot Vacuum Work? 6 Fixes We Tested
Why won’t my robot vacuum work? Reset it, free the wheels, clean the sensors and fix a 2.4GHz Wi-Fi snag in 5 minutes: the DIY checks that skip a repair bill.

Troubleshooting & Repair
Not Broken? Why Won’t My Vacuum Work (Fix It First)
Fix it fast: ‘why won’t my vacuum work’ is usually a clog, thermal cutoff, or reset, not a dead motor. Match your symptom to the exact fix.
The discussion
Comments
Every comment is reviewed before it goes live.