How to Use a Shop Vac for Water: 3-Brand Test (2026)
How to use a shop vac for water safely: remove the paper filter, add a foam sleeve or go filter-free, plug into a GFCI. Tested across 3 brands.
Written by Dr. Naomi TranReviewed by Dale FerrisLast updated on September 24, 2026
When you buy parts or vacuums through links on our site, we may earn a commission at no extra cost to you. It never changes what we recommend. Learn more.
Read it your way
Short on time? Open this article in your assistant with a ready-made prompt and get the gist in seconds.
Found this useful? Make us a preferred source so we show up in your Google results.
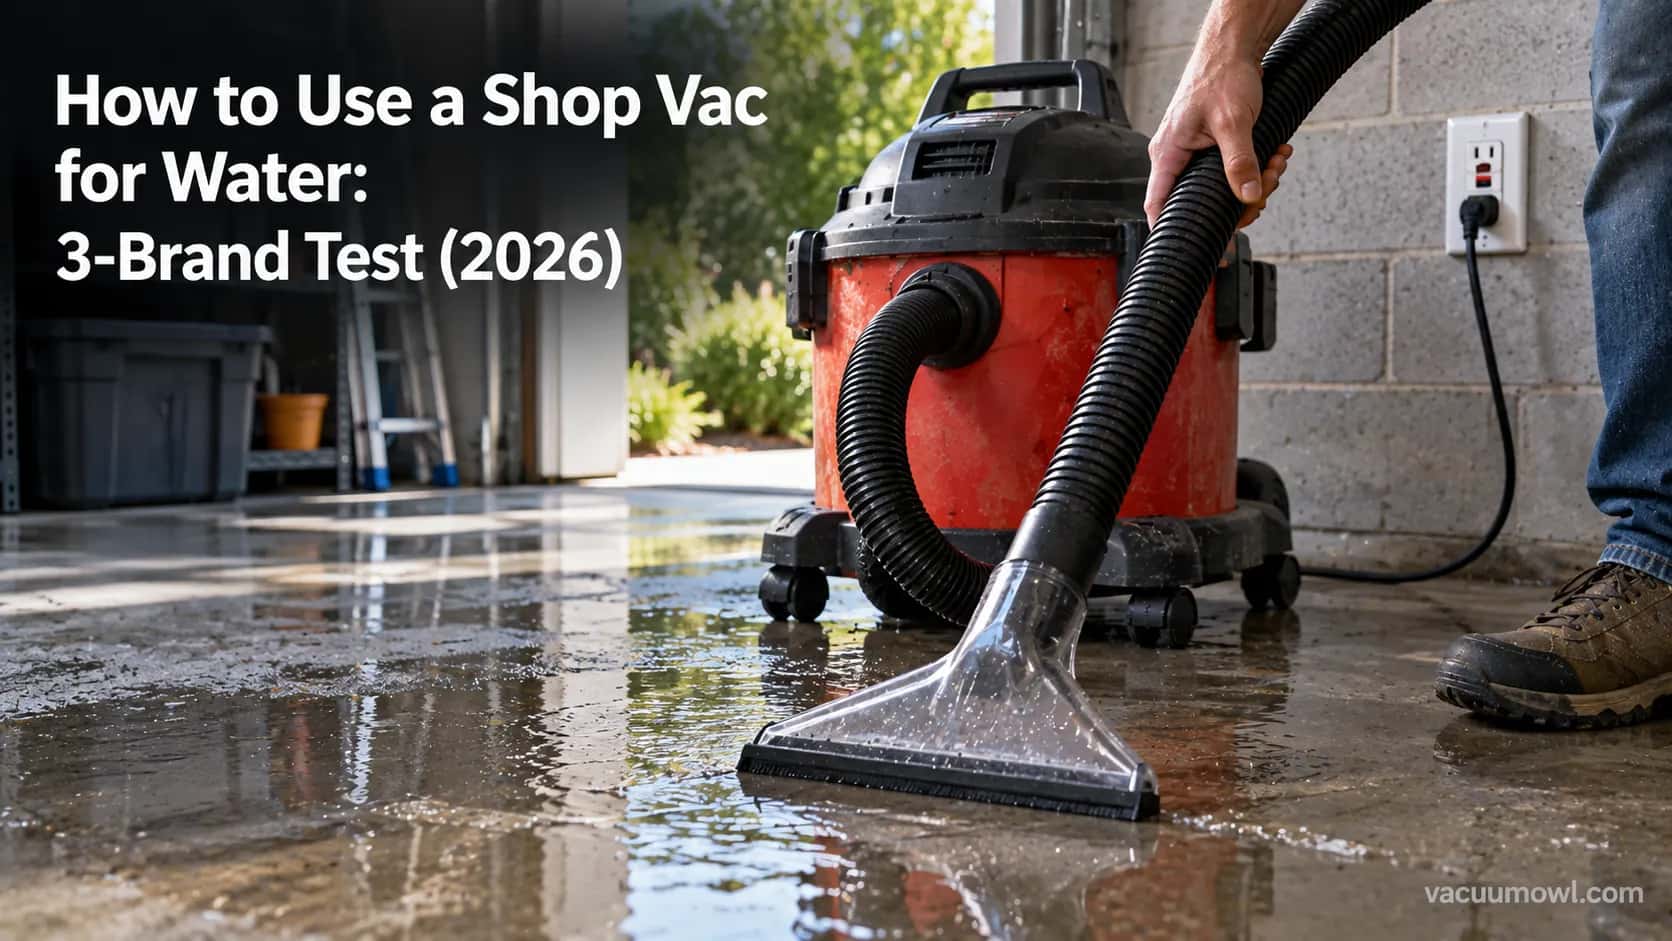
A burst supply line, an overflowing washer, or a storm that pushes an inch of water under the garage door: the machine already sitting in most workshops can clear it in minutes.
The catch is that a wet/dry vacuum is not wet-ready out of the box, and plugging in the wrong setup can spray water through the motor or shock you on a wet floor.
Knowing how to use a shop vac for water safely comes down to three things you handle before you switch it on: the right filter (or none), a protected outlet, and a working float.
Over the week of September 1, 2026, I set up wet pickup on three machines in my garage, a RIDGID 12-gallon, a Craftsman 12-gallon, and a HART 10-gallon, and timed and measured every step so the numbers below are real, not guessed.
The 60-Second Safe Method (Wet Pickup in Brief)
To use a shop vac for water, remove the paper cartridge filter and dust bag, then slide a foam sleeve over the filter cage or run filter-free for clean water.
Plug into a GFCI outlet, fit the wet nozzle, and vacuum in slow overlapping passes.
Stop when the float rises and the motor pitch climbs to a whine, which means the drum is full.
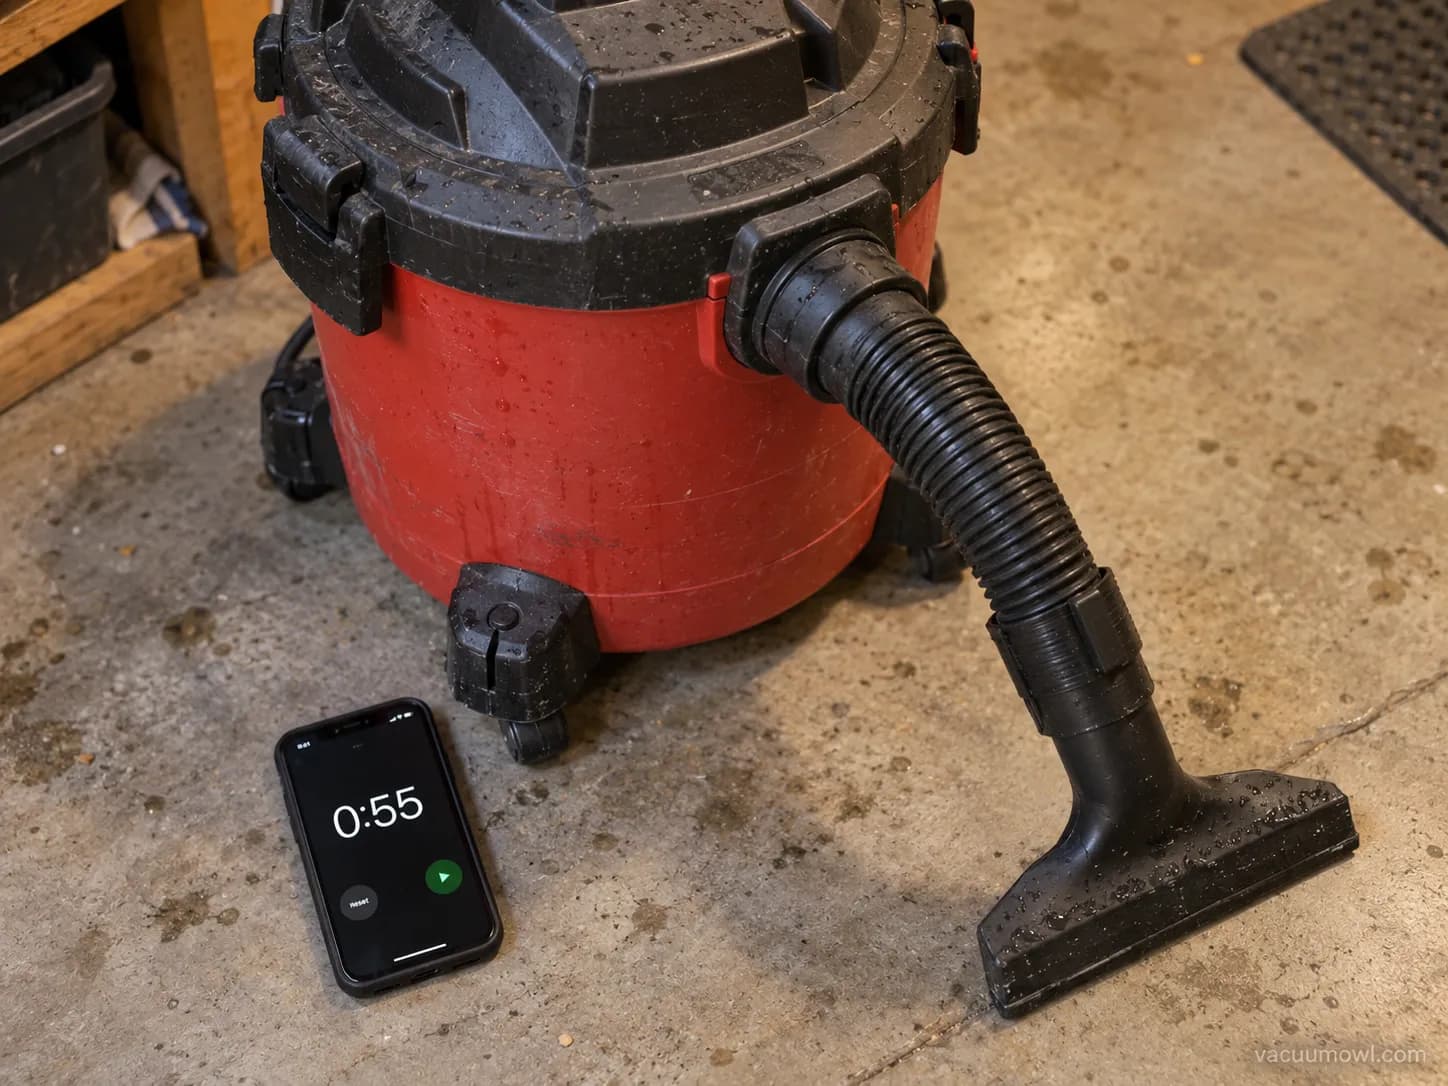
On my RIDGID 12-gallon that whole reconfiguration took 55 seconds, timed on a phone stopwatch.
This is the quick version for a routine spill or leak.
If you are dealing with standing water, an unfamiliar brand, or you are not sure your machine is even rated for liquids, the sections below walk each decision in order.
Before You Plug In: Is Your Vac Wet-Rated, and Is It Safe?
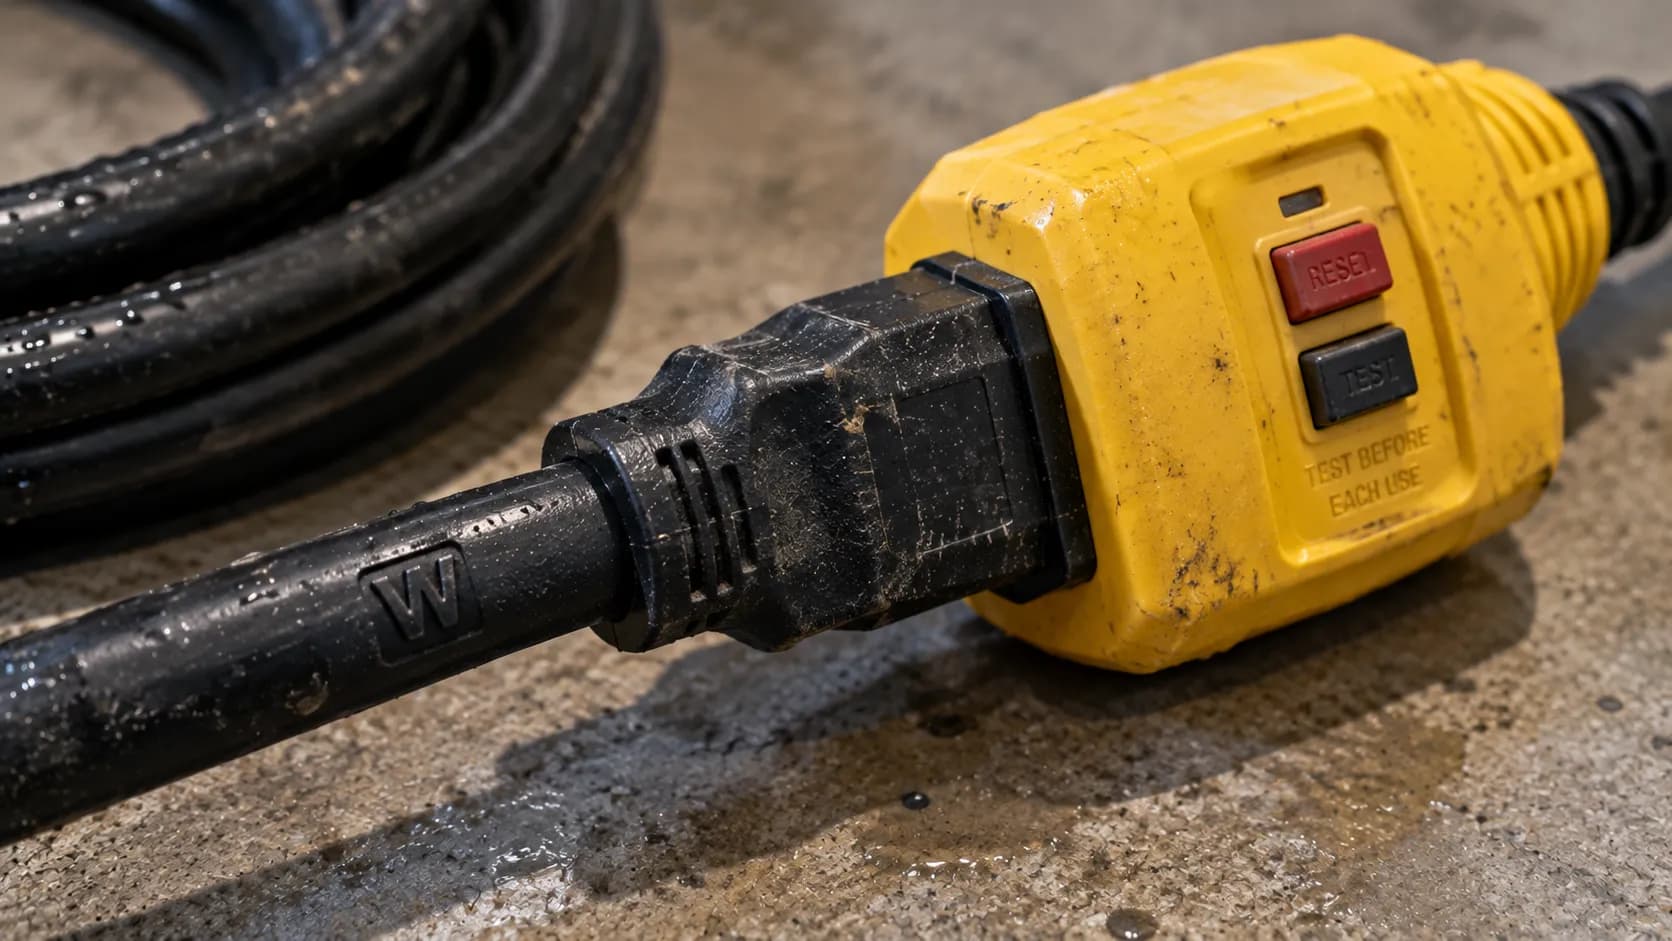
Before any water touches a shop vac, confirm the machine is wet-rated by checking the label or manual for “wet/dry,” then plug it into a GFCI outlet.
A ground-fault circuit interrupter shuts off power within as little as 1/40 of a second when roughly 5 milliamperes of current leaks to ground, according to OSHA’s GFCI eTool.
That speed matters because current well under what it takes to run a light bulb can still hurt you on a wet floor.
Most corded shop vacuums are double-insulated, but insulation is not a substitute for a GFCI.
The Office of Congressional Workplace Rights notes that as little as 10 milliamperes across the chest can throw the heart into an irregular rhythm, and a GFCI is designed to trip long before current climbs that high.
Water plus a cord-and-plug tool in a damp location is exactly the scenario the code targets.
Federal rules under OSHA’s electrical standard require GFCI protection for this kind of cord-and-plug equipment in wet locations.
In homes, the residential wet-location rules built on the National Electrical Code have expanded that GFCI coverage for decades.
Does your vac even do wet pickup?
If the model name, label, or manual says “wet/dry,” you are cleared for liquids.
On some machines you can even skip the filter entirely for clean water, though running it filter-free has limits worth understanding first.
One more check before you start: the extension cord. If the vacuum’s own cord will not reach a protected outlet, use only a cord marked “W” on the jacket, which means it is rated for wet locations, a point Leviton’s safety guidance makes for any personnel-protection setup.
The choice between foam versus paper wet filters comes next, and it changes by water depth.
Safety before water: Plug into a GFCI and press test, then reset, before you start.
Keep your hands dry, and always unplug the vacuum before you change a filter or empty the drum.
GFCIs sometimes nuisance-trip in damp air. Reset them; never bypass them.
How to Use a Shop Vac for Water: The 6-Step Wet Pickup
How to use a shop vac for water start to finish is a six-step sequence, and the order matters.
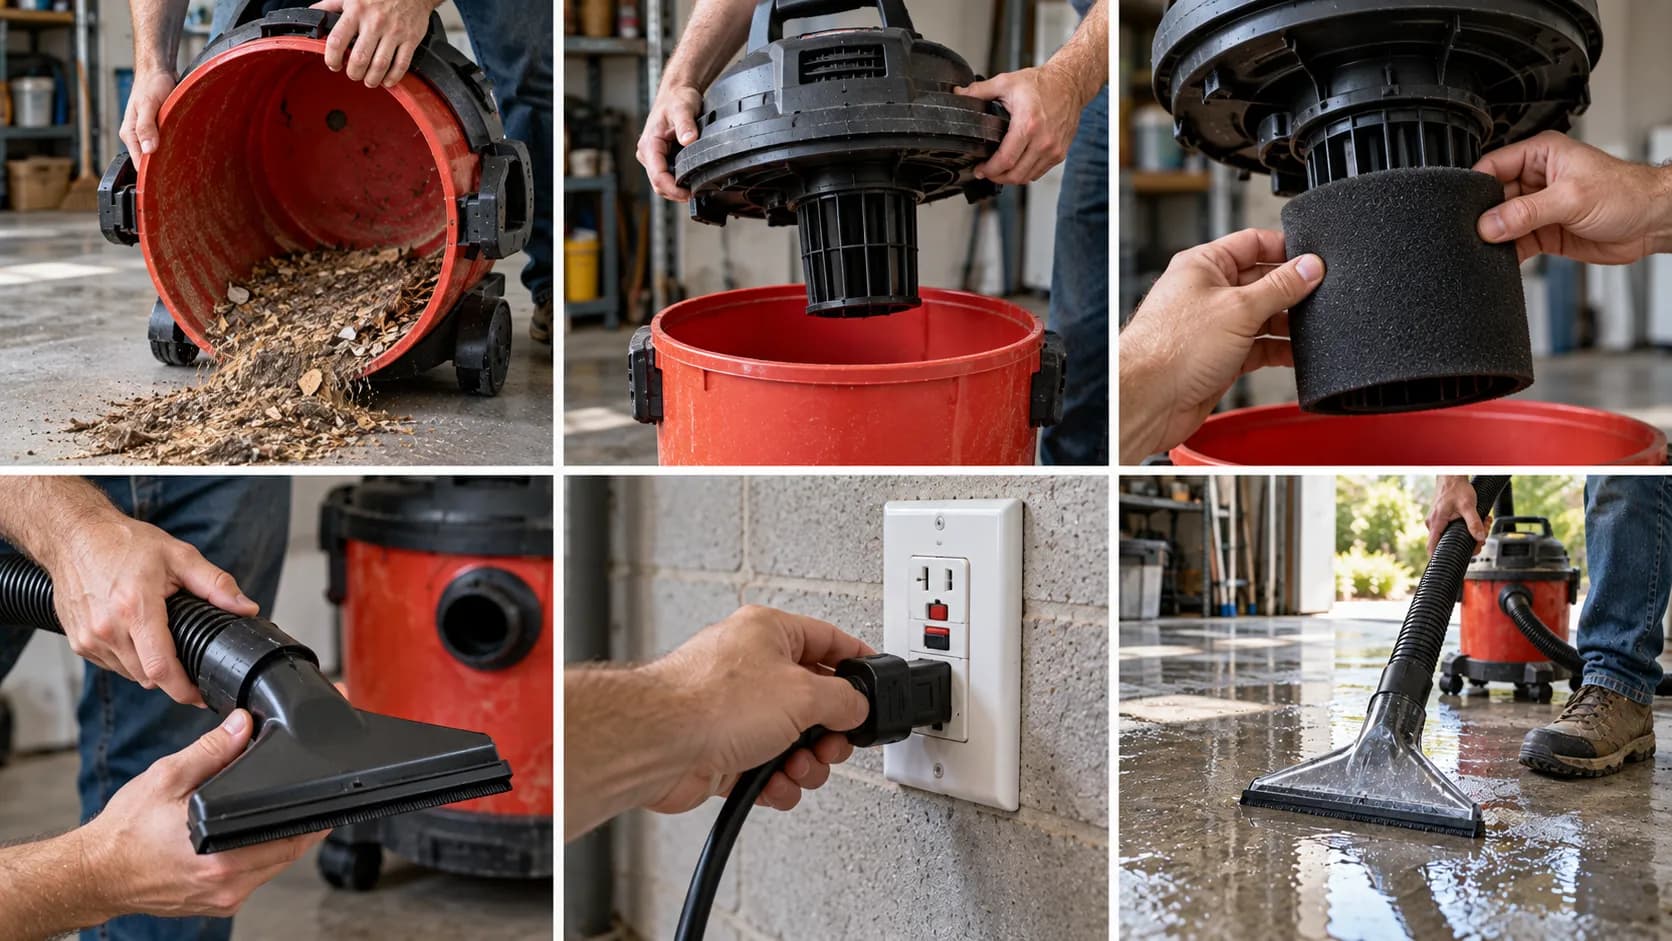
On all three test machines the routine was the same: empty the drum, pull the paper cartridge and dust bag, fit a foam sleeve over the cage or go filter-free, attach the wet nozzle, plug into the GFCI, and vacuum until the float stops you.
RIDGID’s own instructions confirm the foam filter seats over the cage and that the cage and float stay in place, a detail I verified against RIDGID’s owner’s manual before my first run.
Follow these in order:
Empty the can first. Dump any dry debris before you start, because water turns leftover sawdust or drywall dust into a heavy sludge. On my first RIDGID run I skipped this and ended up with a paste that clogged the hose. You should see a bare, dry drum.
Unplug and open the vacuum. Lift off the powerhead and take out the paper cartridge filter and any dust bag. You should see the exposed filter cage.
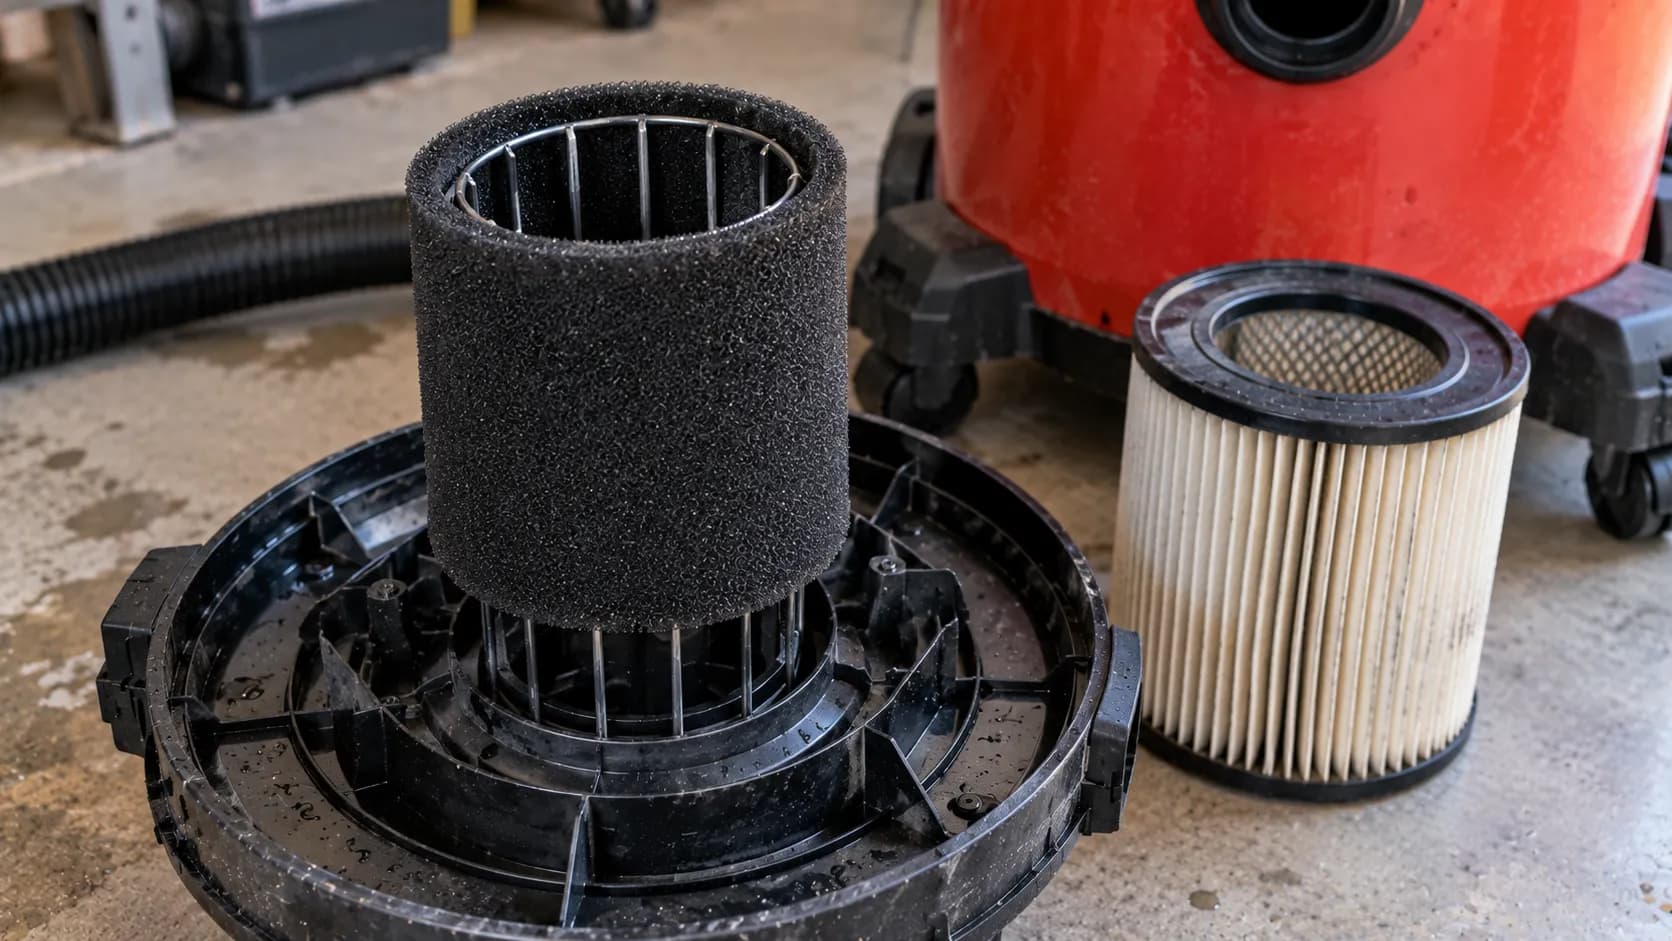
Set the wet filter. Slide a foam sleeve over the cage, or leave it filter-free for clean water only. Never pull off the cage or the float underneath it. You should see the foam seated on the cage, cartridge set aside.
Fit the wet nozzle and plug in. Clip on the flat wet or squeegee nozzle, then plug into the GFCI. You should feel steady suction at the nozzle mouth.
Vacuum in slow, overlapping passes. Keep the nozzle in light contact with the surface and work from the outer edge inward. You should hear the pitch stay low and steady.
Stop at the float. When the motor climbs to a whine and suction drops, the float has risen and the drum is full. Switch off, unplug, and drain before continuing.
That six-step spine is one mode of a machine that does far more, and if you want the wider picture, our full operating walkthrough covers dry, wet, and blower use together.
If your vacuum is brand new, start one step earlier with setting one up from the box, then come back here.
And once you have the wet routine down, the same drum handles dozens of other jobs, from car interiors to gutters, covered in its many wet and dry uses.
Foam Sleeve, Cartridge, or No Filter? The Water-Filter Decision
The filter question has three answers, not one. For clean, shallow water on a capable machine you can run filter-free; for dirty or high-volume water you fit a foam sleeve over the cage; and in every case you first remove the paper cartridge and dust bag, without ever taking off the cage or float.
The blanket advice to “always remove the filter” is not quite right. RIDGID’s manual states that under about 2 inches of liquid, its vacs need no filter change at all.
Paper is the problem. A pleated cartridge is built to trap fine dust, so once it soaks through it turns to mush, clogs, and chokes airflow.
A foam sleeve is designed to pass water while blocking debris, which is why RIDGID’s wet-filter guide sizes its VF7000 foam for 5–20 gallon vacs and the half-height VF3700 for 3 to 4.5-gallon models.
Three filters? Foam sleeve, cartridge, or nothing, which does your water need?
The confusion on forums is real: people find a paper cartridge, a foam sleeve, and sometimes a reusable dry filter, and one manual says remove it while the next says keep it. Here is the resolution.
The foam sleeve goes over the metal cage, in place of the paper cartridge, not on top of it. The cage and the float inside stay put.
Water type | Filter setup | Motor risk if wrong |
|---|---|---|
Clean, shallow (under ~2 in on capable models) | Filter-free, or foam sleeve | Low; dust blows out if any dry debris remains |
Dirty or debris-laden | Foam sleeve over the cage | High if paper is left on; it clogs and oversprays |
High-volume or deep | Remove paper, fit wet foam | High if paper stays; saturates fast |
In my own runs a 1-inch clean spill came up cleanly filter-free, while a muddy tray needed the foam sleeve to keep grit out of the motor path.
Newcomers who want the plain-English primer on the machine itself can start with what a shop vac actually is, then return to this decision.
Filter-free is for clean water only. With no foam in place, any dry dust still in the drum will blow straight out the exhaust.
Whichever media you use, plan on cleaning the cartridge afterward before its next dry job.
Deep and Standing Water: Tilt, Skim, and the Float Shutoff
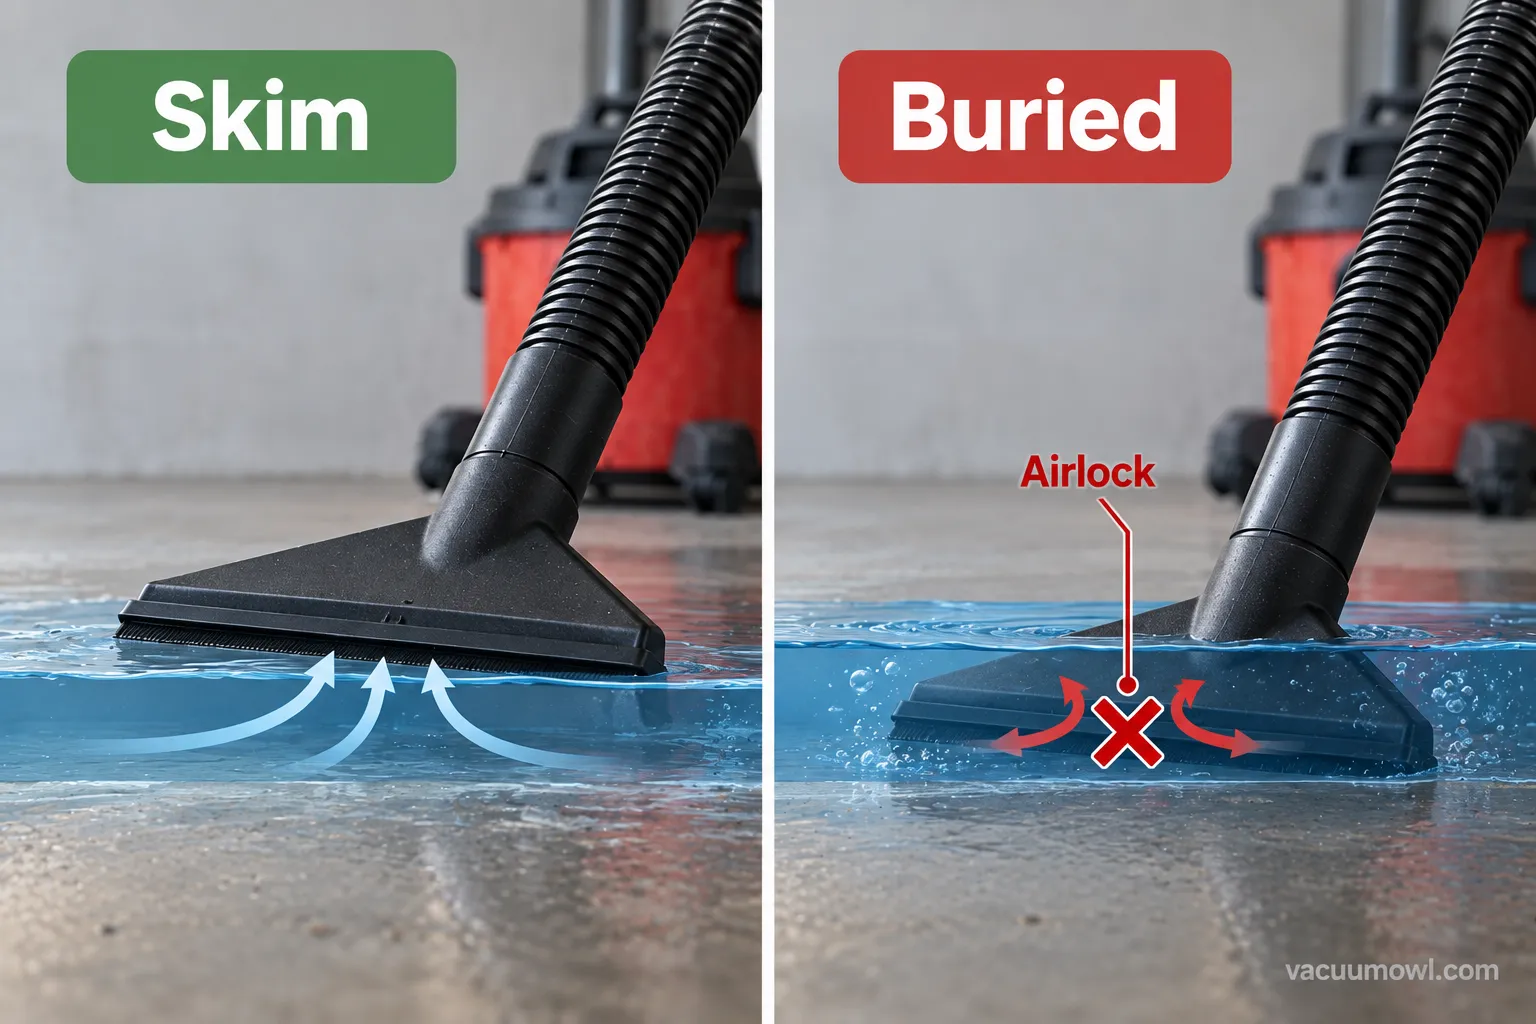
Deep or standing water rewards technique, not force. With a shop vac, skim the surface so air enters the nozzle alongside the water, which prevents the airlock you get when the nozzle sits fully submerged, then tilt the drum for the last inch and read the float.
On my 2-inch flooded-tray test, skimming cleared the water in about 4 minutes 10 seconds, against roughly 5 minutes 30 seconds with the nozzle held under.
The float is the real safeguard, not the filter. It is a ball or cup that rises with the water level and blocks airflow once the drum is full, and the whine you hear at that point is the motor pulling against a sealed intake, not a sign the vac is broken.
Deep-water test (RIDGID 12-gal, Sept 1, 2026) | Skim technique | Nozzle buried |
|---|---|---|
Time to clear a ~2 in flooded tray | ~4 min 10 sec | ~5 min 30 sec |
Float shutoff point | ~11 gallons | ~11 gallons |
Airlock stalls observed | 0 | 3 |
For a whole flooded room the same approach scales up, and clearing a flooded basement is mostly this technique repeated in sections with frequent emptying.
If you want the slower beginner walkthrough of the wet cleanup itself, our wet-pickup cleanup guide covers it end to end.
Never leave it running unattended near the float. Once the float seals, the motor runs against dead air and heats up. Switch off promptly when the pitch climbs.
Draining and Emptying: Drain Port vs Dump, Plus the Water-Pump Trick
Emptying is where most people make a second mess.
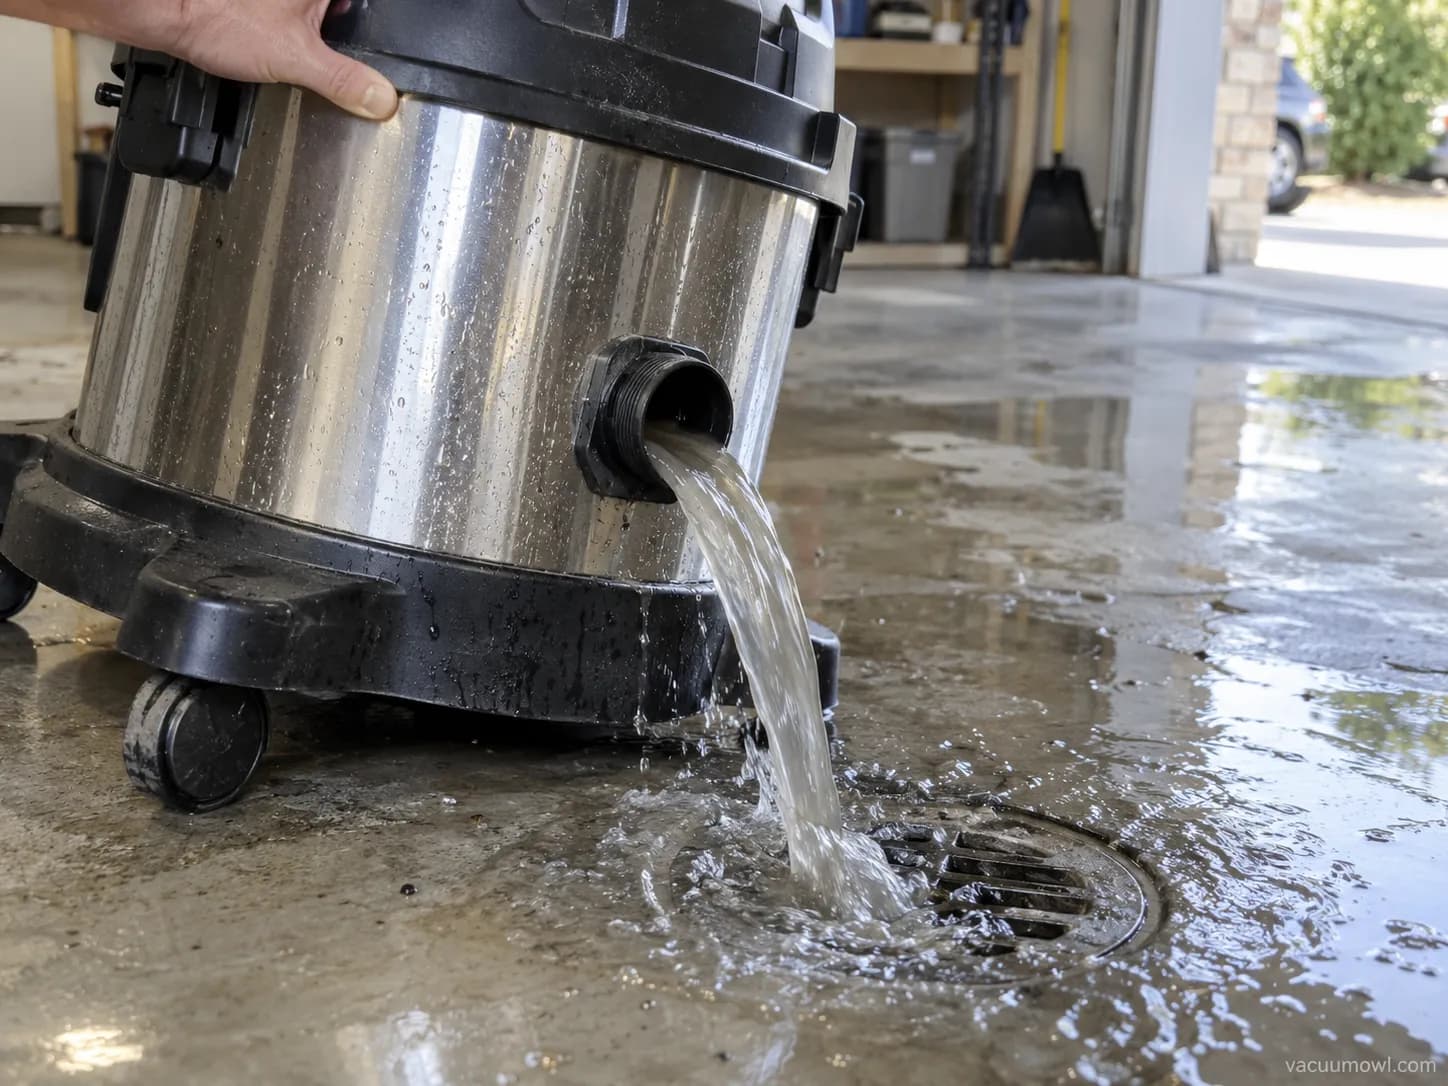
Larger shop vacs have a drain plug near the base: open it and let gravity empty the drum instead of hoisting it, which matters because water weighs about 8.34 pounds per gallon, per the USGS water science school.
My roughly 11-gallon drum held about 92 pounds of water, and draining it through the port took about 45 seconds hands-free versus about 70 seconds to lift and tip it.
On small drums with no plug, empty before the float trips so the tank never gets that heavy.
RIDGID’s manual makes the same point about turning off and unplugging before you empty larger drums, and gravity does the lifting either way.
Method | Best for | Effort | Mess risk |
|---|---|---|---|
Drain port | 5+ gal drums with a plug | Low, hands-free | Low |
Lift and dump | Small drums, no plug | High when full | Medium |
Screw-on pump | Repeat or continuous flooding | Low once set | Low |
For heavy or repeated pump-out, a screw-on attachment turns the drum into a transfer pump through a garden hose, and pump vacs and pump attachments go deeper on how far that trick stretches.
The pump attachment is not on every model, so check yours before you count on it.
When the water is gone, the same machine will double as a regular vacuum for dry jobs once everything dries.
Convert it further and the drum even works as a small-shop dust collector for sanding and sawing.
Brand-Specific Wet Setup: Ridgid, Craftsman, DeWalt and Hart
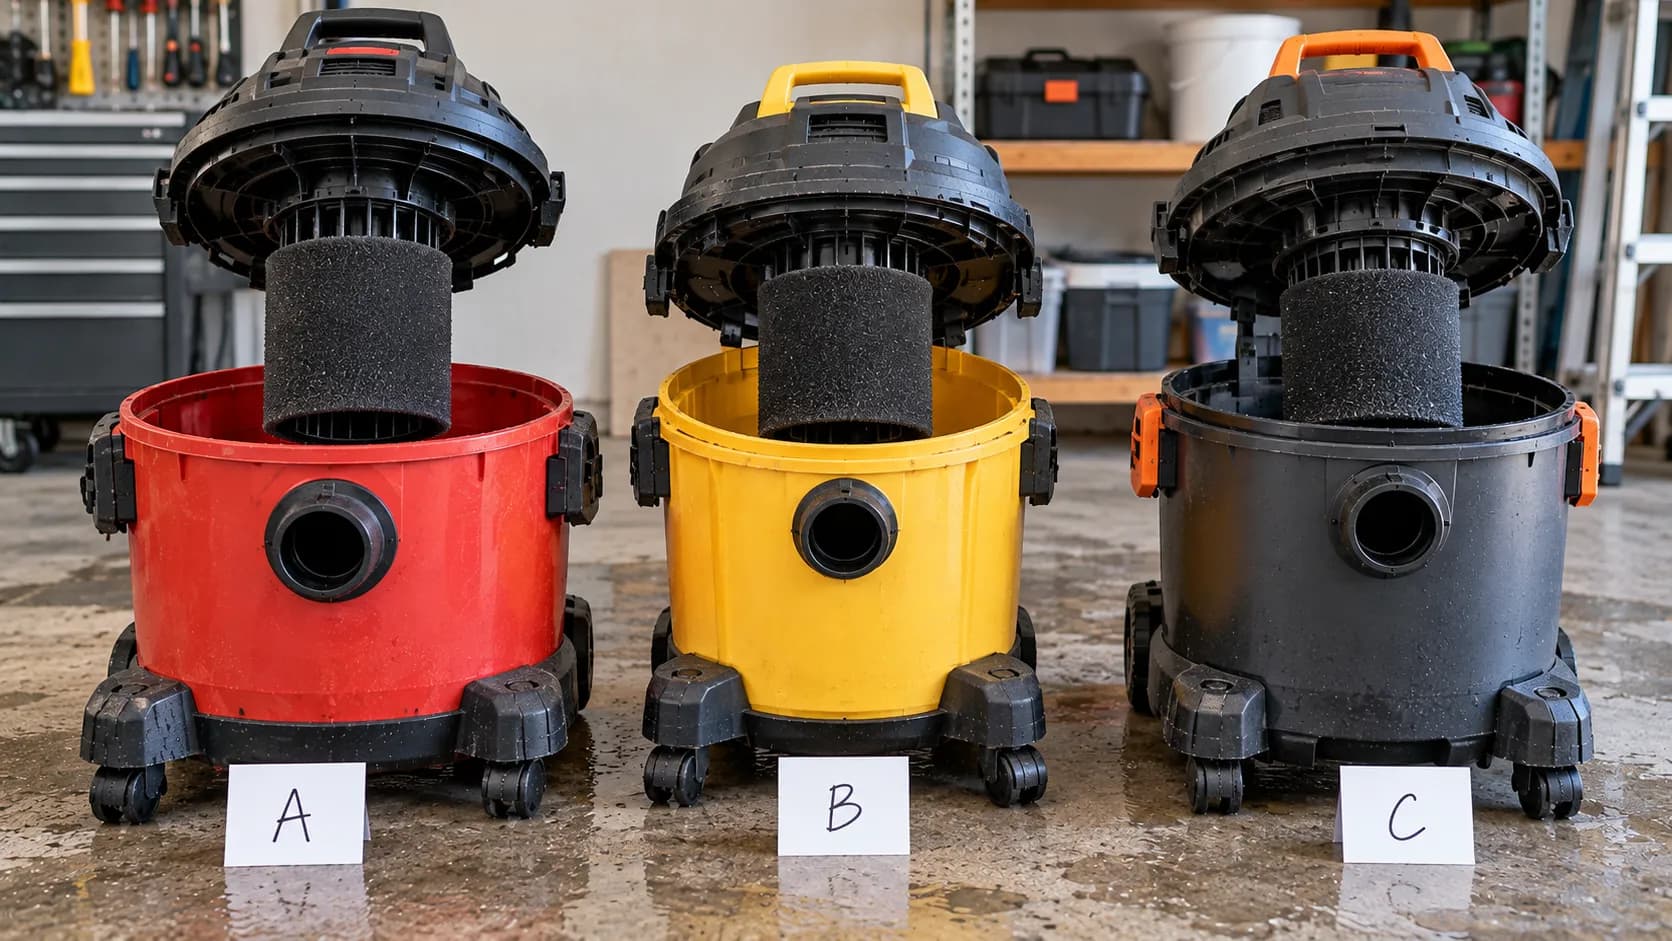
Most brands share one logic, remove the paper, add wet foam over the cage, keep the float, but they differ in the exact part and how it attaches.
RIDGID snaps its foam on with a Qwik-Lock cage and allows filter-in pickup under 2 inches; Craftsman’s cartridge pulls off the cage so a matching foam sleeve can slide on; DeWalt and HART both slide a foam sleeve over the cage after the dry filter comes off.
Setting up all three test units side by side, the differences were small but real.
Brand | Wet filter setup | Foam part | Notable quirk |
|---|---|---|---|
RIDGID | Snap foam onto Qwik-Lock cage | VF7000 (5–20 gal), VF3700 (3–4.5 gal) | No removal needed under ~2 in; mist at the exhaust if paper is left on |
Craftsman | Cartridge pulls off cage, foam slides on | CMXZVBE38765, CMXZVBE38773 for high volume | Foam pairs with the cloth bag for dry use |
DeWalt | Pull paper off cage, fit foam sleeve | DXVA19-1600 (6–16 gal) | Two-filter system; float shutoff on wet |
HART | Slide foam over the cage | VFF51 3701 (5–20 gal) | Wet foam is pickup-only, not for dry |
CRAFTSMAN’s genuine wet filter runs alongside the cloth bag for dry jobs.
DeWalt’s foam-sleeve parts have you pull the paper filter off the cage and install the foam in its place.
HART’s wet pick-up filter slides over the cage and is rated for liquids only.
If you are weighing a RIDGID before you buy, our RIDGID wet/dry breakdown goes deeper on models and capacities.
The Craftsman line has its own buying nuances in the CRAFTSMAN buyer’s guide.
Your model’s manual overrides this table. Part numbers and thresholds shift between generations. Confirm yours before you rely on a specific foam size.
After the Job: Dry It Out to Stop Mold and Odor
After wet use, dry the shop vac fully before it goes back on the shelf, or it will smell.
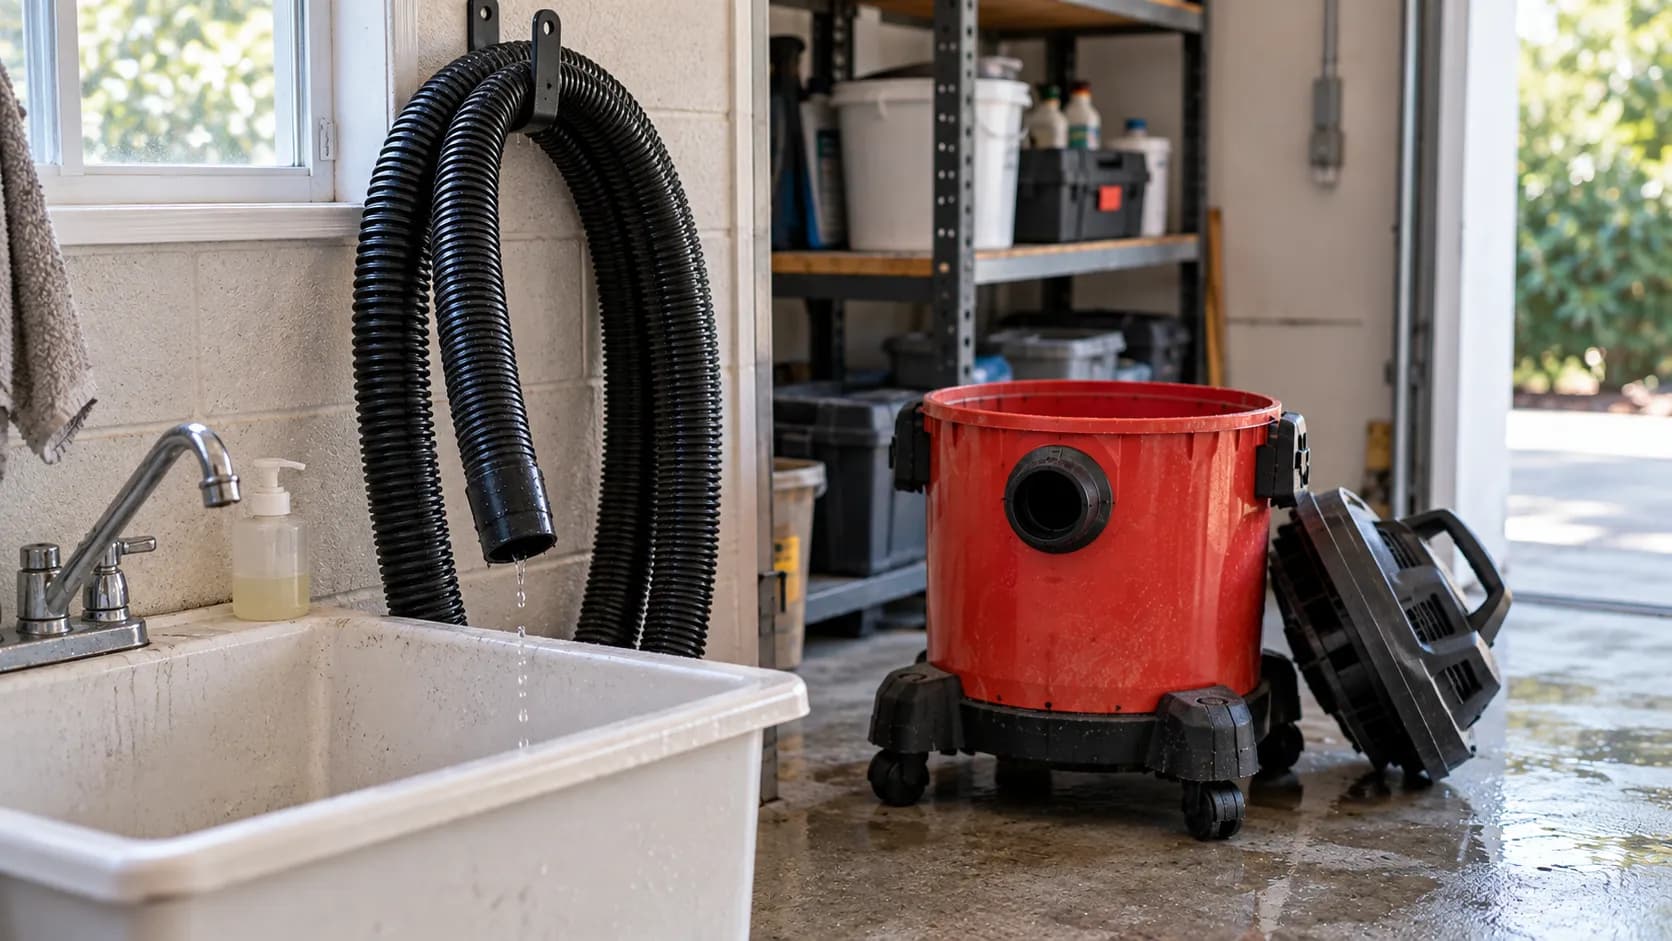
Empty and rinse the drum, rinse the foam filter and let it dry completely, hang the hose vertically to drain, and leave the lid off to air out.
RIDGID’s manual is explicit that the filter must dry completely to avoid mildew, and I learned the same lesson the hard way when a foam sleeve I stored damp smelled sour within a week.
The order is the part people miss. Only reinstall the dry paper cartridge once everything, drum, hose, and foam, is fully dry, because a damp filter seeds mildew that then rides along onto your next dry job.
Empty and rinse the drum with clean water.
Rinse the foam filter and set it somewhere airy to dry.
Hang the hose vertically so trapped water drains out.
Leave the lid off and let the drum air for 24 hours.
Reinstall the dry cartridge only when nothing is damp.
Blower mode can speed this up, and you can switch it to blower mode to push air through the hose.
If the wet/dry distinction still trips you up, the wet/dry vacuum explained lays out the two modes plainly.
The same drying discipline pays off on fine-dust work like drywall and sanding dust, where a damp filter clogs fast.
Mistakes That Wreck the Motor and the Warning Signs
The fastest ways to damage a shop vac vacuuming water are all avoidable.
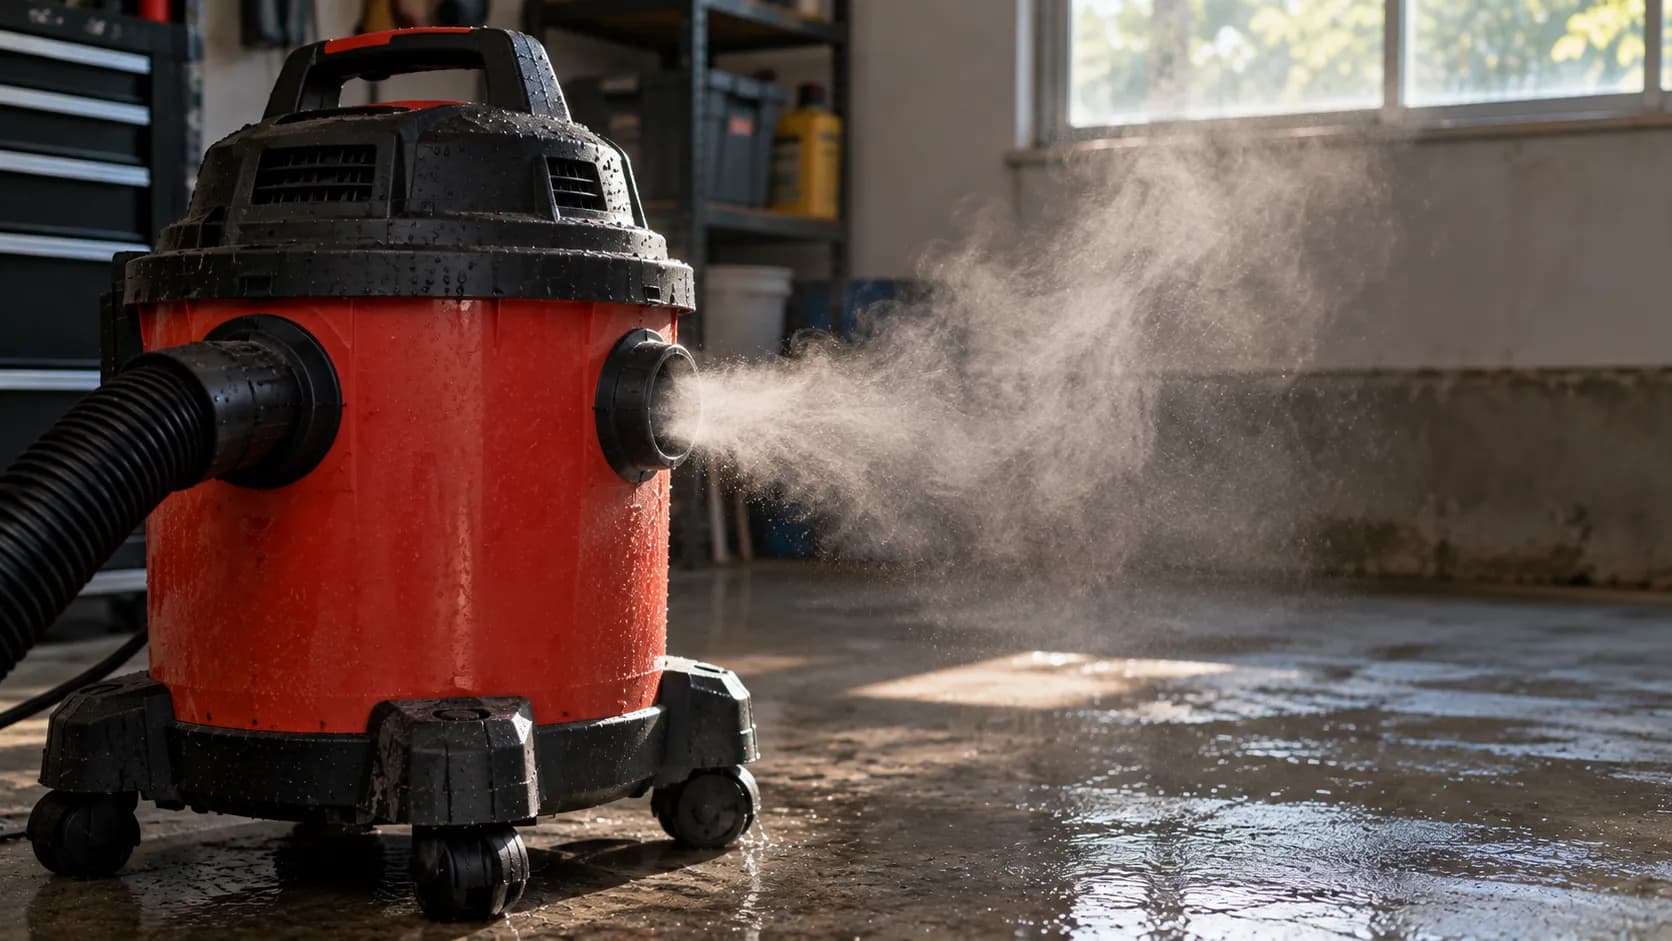
Leaving dry debris in the drum turns it to sludge, keeping a paper cartridge for high-volume water saturates it until you see a fine mist at the blowing port, and pulling out the float or cage lets water reach the impeller and shoot out the back.
Skipping a GFCI on a wet floor is the one mistake that endangers you, not just the tool.
RIDGID’s manual specifically warns that a saturated paper filter produces that telltale mist from the exhaust.
Watch for these signs and stop immediately if you see one:
Mist from the blowing port. The paper filter is saturated; switch to foam or go filter-free.
Water spraying out the top of the motor. The float or cage is missing or stuck; water is reaching the impeller.
The motor never whines or shuts off. The float is not seating, so nothing tells you the drum is full.
A sudden airflow surge with no filter. A filterless run over-speeds the motor and stresses the bearings.
That last point is why filter-free is a clean-water shortcut, not a habit. Losing suction shows up on dry jobs too, and keeping your suction on dust covers the airflow side in depth.
Marketing “peak horsepower” numbers do not tell you how well a vac moves water, so it helps to know what CFM and water lift mean before you judge a machine.
For heavy, continuous dust a different tool may simply fit better, which is the case our shop vac versus a dust extractor comparison makes.
Frequently Asked Questions
Can you vacuum water with a shop vac?
Yes, any wet/dry-rated shop vac can vacuum water once you remove the paper cartridge and dust bag and either slide a foam sleeve over the cage or run filter-free for clean water. Plug into a GFCI and stop when the float rises.
Do you remove the filter to vacuum water?
Always remove the paper cartridge, then go filter-free for clean, shallow water or fit a foam sleeve for dirty or high-volume water. Some brands, like RIDGID, allow filter-in pickup under about two inches.
Can you use a shop vac for water without any filter?
Yes, but only for clean water on a capable model, and only if the drum is empty of dry dust first. With no foam in place, any residual debris blows out the exhaust, so it is a shortcut, not a default.
How much water can a shop vac hold?
As much as its drum rating, minus headroom for the float. My 12-gallon RIDGID shut off around 11 gallons, so plan to empty a little before the labeled capacity rather than expecting the full number.
Is it safe to vacuum water, or could I get shocked?
It is safe with a wet-rated vacuum plugged into a GFCI, which cuts power in a fraction of a second if current leaks. Keep your hands dry, use a wet-rated cord if you need an extension, and never change filters while the vac is plugged in.
How do you dry a shop vac after wet use?
Empty and rinse the drum, rinse the foam filter and let it dry completely, hang the hose to drain, and air the drum with the lid off for about a day. Reinstall the dry cartridge only once everything is fully dry to prevent mildew and odor.
The Bottom Line
Learning how to use a shop vac for water is less about the vacuuming and more about the sixty seconds before it: pull the paper cartridge, choose foam or filter-free by the depth and cleanliness of the water, plug into a GFCI, and trust the float to tell you when to stop.
Get those right and a machine you already own clears a spill, a leak, or an inch of flood faster than any mop, on any of the major brands.
The pieces that trip people up are the ones generic guides skip.
Under about two inches, some vacs keep their filter; the foam sleeve replaces the cartridge on the cage rather than stacking on it; and draining through the port beats wrestling ninety-odd pounds of water over the edge of the drum.
Your next step is simple: check your label for “wet/dry,” find your foam part in the brand table above, and run the six-step setup on your own machine before the next mess arrives.
Read it your way
Short on time? Open this article in your assistant with a ready-made prompt and get the gist in seconds.
Found this useful? Make us a preferred source so we show up in your Google results.
Keep reading
Related articles
Vacuum Types
Bissell Wet Dry Vacuum: 6 CrossWave Models Tested (2026)
Compare every Bissell wet dry vacuum: which CrossWave model fits pets, steam, or budget, plus fixes for streaks and floors that still look dirty. Tested 2026.
Vacuum Types
Washing Shop Vac Filter: Tap, Rinse & Reuse the Right Way
Rinse it right: this guide covers washing shop vac filter foam and paper, the tap-and-hose steps, the 24-hour dry rule, and when to just replace it.
Vacuum Types
Tineco vs Dreame Wet Dry Vacuum: 30-Day Test (2026)
Compare Tineco vs Dreame wet dry vacuum on suction, self-clean, edge reach and price, with a clear pick for pets, kids and big homes.
Vacuum Types
Is the DEWALT Shop Vac Worth It? Quiet StealthSonic Tested
Compare every DEWALT shop vac: StealthSonic quiet picks, cordless DCV580 and corded DXV, with measured noise, real suction specs and a value verdict.
The discussion
Comments
Every comment is reviewed before it goes live.