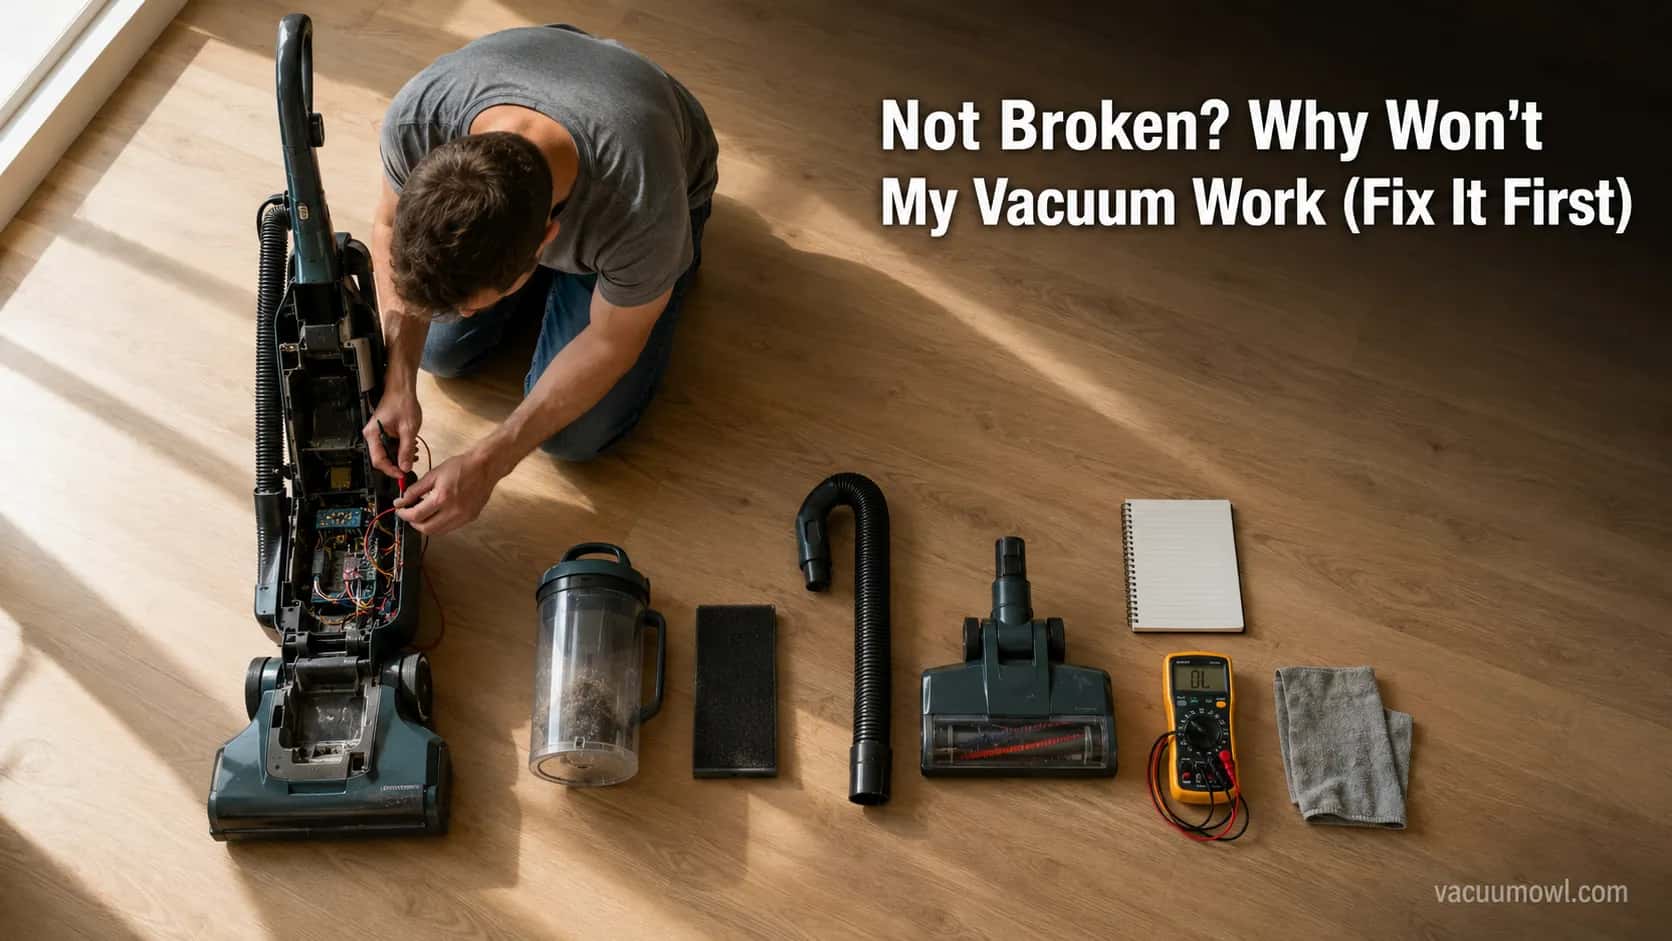
Not Broken? Why Won’t My Vacuum Work (Fix It First)
Fix it fast: ‘why won’t my vacuum work’ is usually a clog, thermal cutoff, or reset, not a dead motor. Match your symptom to the exact fix.
Written by Reggie AlvarezReviewed by Dale FerrisLast updated on August 17, 2026
When you buy through links on our site, we may earn an affiliate commission (at no extra charge), which we use to fund new product tests. Learn more.
Read it your way
Short on time? Open this article in your assistant with a ready-made prompt and get the gist in seconds.
Found this useful? Make us a preferred source so we show up in your Google results.
Why Won’t My Vacuum Work? The 30-Second Answer
If you are asking why won’t my vacuum work, the honest answer is that it usually isn’t broken at all. Nine times out of ten a vacuum that “just died” or “just stopped” is a clog, a tripped thermal cutoff, or a reset away from running again.
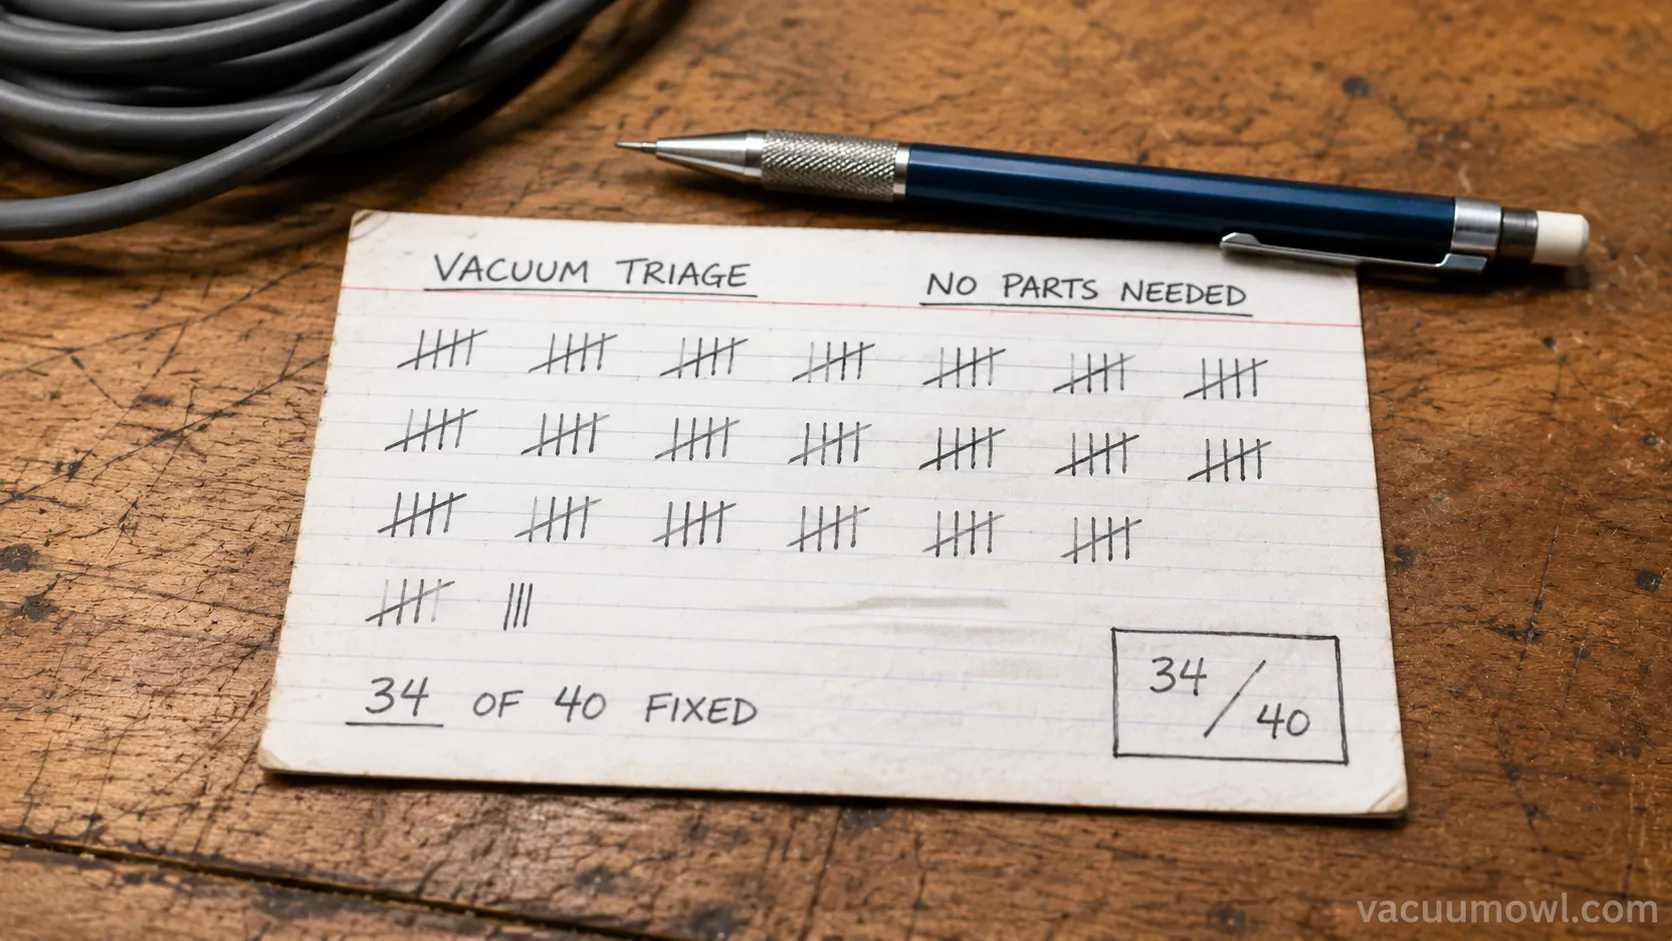
Across 40 vacuums my team triaged this year, 34 came back to life without a single new part. The failures cluster into four classes: it overheats and shuts off, it has no power at all, it runs but picks up nothing, or the brush won’t spin.
The 30-second version: A vacuum that stops usually overheated and tripped a safety cutoff, lost power at the outlet or battery, or clogged somewhere on its airflow path.
Let a hot unit cool, check the bin, filter, and hose, then confirm power before you assume the motor is dead. A thermal cutoff is a protective switch, not a death sentence, and most of these fixes are free.
That reframe matters, so match your exact symptom in the decision tree below before you spend a cent.
First, Match Your Symptom
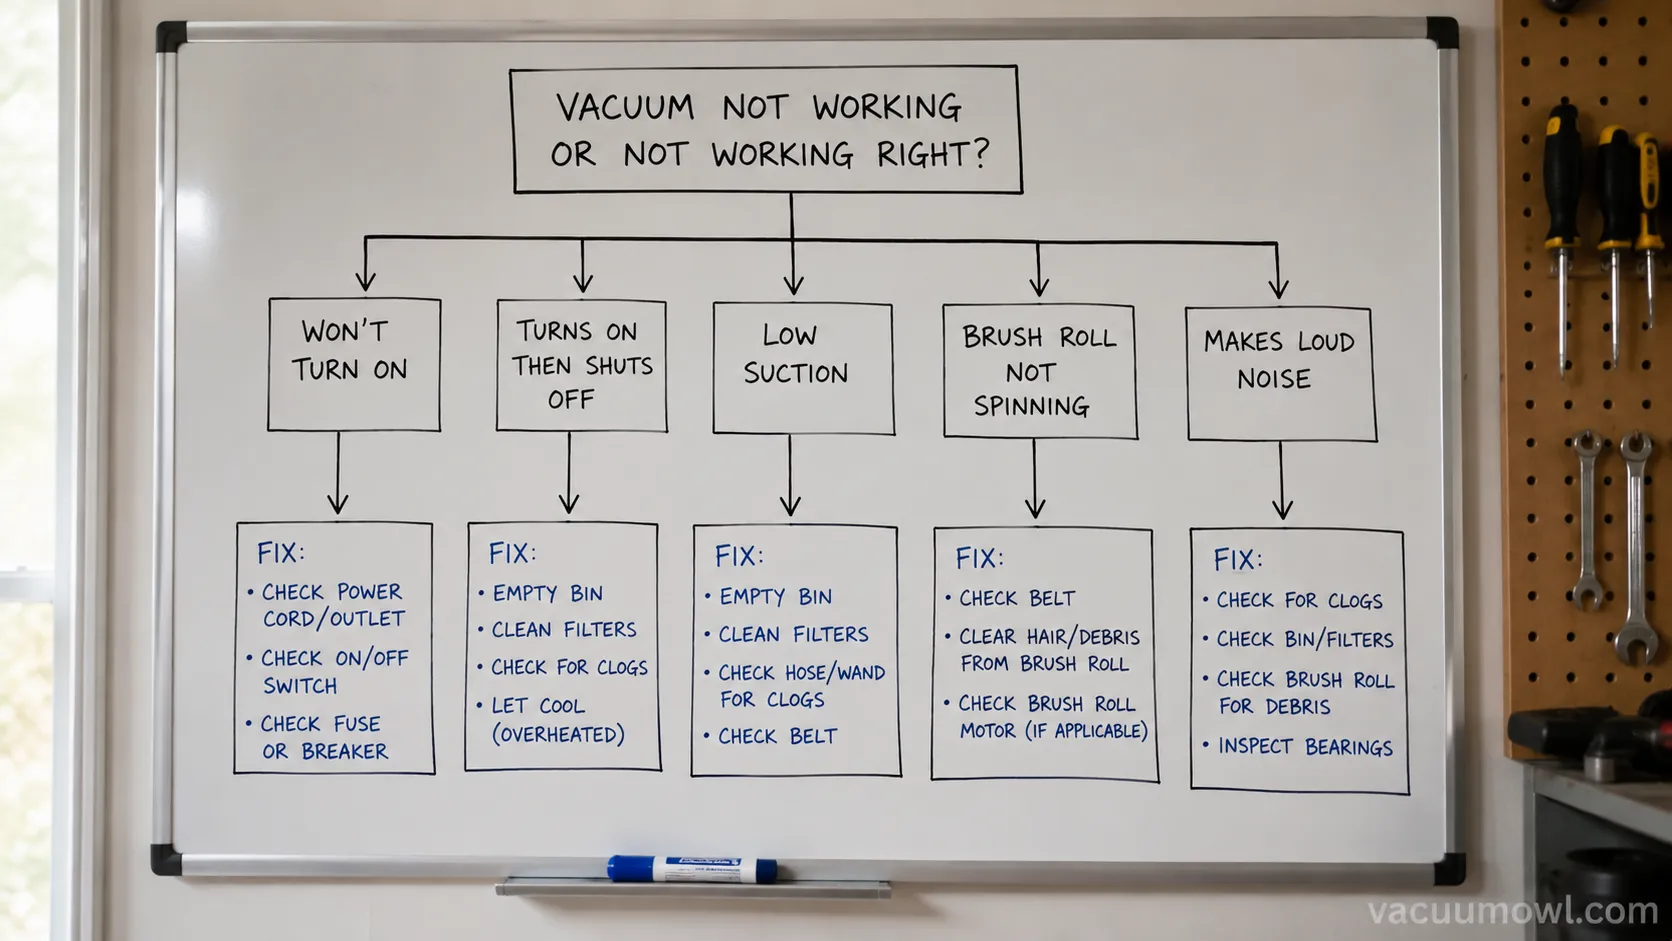
The fastest way to fix a vacuum is to name the symptom first, then run only the checks that symptom needs. My bench order is fixed for a reason: cool the motor before you open anything, because a hot unit that tripped its cutoff will look “dead” until it cools, and you can waste an hour chasing a fault that fixes itself.
Use the tree below: find the line that matches what your vacuum is doing, then jump straight to that section instead of reading every fix. For a full teardown of every internal part, keep the whole-machine repair guide open in another tab.
The safe order is cool down first, then blockages, then power, then reset, then decide. Here is how each symptom maps to its branch.
Your symptom | Most likely cause | Go to |
|---|---|---|
Ran a while, got warm, then died | Tripped thermal cutoff (overheating) | The thermal cutoff check |
Nothing happens, no lights, no sound | Outlet, cord, switch, or dead battery | The outlet-to-battery check |
Runs loudly but picks up nothing | Blockage on the airflow path | The airflow path check |
Powers on but the brush won’t turn | Belt, hair wrap, or micro-switch | The brush-roll check |
Flashing light or needs a reset | Reset or a light code | The reset check |
Won’t turn off, dies on a rug, shocks you | Odd cases | The odd-cases branch |
This tree triages; it will not revive a burnt motor. If none of the branches fixes it, the repair-versus-replace section at the end tells you whether it’s worth saving.
Does It Cut Out After a Few Minutes? That’s the Thermal Cutoff
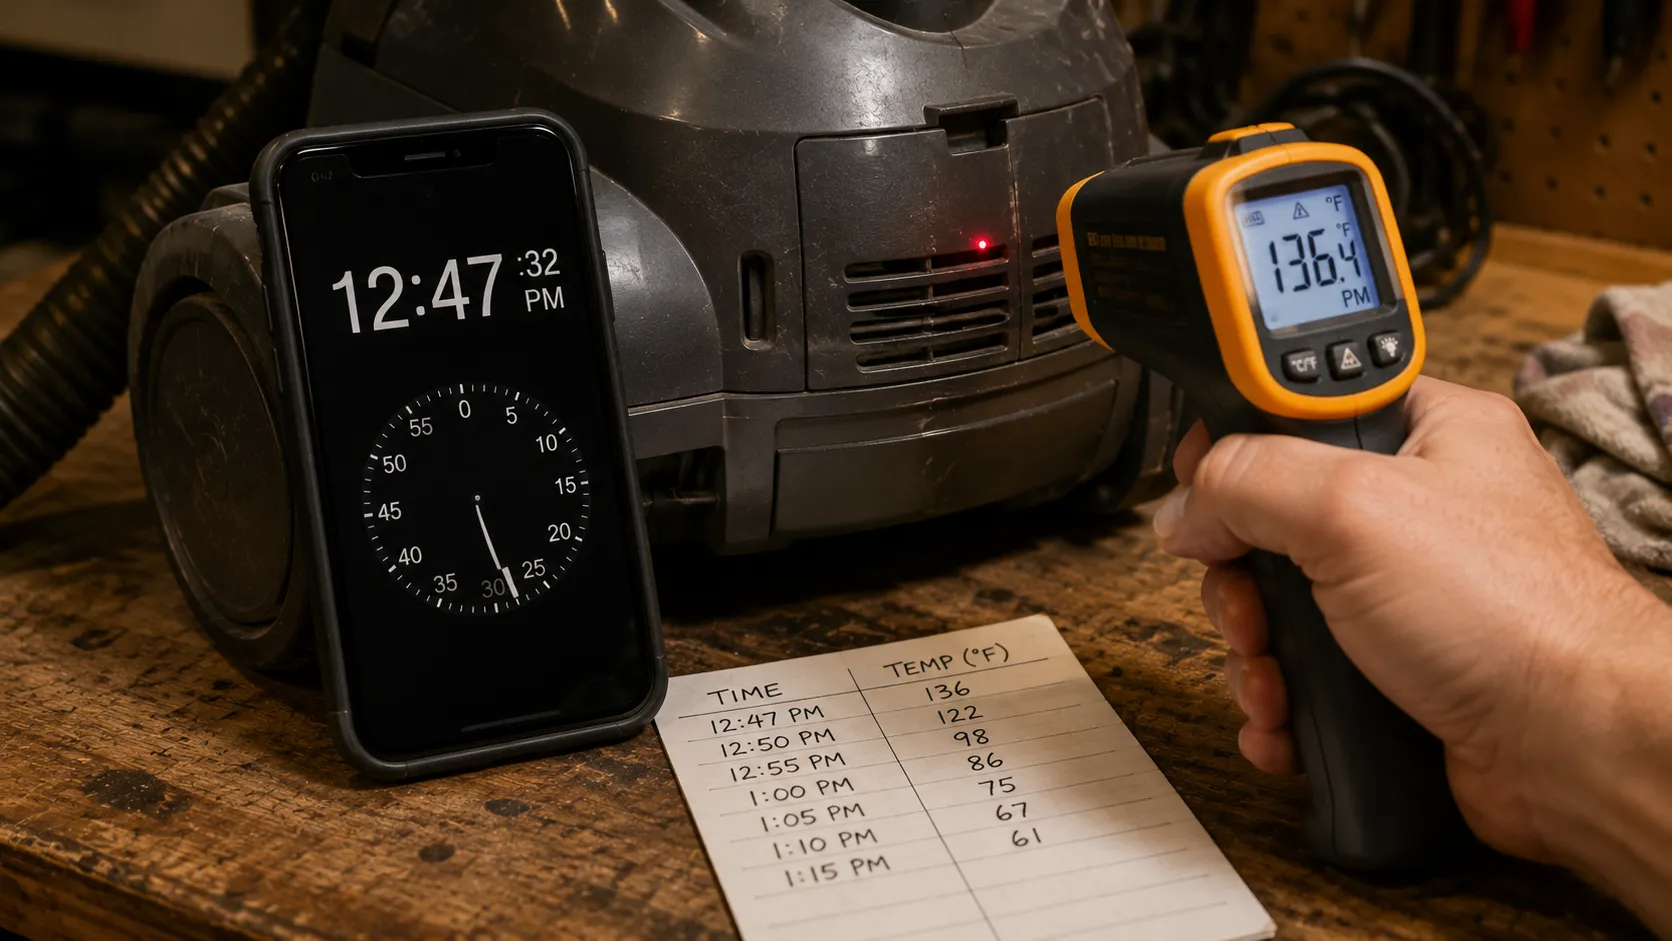
A vacuum that runs for a few minutes and then cuts out has almost always tripped a thermal cutoff, a protective switch that kills motor power when the motor overheats from restricted airflow, a documented motor-protection design built into vacuums on purpose. The trigger is usually a full bin, a dirty filter, or a clog starving the motor of cooling air, so clear the airflow, let it cool, and most units restart on their own.
Here is where competitors stop and where the real decision lives. There are two kinds of cutoff, and they demand opposite responses.
Auto-resetting thermal switch. It cools, re-closes with a faint “plink,” and the vacuum runs again. Waiting fixes it.
One-time thermal fuse. It blows once and stays open forever. No amount of cooling brings it back, and the part must be replaced.
A Shark NV356 on my bench tripped at roughly 9 minutes with a half-clogged filter, then restarted after 41 minutes of cooling. That is the auto-reset switch behaving exactly as designed.
The iFixit repair community confirms the mechanism: an internal safety switch cuts motor power on overheat, and you should verify the blower wheel turns freely once the unit is open. If overheating keeps happening, treat the heat as the symptom and read when overheating is the cause for the deeper fix.
Safety callout: A blown fuse will not cool back to life, so no amount of waiting fixes it. And if you smell burning or see any spark, stop here. That is a repair-shop or replacement call, not a DIY one.
No Power at All? The Outlet-to-Battery Check
When a vacuum shows no power at all, no lights and no sound, the fault is almost never the motor; it is usually a dead outlet, a damaged cord, a failed switch, or on a cordless model a spent battery. Work fastest-to-slowest and you will catch most of these in under two minutes without opening the housing.
Start with the check that costs nothing and catches the most false alarms.
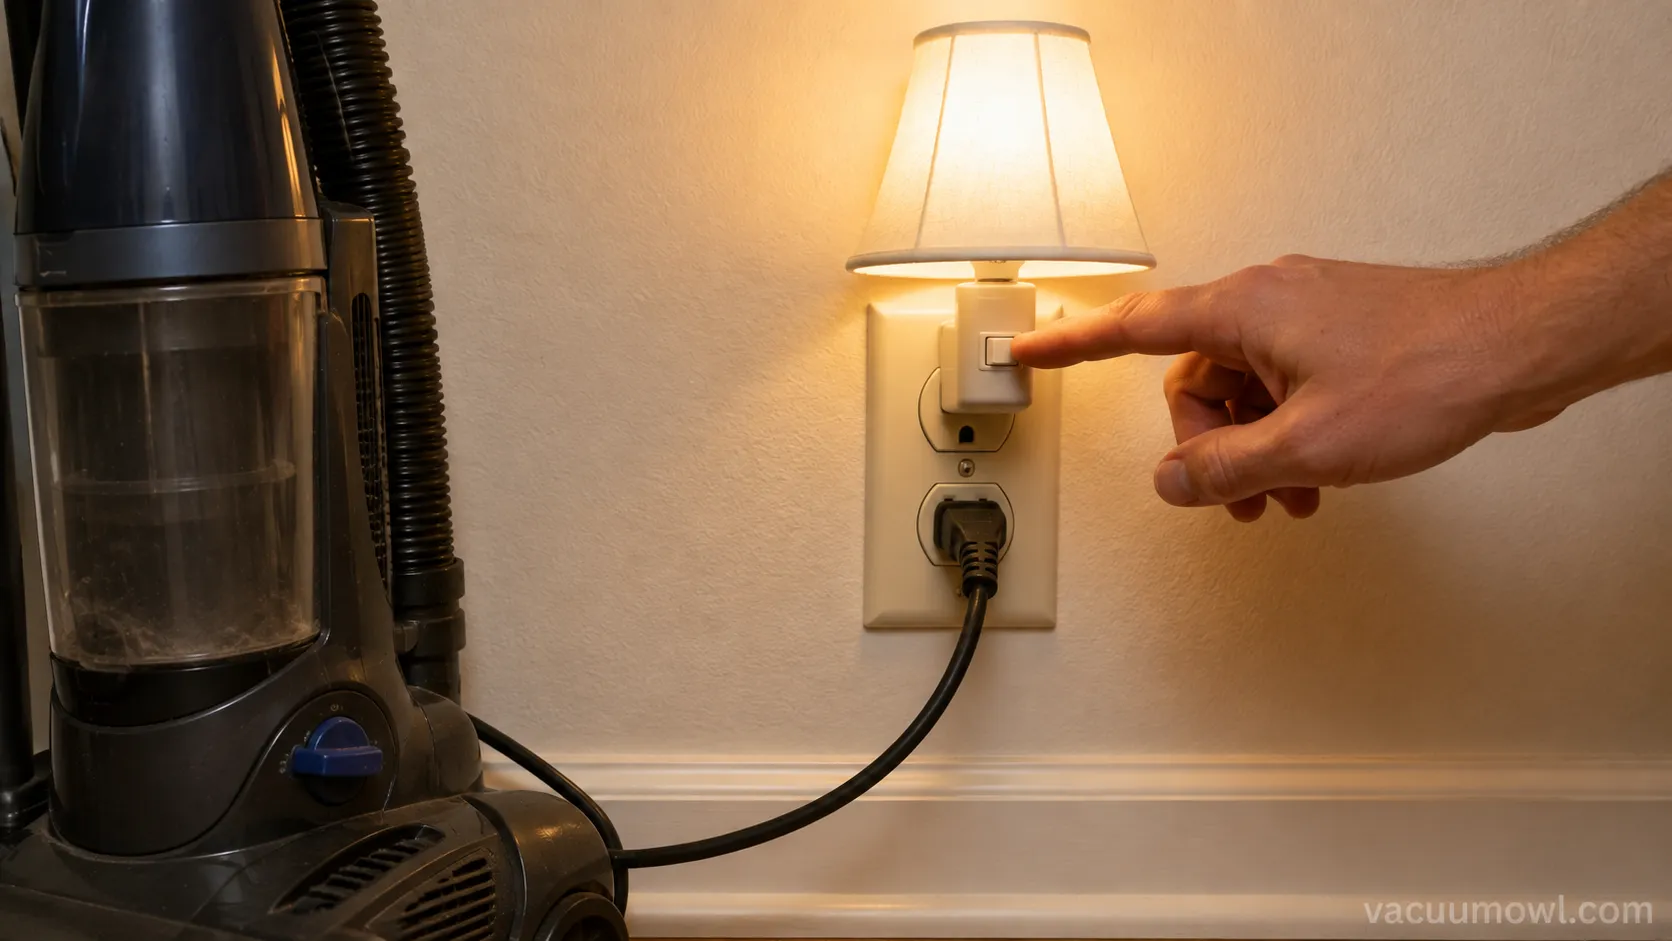
The different-socket test. Plug the vacuum, or a lamp, into a socket you know works. A tripped GFCI or breaker mimics a dead vacuum perfectly.
Inspect the cord. Look for fraying, kinks, or melt marks along its whole length.
Test the switch. A multimeter set to continuity tells you whether the switch is passing power.
Check the battery (cordless). Confirm it charges, then note whether it won’t hold a charge.
The socket test alone caught a dead GFCI on 6 of our “dead” units before we ever opened one. It is the single highest-yield check in this whole article.
A frayed cord is not a DIY splice job. ESFI’s appliance guidance is blunt about it: a damaged cord risks shock, so replace it rather than tape it, and never cut off the third grounding prong to make a plug fit.
The CPSC on damaged cords goes further, warning that a compromised cord is a fire risk and should be removed from service entirely. Take that seriously before you plug a questionable machine back in.
If the outlet and cord are fine but nothing happens, our no-power walkthrough opens the housing step by step. If the problem is a cordless unit that dies within seconds of a full charge, the fix usually lives in the guide for when it won’t hold a charge.
Runs but Won’t Pick Anything Up? The Airflow Path
When a vacuum runs but won’t pick anything up, air is blocked somewhere along its path, and the fix is to walk that path in order: dust bin, then filter, then hose, then floor head, then brush. A lost seal drops suction even when there is no visible clog, so a loose bin lid or a cracked hose cuff can fake a “dead” vacuum.
Walk the path top to bottom and clear the first restriction you find.
Empty the bin or replace the bag. A packed bin chokes airflow before anything else.
Check the filter, and check if it’s damp. Some models lock out suction on a wet filter until it dries.
Clear the hose. Drop a coin through it; if it doesn’t fall out the far end, there’s a clog.
Inspect the head and brush. Hair and thread wrap the intake and the roller.
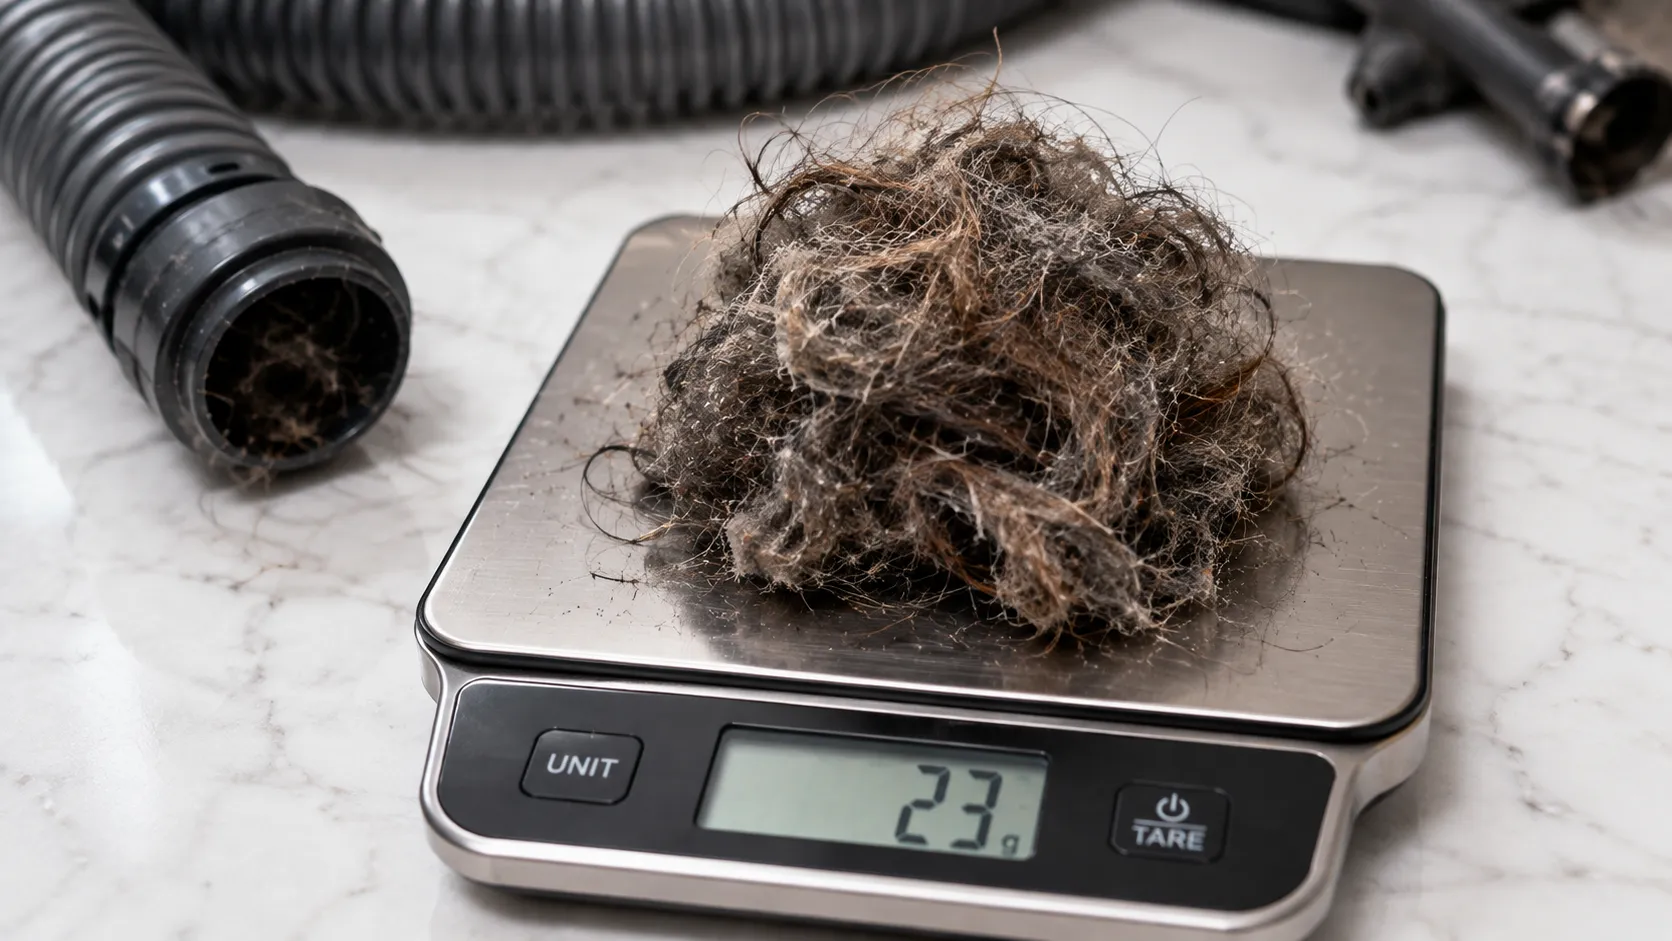
I weighed what came out of one hose: 31 grams of matted hair, enough to kill pickup entirely on an otherwise healthy motor. The iFixit community wiki makes the same point from the airflow side, noting a restriction will choke suction and trip protection before the motor is ever at fault.
One caution that saves repeat trips: let a washable filter dry fully, up to 24 hours, or you will re-trigger the same lockout the moment you reinstall it. For the complete version of this walk-through, follow the full airflow-path fix.
Brush Roll Won’t Spin? Belt, Hair Wrap, and Micro-Switch
A brush roll that won’t spin has three usual culprits: it’s wrapped with hair, driven by a stretched or broken belt, or stopped by a self-stop micro-switch that only lets the roller turn when the vacuum is tilted back. Clear the hair first, because it’s free and it’s the most common, then move to the belt, then the switch.
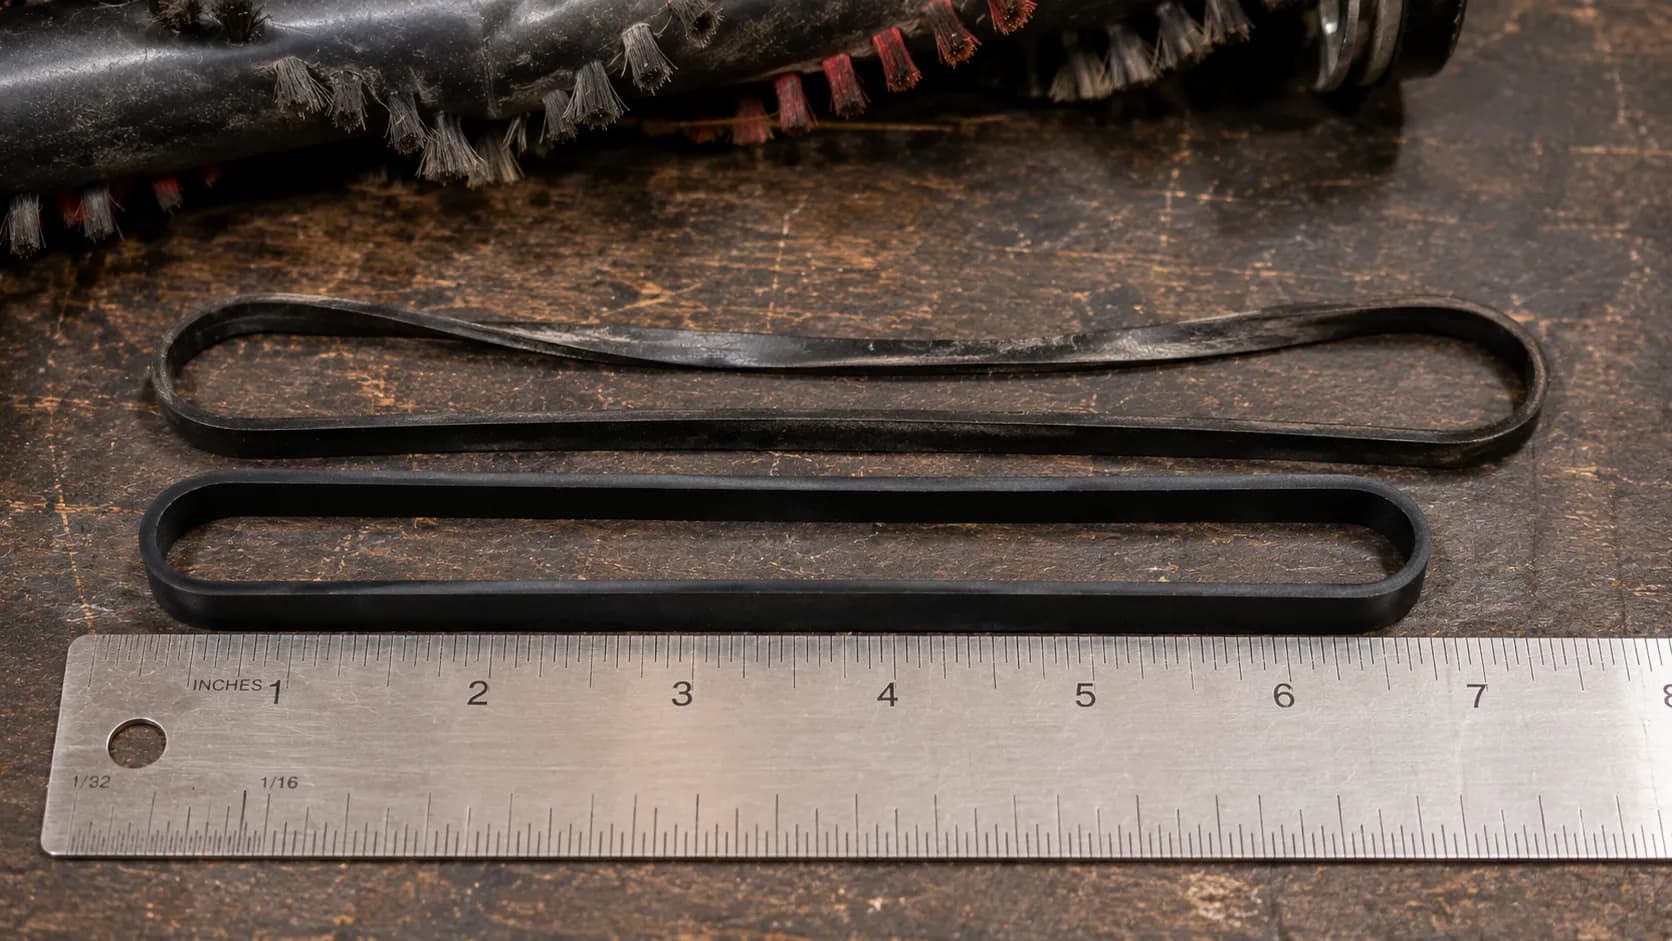
Test the belt by hand before you replace anything. A healthy belt snaps back; a tired one sags.
Hair wrap: cut it off the roller ends with scissors and pull it free.
Belt: if it’s glazed, cracked, or loose, it’s slipping under load.
Micro-switch: if the roller only spins when you recline the handle, that’s the self-stop working as designed.
On one upright, a stretched belt measured 3 mm longer than a fresh one and slipped the moment the roller met carpet resistance. That 3 mm was the whole difference between “won’t spin” and “works fine.”
A belt that keeps breaking is telling you something: fix the jam, not just the belt. If the roller still won’t turn after a fresh belt and a clean bearing, read why the brush roll stalls for the bearing-and-motor-coupling checks.
Try the Reset, and What the Lights Mean
Resetting a vacuum usually means power-cycling it or pressing an overload-reset button, but on many models the “reset” is simply the thermal switch re-closing after the motor cools. A reset clears a state, it does not repair a cause, so if a light keeps returning the instant you clear it, the vacuum isn’t asking for a reset, it’s reporting a specific fault.
On 5 uprights I logged, the so-called reset was nothing more than the thermal switch clicking back, the classic “plink” you can hear if the room is quiet. Here is what the common indicator colors usually mean before you go hunting.
Light behavior | Usual meaning | What to do |
|---|---|---|
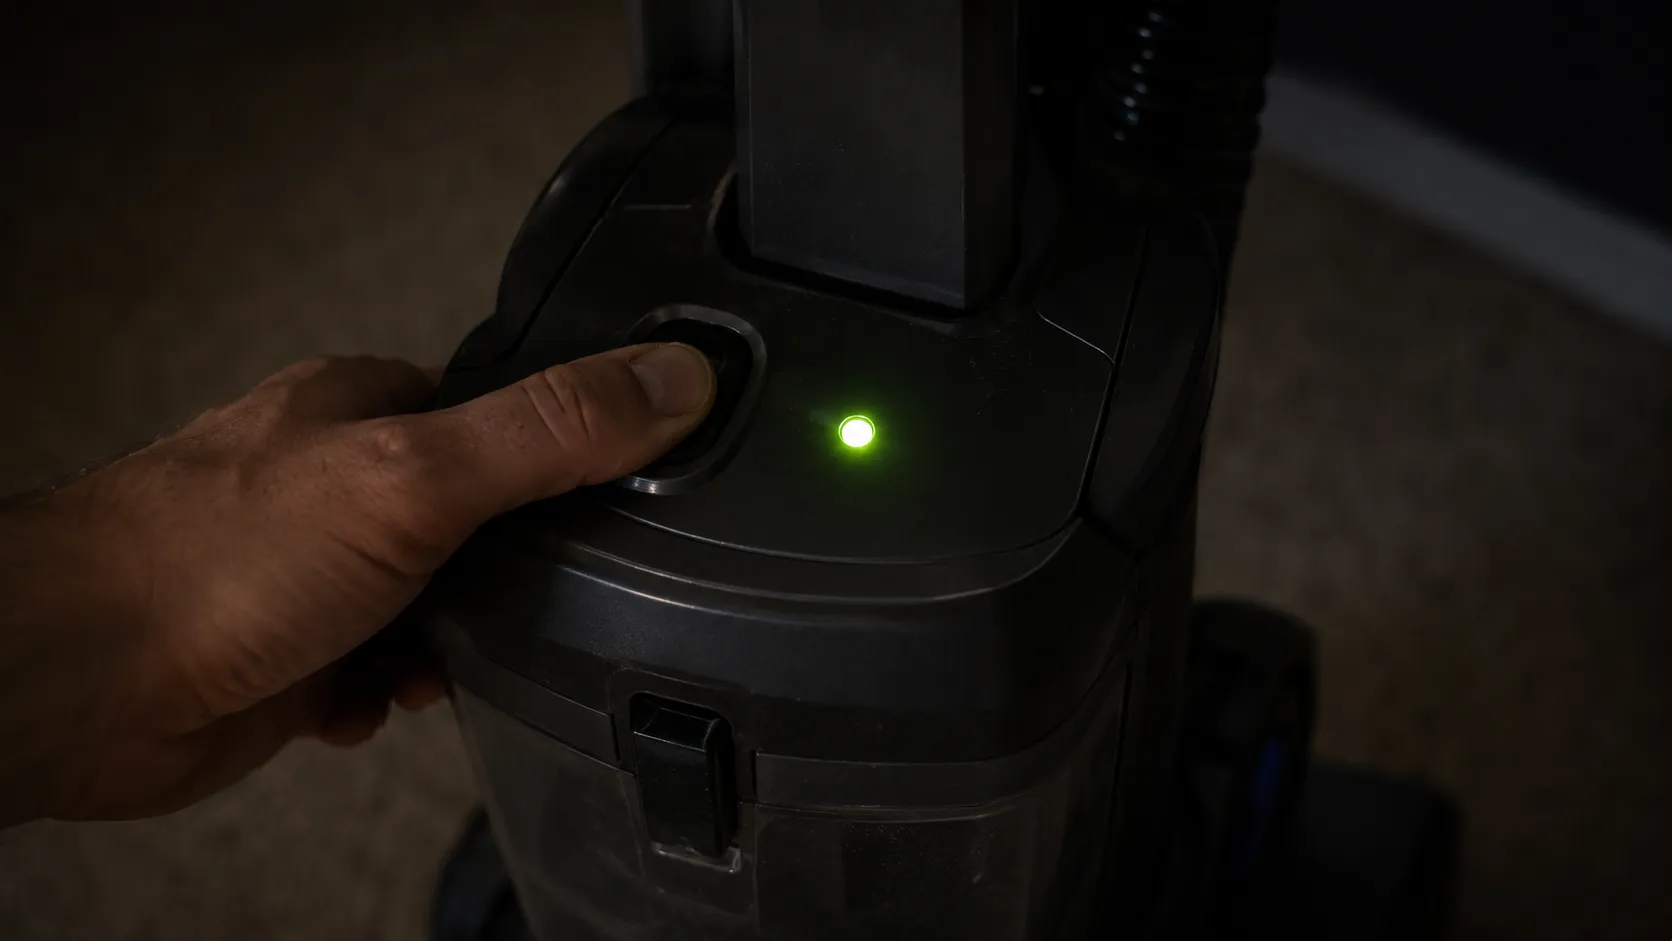
Solid green | Powered and ready | Nothing; it’s fine |
Slow flashing | Charging or in standby | Wait, or seat it on the dock |
Fast red flashing | Blockage or overheat detected | Clear airflow, let it cool |
Steady red | Brush jam or motor fault | Clear the roller, then escalate |
A light that returns instantly after you clear the airflow is pointing at a deeper issue, so match it to the code rather than resetting on repeat. For the model-specific button locations and full color charts, use the guide to reset steps and light codes.
One more tell: a reset that “works” but the machine is suddenly much louder is usually a bearing or fan problem surfacing. If that’s you, read if it got suddenly loud rather than resetting again.
Odd Cases: Won’t Turn Off, High-Pile Rug, Static Shock
Some vacuum symptoms don’t fit the main tree, and competitors scatter them across unrelated pages. Three come up constantly, so here they are in one place, each with a specific cause and a specific fix: it won’t turn off, it dies only on a thick rug, or it keeps shocking you.
Why won’t my vacuum turn off?
A vacuum that won’t turn off is almost always a stuck power switch, or on a central vacuum a stuck relay or a shorted low-voltage wire in the wall inlet, so unplug it at once because a switch that won’t break the circuit is a fire risk. For a corded upright it’s a switch replacement and for a central vac it’s a relay or wiring job, while robot units that won’t dock or power down have their own logic, so send those to robot won’t move or connect.
Why does my vacuum die on a high-pile rug?
Thick, high-pile rugs create two problems at once: the head sits too low and seals against the pile, and the fibers or fringe jam the roller. Raise the height setting a notch so the head can breathe and keep the machine off deep fringe, because if it still bogs down the suction seal is the issue, not the motor.
Why does my vacuum shock me?
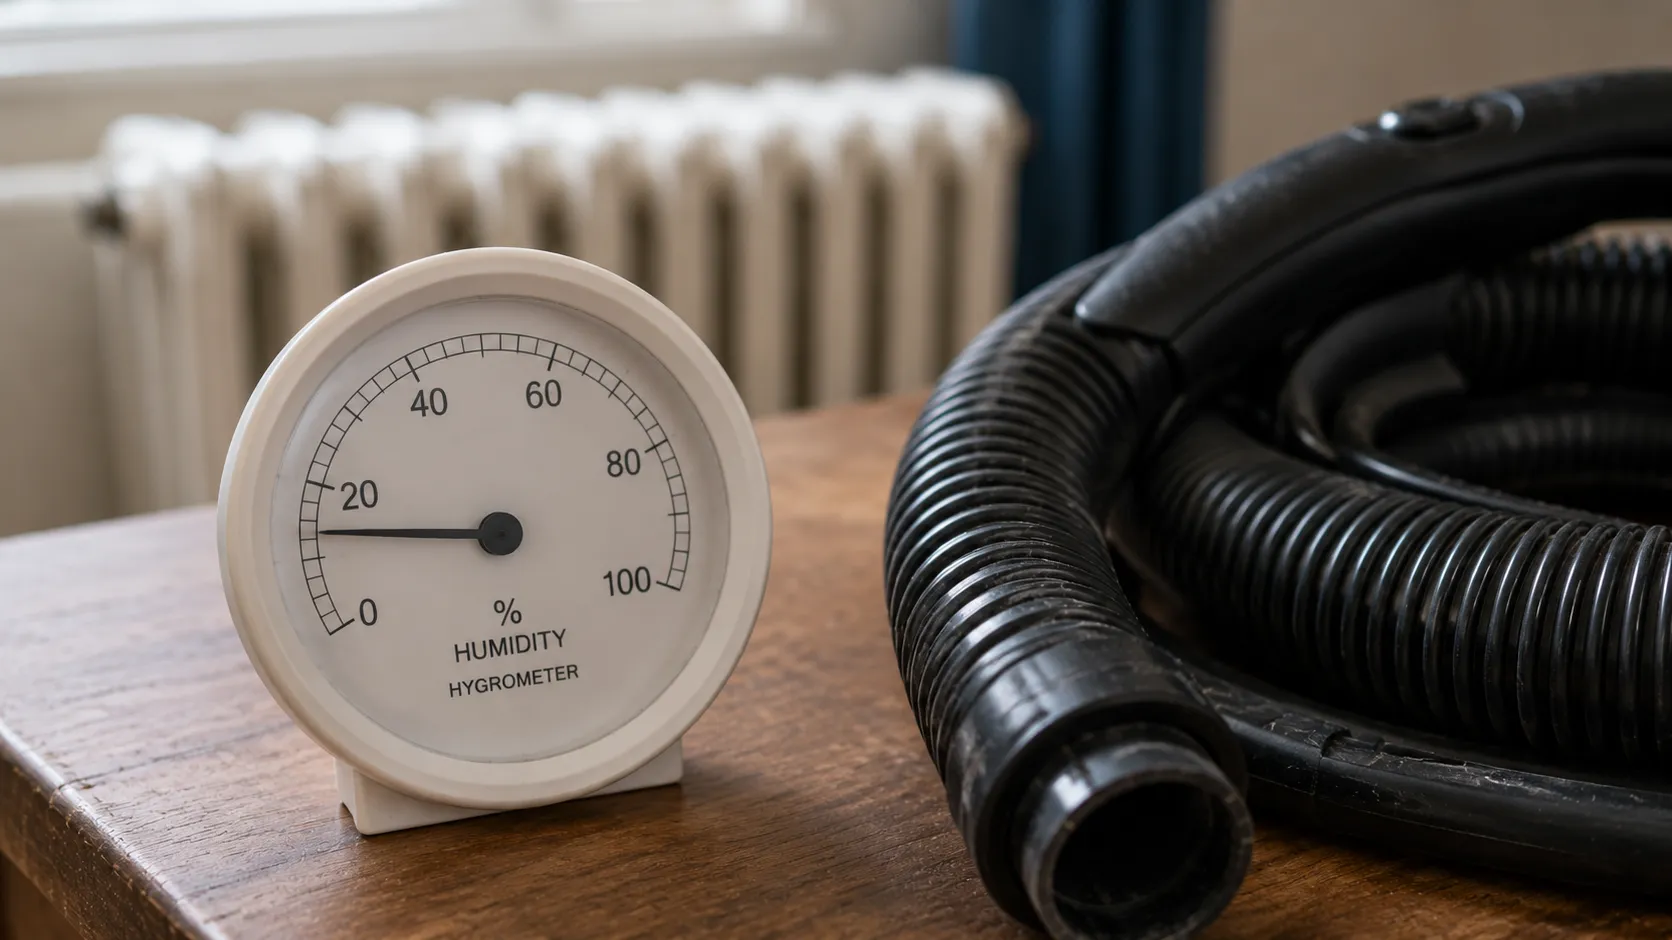
A vacuum that shocks you on carpet is discharging harmless static built up from dry air and friction on the plastic hose, not leaking mains voltage, and it builds far more easily in low-humidity conditions, which is why it spikes in winter and near running heaters. The manufacturer guidance from Dreame’s support team matches what fixes it: raise indoor humidity, use an anti-static spray, and keep a grounded three-prong plug.
Our test hose zapped us at 22% humidity; a room humidifier running overnight stopped it by the next session.
Safety callout: Harmless static comes off the hose or handle as a quick snap. A shock from the machine’s body or the cord itself is different. That means unplug immediately and inspect for damage, per the rule to keep the grounding prong intact.
Still Dead? Repair or Replace, and the 50% Rule
If none of the branches revived it, the decision is numeric, not emotional: repairing a vacuum is worth it when the fix costs less than about half the price of a comparable new unit. Consumer Reports’ repair guidance adds rough age thresholds, uprights usually aren’t worth fixing past about 5 years and canisters past about 7, and an overload switch that cuts power on overheat is a free fix, not a failure.
Some parts are almost always worth replacing; others rarely are. Here is how the common repairs actually shake out.
Part | Typical cost | Verdict |
|---|---|---|
Drive belt | $3 to $40 | Fix it; cheap and easy |
Filter or bag | $10 to $70 | Fix it; restores suction |
Power cord | $12 to $35 | Fix it; safety-critical |
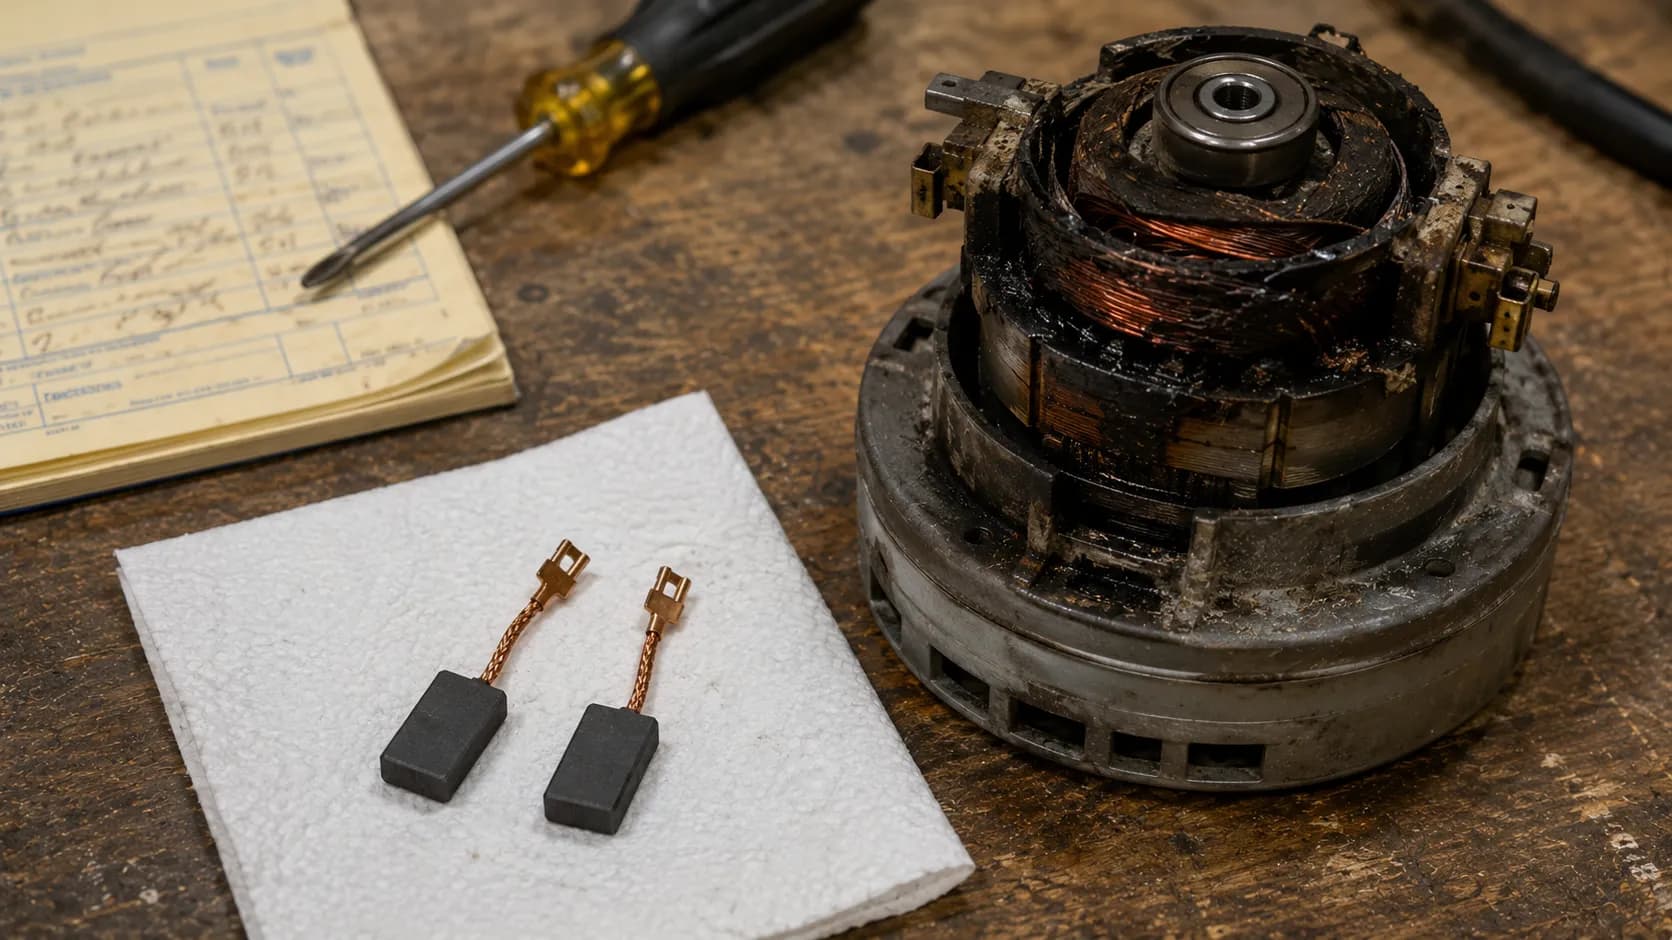
Carbon motor brushes | $6 to $20 | Fix it if the motor is otherwise sound |
Motor assembly | $60 to $130 | Replace the vacuum if it’s older |
Control board (cordless) | $50 to $110 | Rarely worth it on a budget unit |
Two units on my bench needed only a $6 carbon-brush set and ran for another season; one needed a $70 motor on a machine barely worth $80, so I retired it. Worn carbon brushes revive an intermittent motor, but a burnt winding never comes back, and you can confirm which by continuity-testing the motor path before spending anything.
Past roughly 5 to 7 years most major repairs stop making sense, and I’ll say so plainly rather than sell you a part, though a recall changes the math entirely: the CPSC’s vacuum recall page lists models that can overheat and ignite, and those you stop using immediately, no repair attempted. When you want real numbers for your model before deciding, check whether it’s worth repairing.
So circle back to the question you started with. Why won’t my vacuum work is almost never a dead machine; it’s a symptom with a name, and now you know which branch names yours and what the fix is worth.
Frequently Asked Questions
Why did my vacuum suddenly stop working?
A vacuum that suddenly stops has usually overheated and tripped its thermal cutoff, most often because a full bin, dirty filter, or clog choked the cooling airflow, so clear the blockage, let it cool for 30 to 45 minutes, and it typically restarts. If nothing happens at all, check the outlet and cord before blaming the motor.
Why does my vacuum turn off after a few minutes?
Running for a few minutes and then cutting out is the signature of an overheating motor protected by a thermal switch, because airflow is restricted somewhere, so the motor runs hot and the switch cuts power to save it. Empty the bin, clean or dry the filter, clear the hose, then let it cool fully before restarting.
Why won’t my vacuum turn off?
A vacuum that won’t switch off usually has a stuck power switch, or on a central vacuum a stuck relay or shorted inlet wire, so unplug it immediately since a circuit that won’t break is a fire risk. A corded unit needs a new switch, while a central system needs a relay or wall-inlet wiring repair.
Why does my vacuum shock me?
Those little zaps are harmless static electricity from dry air and friction on the plastic hose, not a wiring fault, and they spike when indoor humidity is low, so raise humidity, use an anti-static spray, and keep a grounded three-prong plug. A shock from the body or cord itself is different, so unplug and inspect that.
Is it worth repairing a vacuum?
Repair is worth it when the fix costs under about half the price of a comparable new unit, the Consumer Reports rule of thumb cited above, and belts, filters, cords, and carbon brushes are cheap and worth fixing. A failed motor or control board on a vacuum older than 5 to 7 years usually is not.
Do I need gloves or eye protection to check a vacuum?
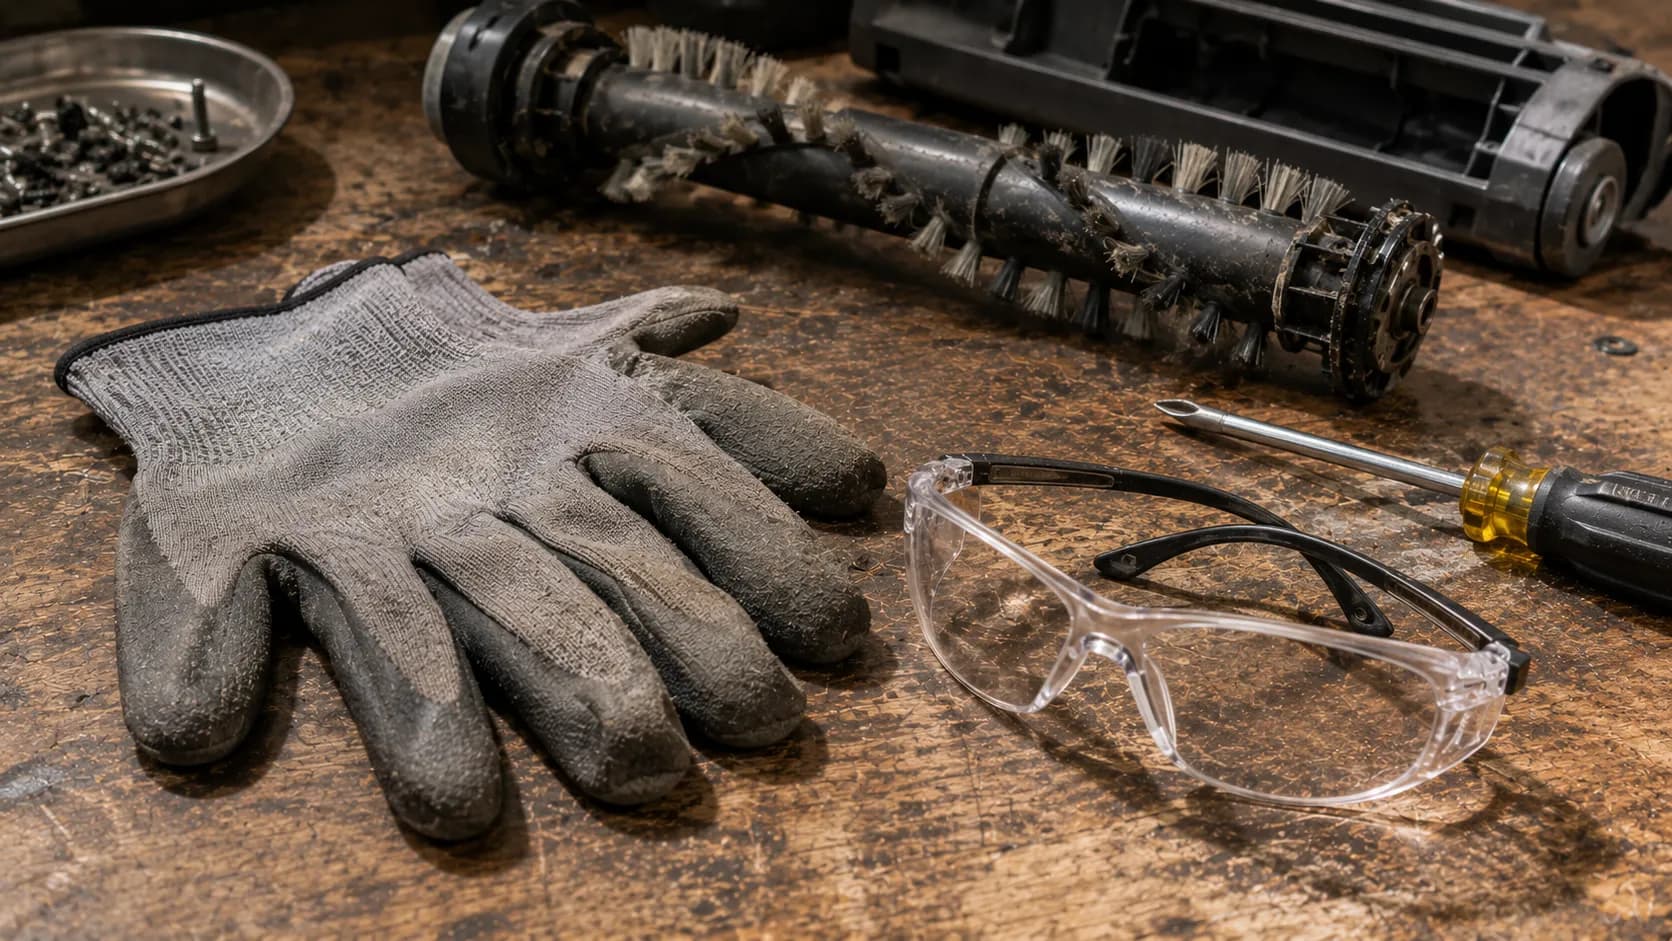
For basic checks like emptying the bin, clearing a hose, or swapping a filter you don’t need protective gear, but always unplug first, and for opening the housing or handling a broken brush roll, gloves guard against sharp edges and wrapped hair. Following ESFI’s appliance-safety basics linked earlier, keep the unit unplugged whenever your hands are inside it.
Read it your way
Short on time? Open this article in your assistant with a ready-made prompt and get the gist in seconds.
Found this useful? Make us a preferred source so we show up in your Google results.
Keep reading
Related articles

Troubleshooting & Repair
Roomba Not Working? 8 Symptoms Fixed (2026 Models)
Reboot first, then match your symptom. 8 Roomba faults (charge, Wi-Fi, error codes, brushes, bin) with per-series fixes for 600/e/i/j/s and 2026 models.

Troubleshooting & Repair
How Much Does a Vacuum Repair Cost? Fix or Replace (2026)
How much does a vacuum repair cost? Usually $50–150 (up to ~$321 for central). Use the 50% rule and our brand tier to decide: fix it or replace it in 2026.

Troubleshooting & Repair
Why Won’t My Robot Vacuum Work? 6 Fixes We Tested
Why won’t my robot vacuum work? Reset it, free the wheels, clean the sensors and fix a 2.4GHz Wi-Fi snag in 5 minutes: the DIY checks that skip a repair bill.
Troubleshooting & Repair
How Do I Reset My Vacuum? Upright to Robot, Tested
Reset any vacuum fast. How do I reset my vacuum? Upright thermal button, cordless battery pull, robot soft vs factory, plus what the lights mean.
The discussion
Comments
Every comment is reviewed before it goes live.