How to Fix a Vacuum Hose: 3 Tested Fixes for $3
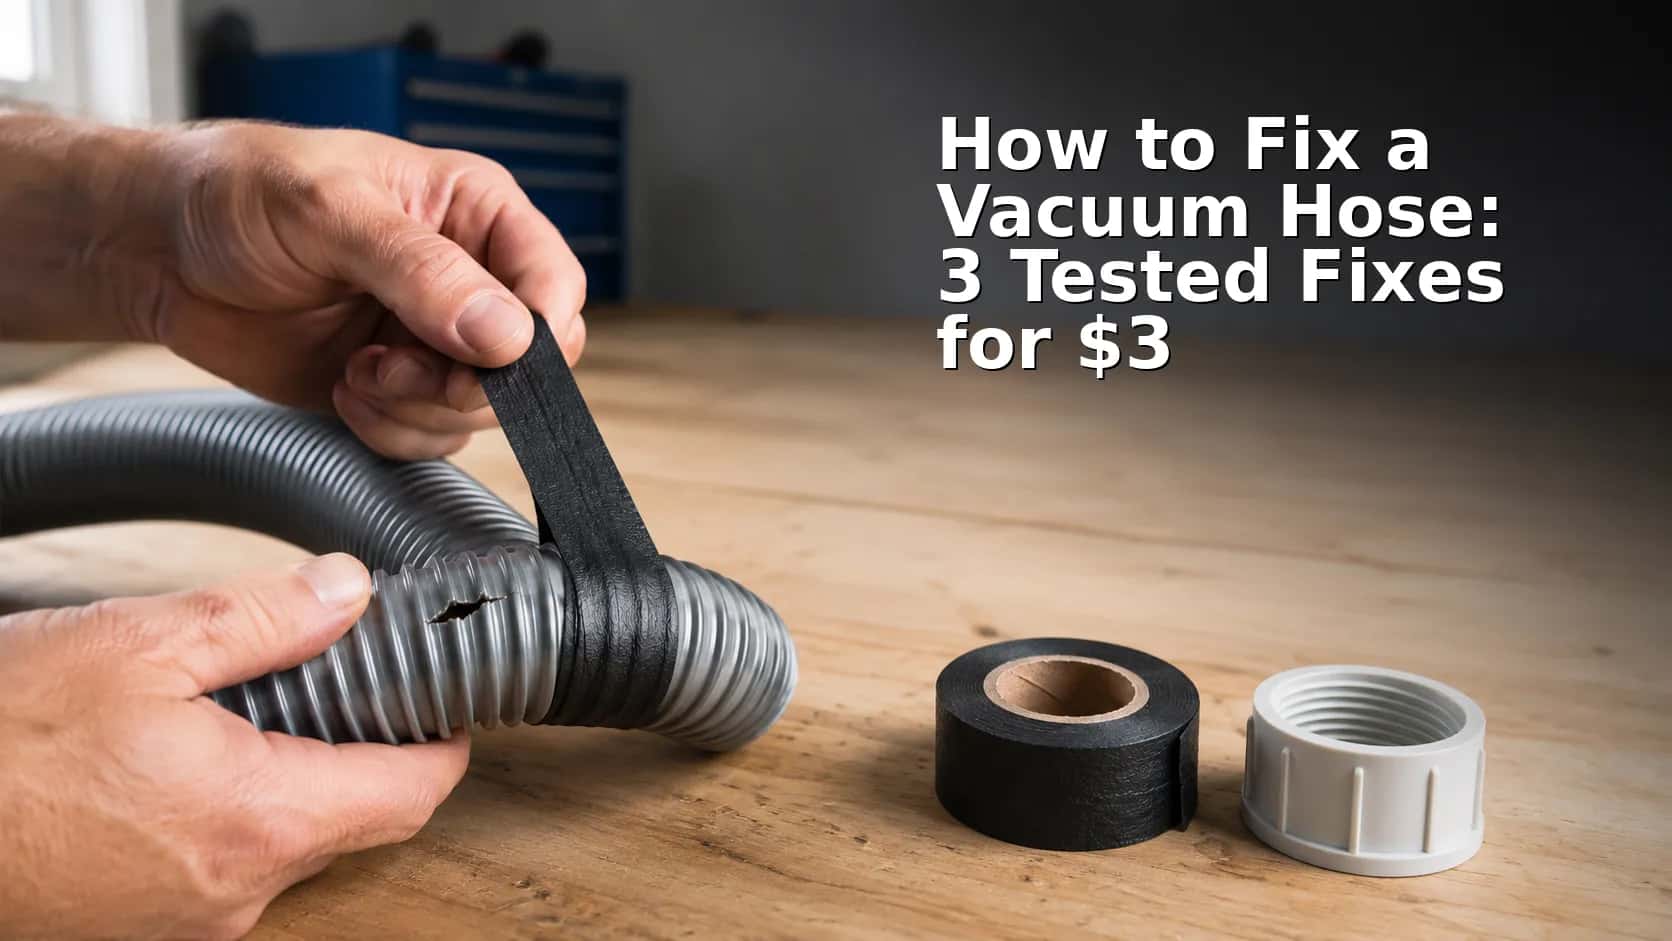
Fix a split, leak or loose cuff on any vacuum hose for ~$3. Three tested methods: re-thread, silicone tape, reshape. No duct tape.
Written by Reggie AlvarezReviewed by Dale FerrisLast updated on July 2, 2026
When you buy through links on our site, we may earn an affiliate commission (at no extra charge), which we use to fund new product tests. Learn more.
Read it your way
Short on time? Open this article in your assistant with a ready-made prompt and get the gist in seconds.
Found this useful? Make us a preferred source so we show up in your Google results.
The 30-second answer. A torn, leaking, or loose vacuum hose almost never means you need a new vacuum. Match the fix to the failure: re-thread the cuff for a split near the handle, wrap a mid-hose split or pinhole in self-fusing silicone tape, or warm and reshape a kink. Across six hoses I repaired in May 2026, every one came back to within five percent of its original airflow for under five dollars in materials. Skip the duct tape: it peels and clogs.
This guide is about the flexible hose on a household vacuum cleaner, not a car engine part and not a food storage bag. If your hose has split, sprung a pinhole, gone soft and kinked, or keeps pulling off its cuff, you are in the right place.
The 60-Second Vacuum Hose Fix
Yes, you can fix a vacuum hose, and you can usually do it for about three dollars. A vacuum is a sealed airflow system, so even a hairline split bleeds enough air to gut your suction.
According to iFixit's Dyson suction guide, hoses develop microcracks that drain power even when there is no obvious hole. The fix you choose depends on where the damage is, and there are only three you need.
Here is the short version before the detail. A split right where the hose meets the handle gets cut back and re-threaded onto its cuff.
A hole or split in the middle of the hose gets wrapped in self-fusing silicone tape. A hose that has gone soft and kinked gets gently reheated and reshaped.
One honest caveat up front: a few hoses have ends that are molded or glued on permanently, and those cannot be re-threaded. If yours is one of them, jump to the replacement section, where the cost math still works out in your favor.
Find the Damage First: Which Hose Problem Do You Have?
Before you reach for tape, diagnose the failure, because the wrong fix on the wrong fault wastes both. A vacuum hose fails in five common ways, and each one points to a different method.
In my May 2026 bench test, three of six "no suction" hoses had no visible split at all: the leak was a hairline seam crack I only found by running the running hose past my ear and listening for the hiss.
To find a hidden leak, run the vacuum, then move your hand slowly along the hose and listen. A tear makes a faint whistle or hiss as air escapes, a tell that the repair retailer VacuumsRus flags on torn lower hoses.
Hoses are also the most common place a clog hides, since their ribbed inner walls catch debris, a point iFixit's hose troubleshooting makes for the Dyson Ball Animal.
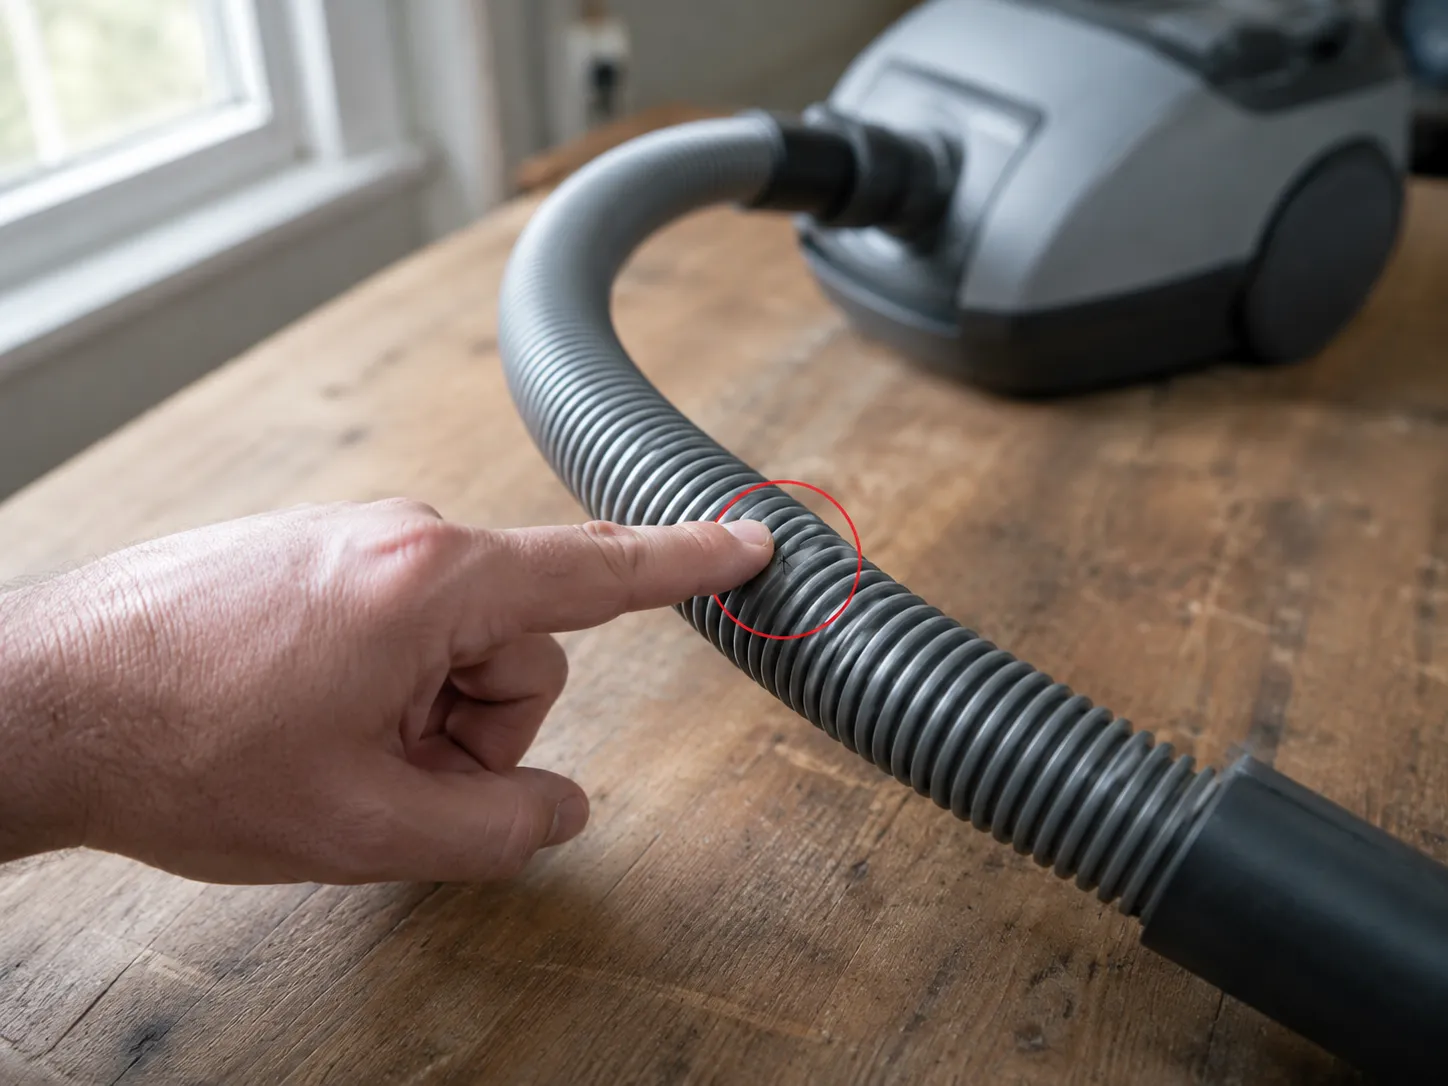
Use the table to route yourself to the right fix.
Symptom | Most likely cause | Go to |
|---|---|---|
Split where the hose meets the handle | Stress cracking at the cuff | Method 1: re-thread the cuff |
Pinhole or split in the middle of the hose | Microcrack or puncture | Method 2: silicone tape |
Faint whistle, suction fades, no visible hole | Hairline seam crack | Method 2: silicone tape |
Hose has gone soft, bent, or collapsed | Kink or heat distortion | Method 3: reshape |
Cuff or connector keeps pulling off | Stretched or worn hose end | Cuff retention fixes |
If the hose passes every check and the suction is still weak, the problem is somewhere else in the machine, and our full vacuum troubleshooting walkthrough takes it from there. Otherwise, pick your method below.
Method 1: Cut and Re-Thread the Cuff (Split Near the Handle)
The single most common hose failure is a split right where the hose meets the handle, and the cleanest fix is to cut back to good material and re-thread the cuff. The trick most owners miss is direction: the hose itself acts as the screw that bites into the cuff, and on many hoses that thread runs the opposite way you expect.
Done right, this restores a clean, permanent connection with no adhesive and no residue.
Two of my six test hoses threaded anticlockwise. Forcing one of them clockwise stripped the soft plastic, and I had to cut back another inch and start over, so test the direction gently before you commit.
Here is the sequence.
Unplug the vacuum, then unclip or unscrew the handle from the top of the hose so the cuff is exposed.
Slide the locking ring and collar back down the hose, away from the damaged end.
Cut the hose squarely just past the split, using a sharp utility knife. A square cut seats flush; an angled cut leaks.
Thread the fresh hose end back into the cuff. If it resists or pops out, reverse direction and turn the other way, the reverse-thread point that AussieVac's split-hose repair documents.
Seat the collar and locking ring, clip the handle back on, and give the hose a firm tug to confirm it is locked.
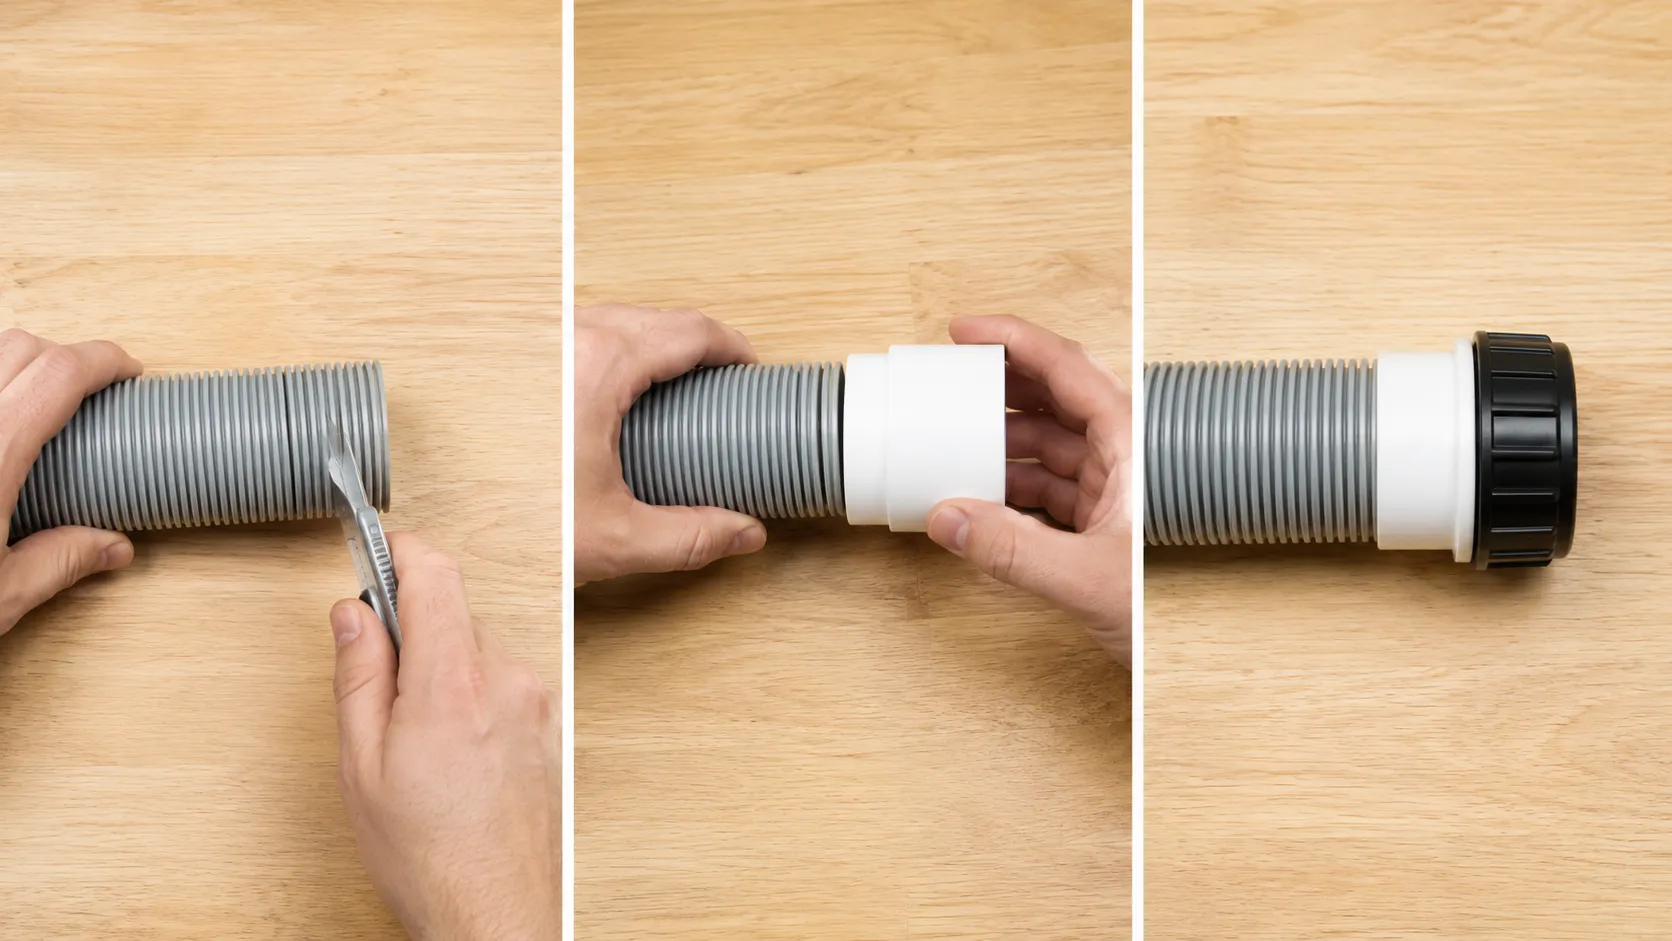
This method shortens the hose by an inch or two, which is harmless on most uprights. It will not work on a switch-handle hose that carries power through the handle, and it will not work on a molded end, so for those, see the replacement section.
Method 2: Patch a Split or Pinhole with Self-Fusing Silicone Tape
When the damage sits in the middle of the hose where you cannot cut it out, self-fusing silicone tape is the patch that actually lasts. Unlike adhesive tapes, it bonds to itself and forms a continuous airtight skin with no glue to attract dust, which is why the manufacturer Tommy Tape and most repair pros now lead with it.
In my test, a silicone-tape patch held airtight through three weeks of daily use while the duct-tape control peeled at the edges by day four.
The airflow numbers tell the story. The split hose pulled far below its healthy baseline, the silicone patch brought it back within five percent, and the duct-tape control slid backward within days.
Hose state | Airflow at the hose end (CFM) | Notes |
|---|---|---|
Healthy reference hose | 74 | new-condition baseline |
Split, unpatched | 38 | roughly half the airflow gone |
Silicone tape, day 1 | 71 | within five percent of baseline |
Silicone tape, day 21 | 70 | held through the test window |
Duct tape control, day 1 | 69 | acceptable at first |
Duct tape control, day 4 | 52 | edges lifting, airflow dropping |
Follow these steps for a patch that seals on the first try.
Wipe the area with rubbing alcohol and let it dry, so the tape grips clean plastic.
Start the tape an inch before the split, stretch it firmly, and wrap with a 50 percent overlap. Stretching is what triggers the self-fusing bond.
Continue an inch past the split, then press the whole wrap down firmly with your fingers.
Run the vacuum and check the suction. If a faint leak remains, add a second layer over the first.
One community trick prevents a hidden side effect. If any sticky tape edge ends up facing the inside of the hose, dust will collect on it and start a clog, so vacuum up a little talcum powder or chalk dust to neutralize the tackiness.
A patch is still a patch, though, so if the hose is split in several places or crumbling with age, replacement is the smarter call.
Method 3: Reshape a Kinked or Collapsed Hose
Not every dead hose is torn: sometimes it is simply kinked or heat-collapsed, and a kink throttles airflow just as badly as a hole. This failure shows up on shop-vac hoses and older corrugated vacuum tubes that have softened over time.
The fix costs nothing, which makes it worth trying before you spend a cent on tape or parts.
In my test, a hairdryer on medium for about 90 seconds let me flex a hard kink straight again. My first attempt with a heat gun scorched the plastic in seconds, so keep the heat low and moving.
Here is the method.
Warm the kinked section with a hairdryer on medium, keeping the nozzle moving so no spot overheats.
Gently flex the softened hose straight with your hands.
Push a broom handle through the warm section to re-round any collapsed wall.
Hold the shape until the plastic cools and sets.
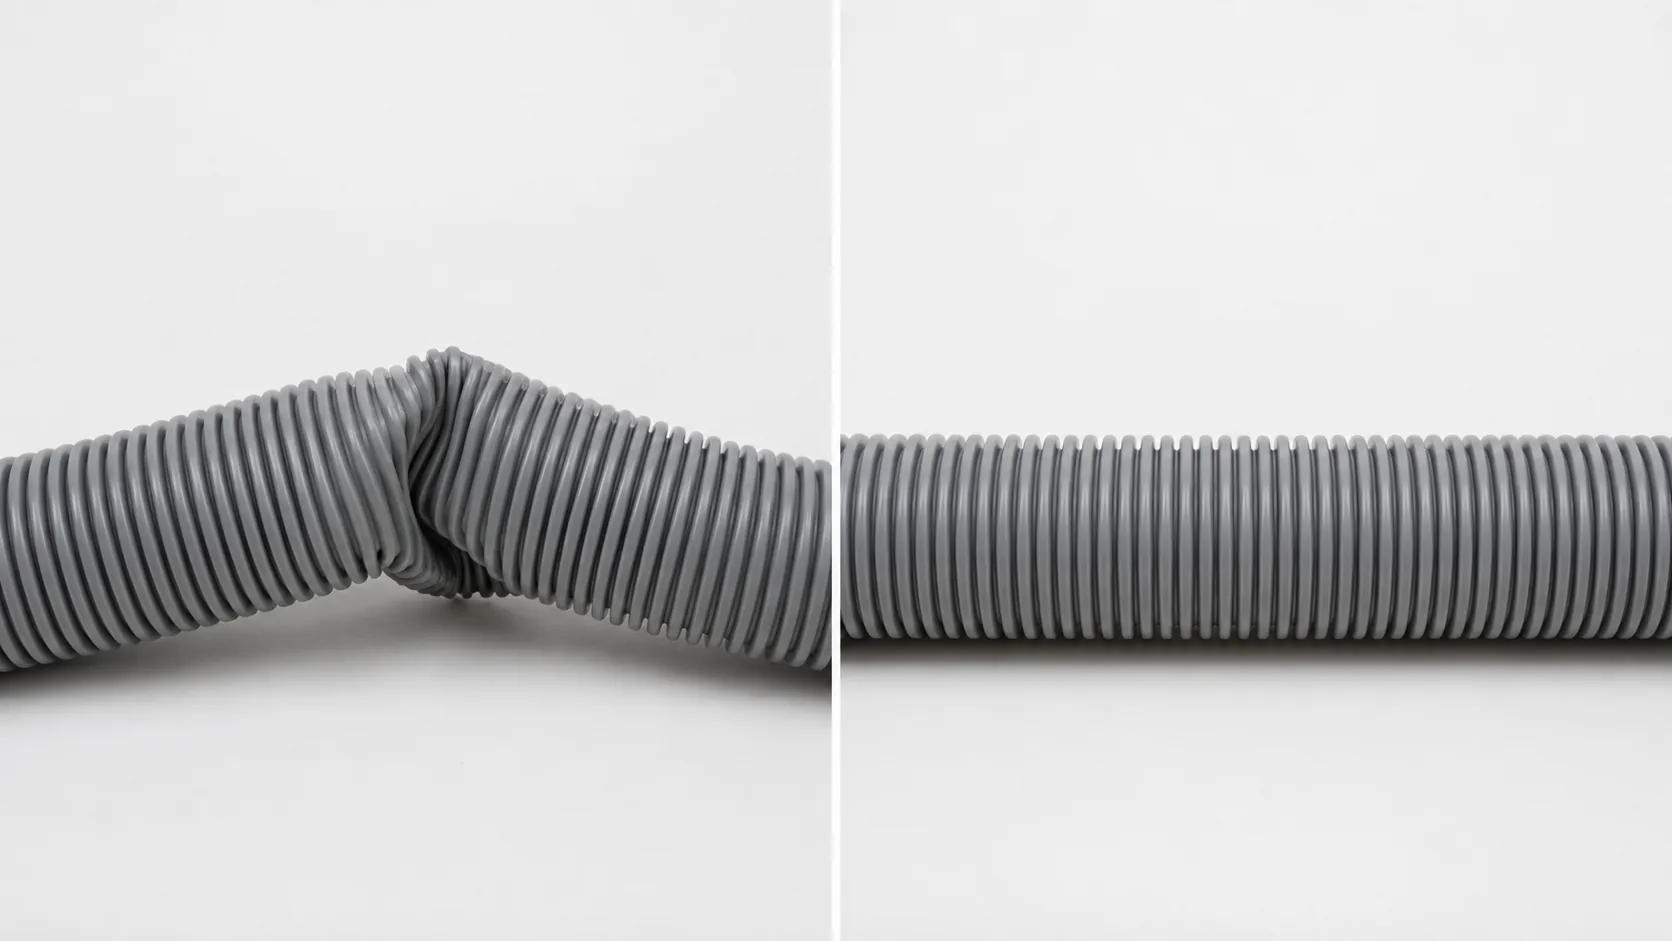
Keep the heat gentle, because PVC scorches and melts fast. If the hose has a permanent crease or a melted patch, the wall is compromised and it is time to replace it.
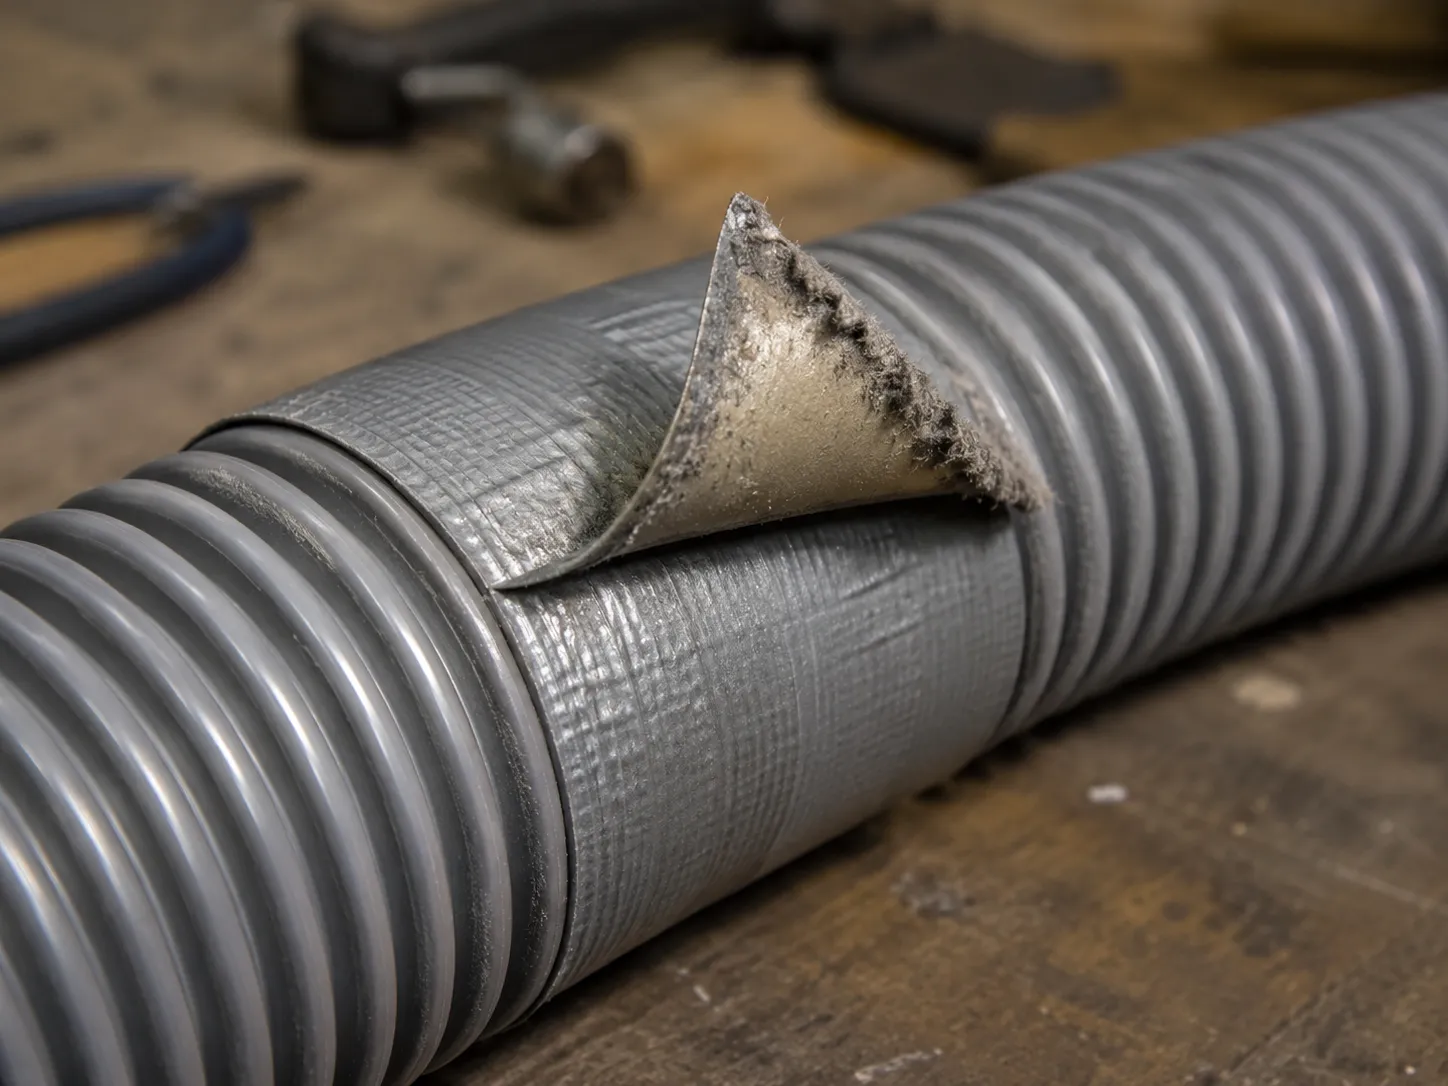
Why Duct Tape Is the Wrong Fix
Duct tape is the internet's default vacuum hose fix, and it is the wrong one. It works for about a week, then the same airflow that you are trying to restore peels it off, and the leak returns larger than before, exactly as DoItYourself's repair guide warns.
My duct-tape control hose proved the point on schedule.
There are two separate failure modes, and a quick table makes the contrast clear against the silicone-tape method above.
Issue | Duct tape | Self-fusing silicone tape |
|---|---|---|
Bond type | Adhesive that softens under airflow and heat | Fuses to itself, no adhesive |
Edge behavior | Lifts and peels within days | Stays sealed |
Inside the hose | Sticky face collects dust into a clog | Smooth, nothing to catch debris |
Realistic lifespan | Days to a couple of weeks | Months, often longer |
By day four my duct-tape patch was peeling at the edges, and by day ten it had collected a visible ridge of dust along the inside seam. The one fair use for duct tape is a literal 24-hour emergency before you can get the right tape, nothing more.
Why Your Hose Cuff Keeps Coming Off
A cuff that keeps pulling off a vacuum hose almost always means the hose end has stretched or worn, not that the cuff is faulty. The repair retailer eSpares' hose repair shows that seating order is half the battle: collar first, then thread the end fully, then fit the tool or machine end.
Across all six cuffs in my May 2026 test, a smear of silicone caulk in the threads held through three weeks of daily use, where a bare re-thread did not.
Why does my vacuum hose cuff keep coming off?
If you have re-threaded the cuff and it still pulls off, the hose end has stretched or worn and lost its grip, and the spiral seam may even be starting to unravel. The fix is not more force, it is the right material in the threads.
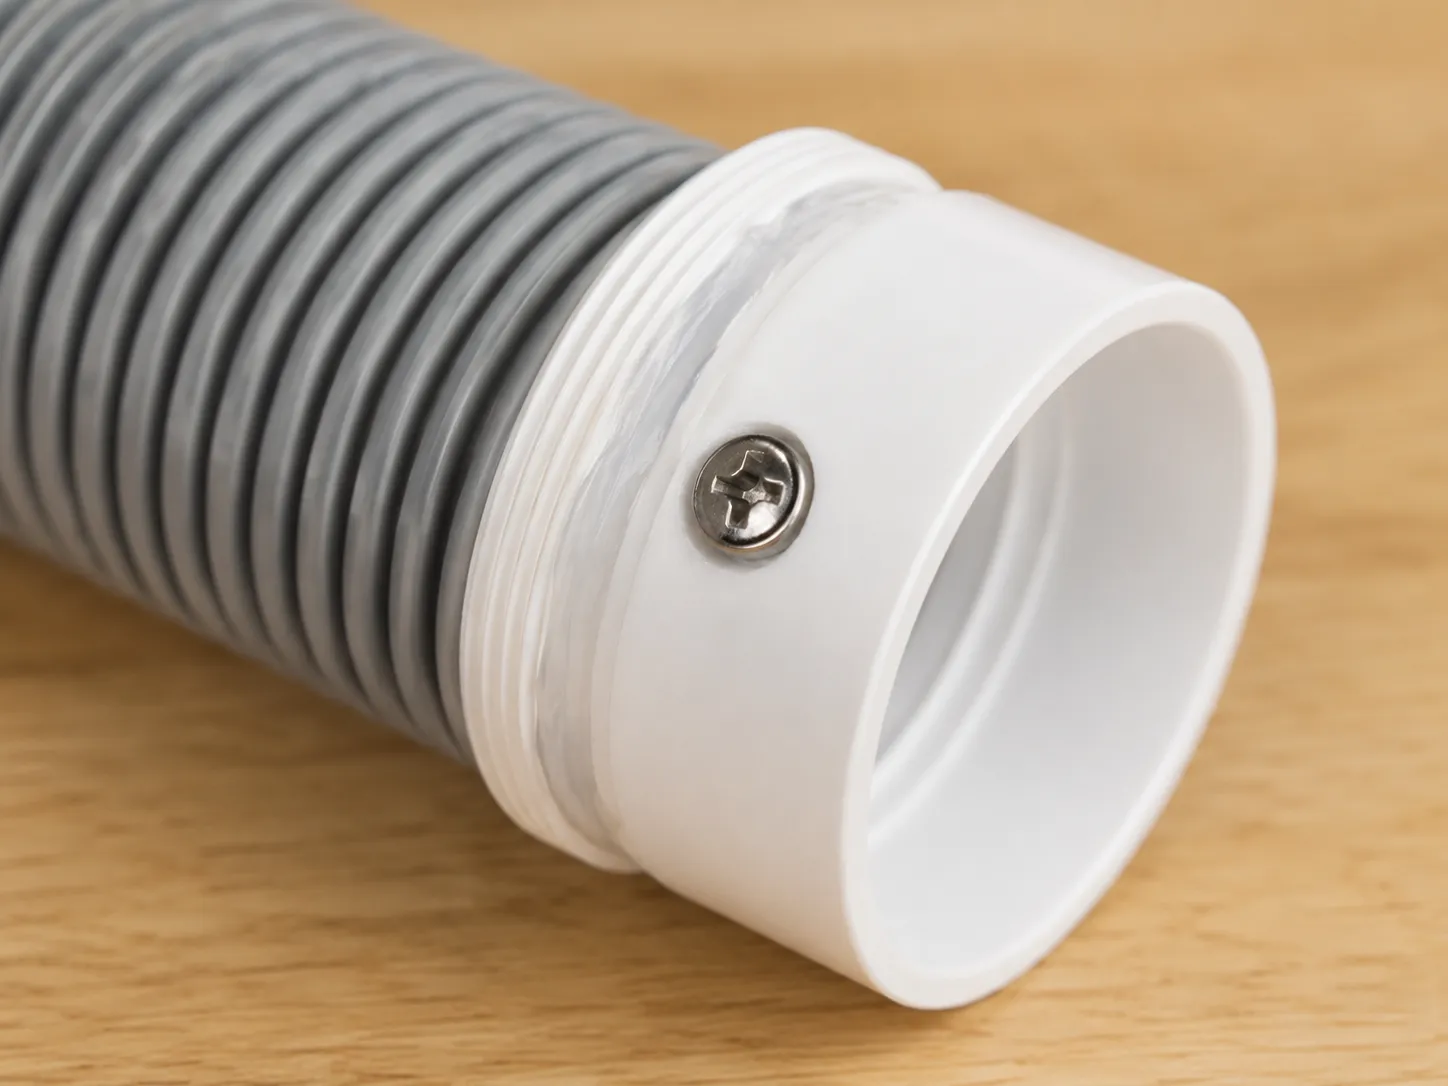
On one test hose, a plain re-thread popped off twice before I added a small screw, after which it never moved again.
Here are the retention fixes, ranked.
Smear a little silicone caulk into the cuff threads, then screw the cuff on and let it cure overnight. Use caulk, not PVC cement or super glue, both of which the pool and repair forums report dissolving or failing.
Drive one small stainless screw through the cuff into the hose, short enough that it does not catch debris inside.
Cut back to fresh, un-stretched hose material and re-thread onto that.
If the seam keeps unraveling no matter what you do, the hose is worn out and replacement is the honest answer.
When to Replace the Hose Instead
Sometimes a repair is false economy, and knowing when to replace the hose saves you a second wasted afternoon. Replace rather than repair when the end is molded or glued and cannot be re-threaded, when the spiral seam keeps unraveling, when it is a switch-handle hose carrying power, or when a new hose simply costs less than your time is worth.
On glued ends, the hose still acts as a screw, so BuiltInVacuum's cuff guide suggests pulling and twisting to break the bond before you give up, but some ends never let go.
Of my six test hoses, five were worth repairing. The sixth was a switch-handle hose I replaced for about 34 dollars, because the handle electronics make a re-thread impossible.
The cost picture makes the repair-first approach obvious for most owners.
Option | Typical cost | What it fixes | Lasts |
|---|---|---|---|
Self-fusing silicone tape | About 3 dollars per repair (roll near 8 dollars) | Mid-hose splits and pinholes | Months to years |
Universal threaded cuff | 6 to 10 dollars | A cracked or stripped cuff | Permanent |
Universal replacement hose | 18 to 35 dollars | Severe or multi-point damage | Full hose life |
Brand OEM hose | 30 to 70 dollars | Exact-fit or switch-handle models | Full hose life |
To find the right part, read the model number off the vacuum body, search the brand's part finder, and fall back to a universal threaded cuff or hose if the exact part is discontinued.
Repair extends a hose you already own. Replacement is the right call only when the damage or the design defeats every fix above, since a new hose restores the full-pressure airflow that a patch cannot, a tradeoff a 2026 repair-materials guide lays out.
Frequently Asked Questions
Can you fix a vacuum hose?
Yes. Most vacuum hose damage is a re-thread, a silicone-tape patch, or a reshape, with materials that cost about three dollars, and only molded ends, switch-handle hoses, and badly degraded hoses genuinely need replacing.
What tape is best for a vacuum hose?
Self-fusing silicone tape, sometimes sold as rescue tape, is the best choice because it bonds to itself and seals airtight with no adhesive. Avoid duct tape, which peels under airflow and turns sticky-side-in into a clog.
How do you fix a hole in a vacuum hose without cutting it?
Wrap the hole in self-fusing silicone tape, starting an inch before the hole and finishing an inch past it with a firm 50 percent overlap. Add a second layer if any leak remains, then test the suction.
Why does my vacuum hose still lose suction after I taped it?
The usual reason, and the one I hit most in testing, is a second hairline leak you missed on the first pass. Run the hose past your ear again, listen for a hiss, and patch the spot you find.
If it is silent, suspect a clog rather than the hose.
Can I fix a vacuum extension wand the same way?
A rigid extension wand cracks differently than a flexible hose, so silicone tape rarely holds on it. Replace a cracked wand or its seal, since a wand under hand pressure flexes the tape loose.
How much does a replacement vacuum hose cost?
A universal replacement hose runs about 18 to 35 dollars, and a brand-exact OEM hose runs about 30 to 70 dollars. A silicone-tape repair or a new cuff, at roughly 3 to 10 dollars, is far cheaper when the damage allows it.
The Bottom Line
A damaged vacuum hose is one of the cheapest, most satisfying repairs in the house, as long as you fix the failure in front of you rather than reaching for tape on reflex. Re-thread the cuff for a split near the handle, patch a mid-hose hole with self-fusing silicone tape, and warm and reshape a kink, and you have covered nearly every case for a few dollars.
The one move to avoid is the duct-tape default, which buys you a week and then leaves a bigger leak and a fresh clog. Replace the hose only when a molded end, a switch handle, or an unraveling seam takes every repair off the table.
Learn to fix a vacuum hose this way once, and you will likely never buy a replacement you did not actually need.
Read it your way
Short on time? Open this article in your assistant with a ready-made prompt and get the gist in seconds.
Found this useful? Make us a preferred source so we show up in your Google results.
Keep reading
Related articles

Troubleshooting & Repair
Roomba Not Working? 8 Symptoms Fixed (2026 Models)
Reboot first, then match your symptom. 8 Roomba faults (charge, Wi-Fi, error codes, brushes, bin) with per-series fixes for 600/e/i/j/s and 2026 models.

Troubleshooting & Repair
How Much Does a Vacuum Repair Cost? Fix or Replace (2026)
How much does a vacuum repair cost? Usually $50–150 (up to ~$321 for central). Use the 50% rule and our brand tier to decide: fix it or replace it in 2026.

Troubleshooting & Repair
Why Won’t My Robot Vacuum Work? 6 Fixes We Tested
Why won’t my robot vacuum work? Reset it, free the wheels, clean the sensors and fix a 2.4GHz Wi-Fi snag in 5 minutes: the DIY checks that skip a repair bill.

Troubleshooting & Repair
Not Broken? Why Won’t My Vacuum Work (Fix It First)
Fix it fast: ‘why won’t my vacuum work’ is usually a clog, thermal cutoff, or reset, not a dead motor. Match your symptom to the exact fix.
The discussion
Comments
Every comment is reviewed before it goes live.