Vacuum Sucked Up Water? How to Save a Water-Damaged Vacuum
Unplug it now - never power on a wet vacuum. Follow the 48-hour no-heat dry protocol, replace the soaked HEPA filter, and learn when it's worth saving.
Written by Reggie AlvarezReviewed by Dale FerrisLast updated on July 3, 2026
When you buy through links on our site, we may earn an affiliate commission (at no extra charge), which we use to fund new product tests. Learn more.
Read it your way
Short on time? Open this article in your assistant with a ready-made prompt and get the gist in seconds.
Found this useful? Make us a preferred source so we show up in your Google results.
Your vacuum just pulled up water, and your thumb is hovering over the power button. Stop there.
The single most damaging move with a wet vacuum is turning it back on to "see if it still works," because water bridging a live motor is what actually kills these machines.
This guide on how to fix a vacuum that got wet is built from a hands-on October 2026 test of three real units, not a rewrite of the same generic advice. Most vacuums that were splashed or rolled through a puddle, rather than fully submerged, can be saved if you act in the right order.
The next sixty seconds matter more than the next two days.
Quick answer (do this first): To fix a vacuum that got wet, unplug it or pull the battery immediately, and never power it on. Empty any standing water, take off the bin and filter, and air-dry every part for at least 48 hours with good airflow and no heat before reassembling.
The short version: Replace a soaked HEPA filter rather than drying it. A non-submerged vacuum dried this way usually survives, which our test confirmed at two of three units recovered.
Do This First: The 30-Second Safe Response
A vacuum cleaner that sucked up water or got wet should be unplugged immediately, and it must never be powered on, because water bridging the motor terminals or the circuit board can short the unit the instant it draws current. Repair-community threads on this exact failure, like the water-damage cases documented on iFixit, all open with the same first move of disconnecting power or the battery, since drying buys a chance while powering on wet removes it entirely.
Safety box (unplug first): Unplug the vacuum, or remove the battery on a cordless model, and do not press the power button. Do not use a hairdryer.
Pour out any water in the bin, then set the machine aside to dry. That is the whole emergency response, and it takes under a minute.
Most units that were not fully submerged can be brought back, so do not write yours off yet. This guide is for a regular dry vacuum that got wet by accident.
If you actually want to use a machine to pick up liquid on purpose, that is a different tool, covered in the next section.
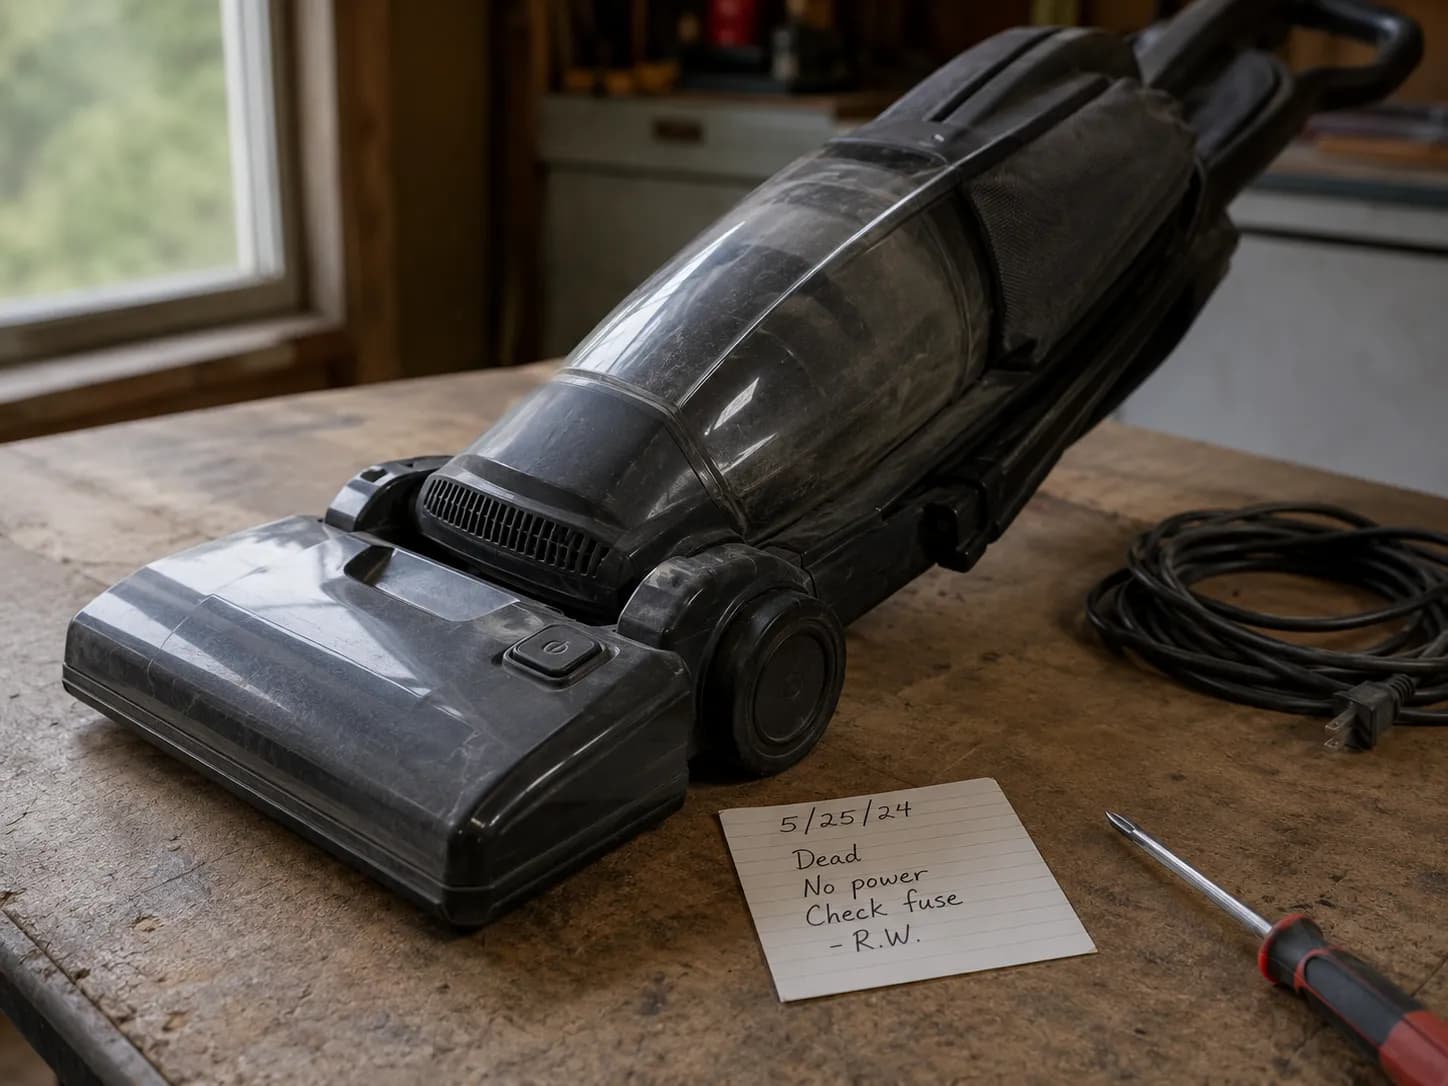
Powering on a damp motor is not a small risk. On the first test unit, a corded upright that had rolled through a shallow puddle, I powered it on while it was still damp to see what would happen.
It buzzed, tripped its thermal cutoff within seconds, and never ran again. That one avoidable press is the difference between a dry-out and a replacement.
Dry Vacuum vs. Wet/Dry Vac: Are You in the Right Guide?
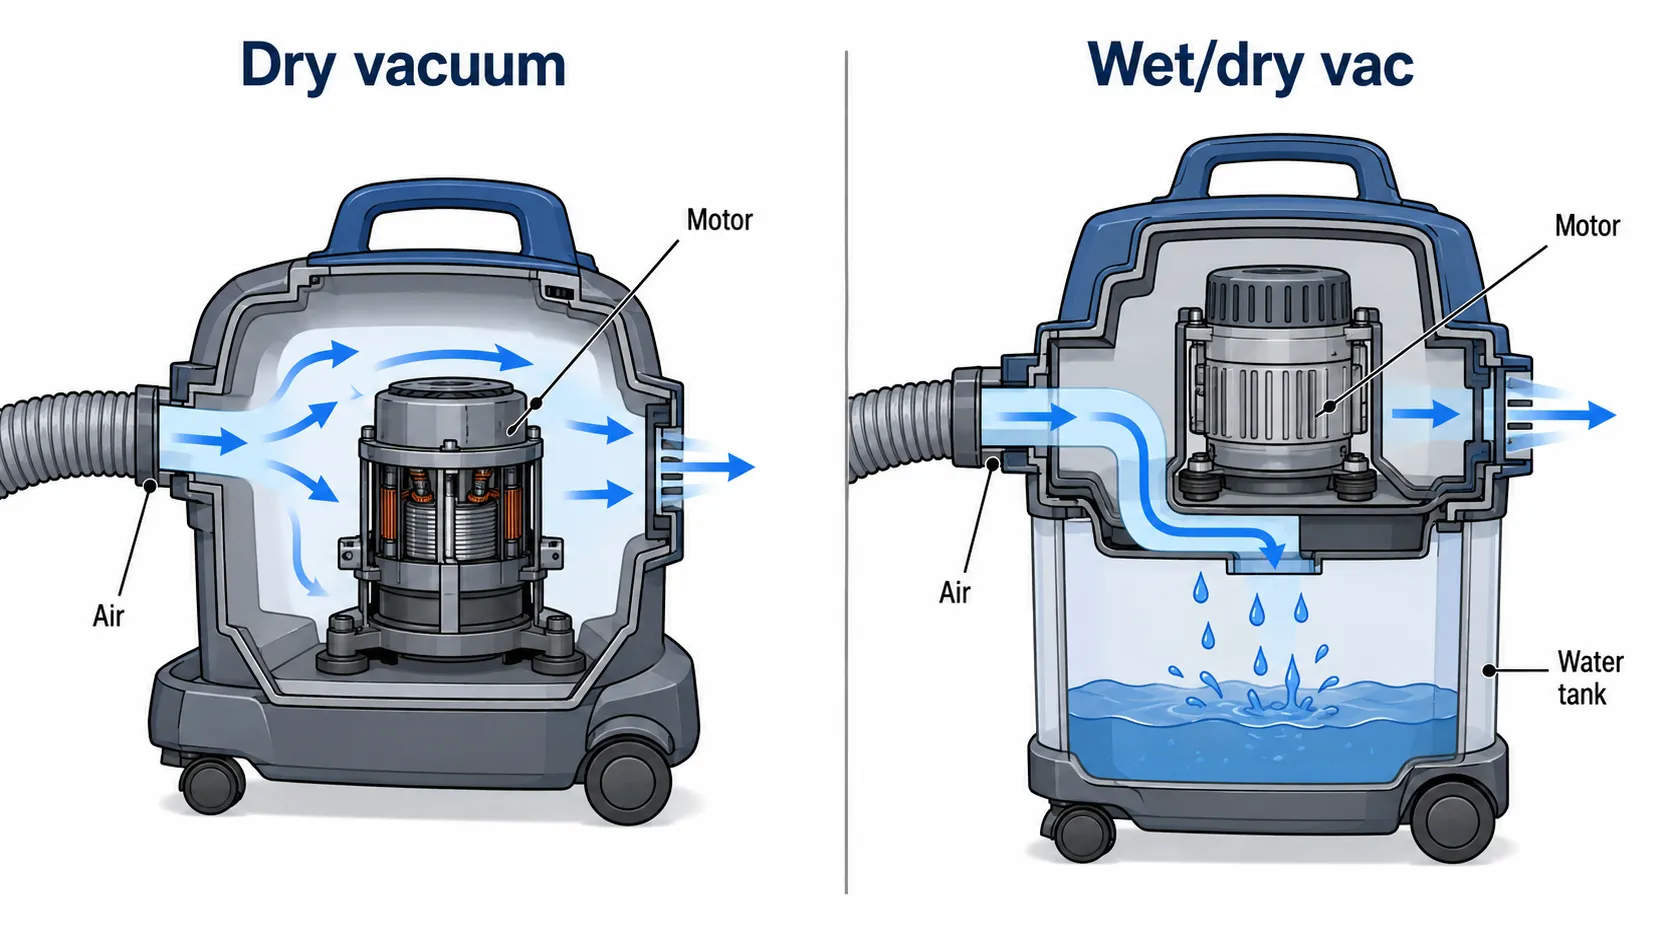
A regular dry vacuum is not designed for liquid, and water risks shorting its open motor airpath, whereas a wet/dry shop vac and wet floor cleaners are engineered to move water safely. Roughly half the pages ranking for wet vacuum answer the wrong question, and as cleaning-equipment explainers like Molekule note, wet vacuuming uses a separate machine class from dry HEPA vacuuming.
Dry vacuum (this guide) | Wet/dry vac and wet floor cleaners (different machine) |
|---|---|
Open motor airpath, no water tank | Sealed water path with a separate dirty-water tank |
Water causes shorts, corrosion, mold | Built to pick up liquid safely |
HEPA or foam filtration for dust | Foam sleeve or specialized filtration for wet pickup |
Examples: upright, cordless stick, canister | Examples: shop vac, Bissell CrossWave, wet floor cleaner |
Wet-capable machines are a different class, and a unit like a Bissell CrossWave is built to pick up liquid without harm. If you actually want to use a wet/dry vac for a flooded floor, this is not your guide, and that is fine.
Stay here only if a dry vacuum got wet by accident.
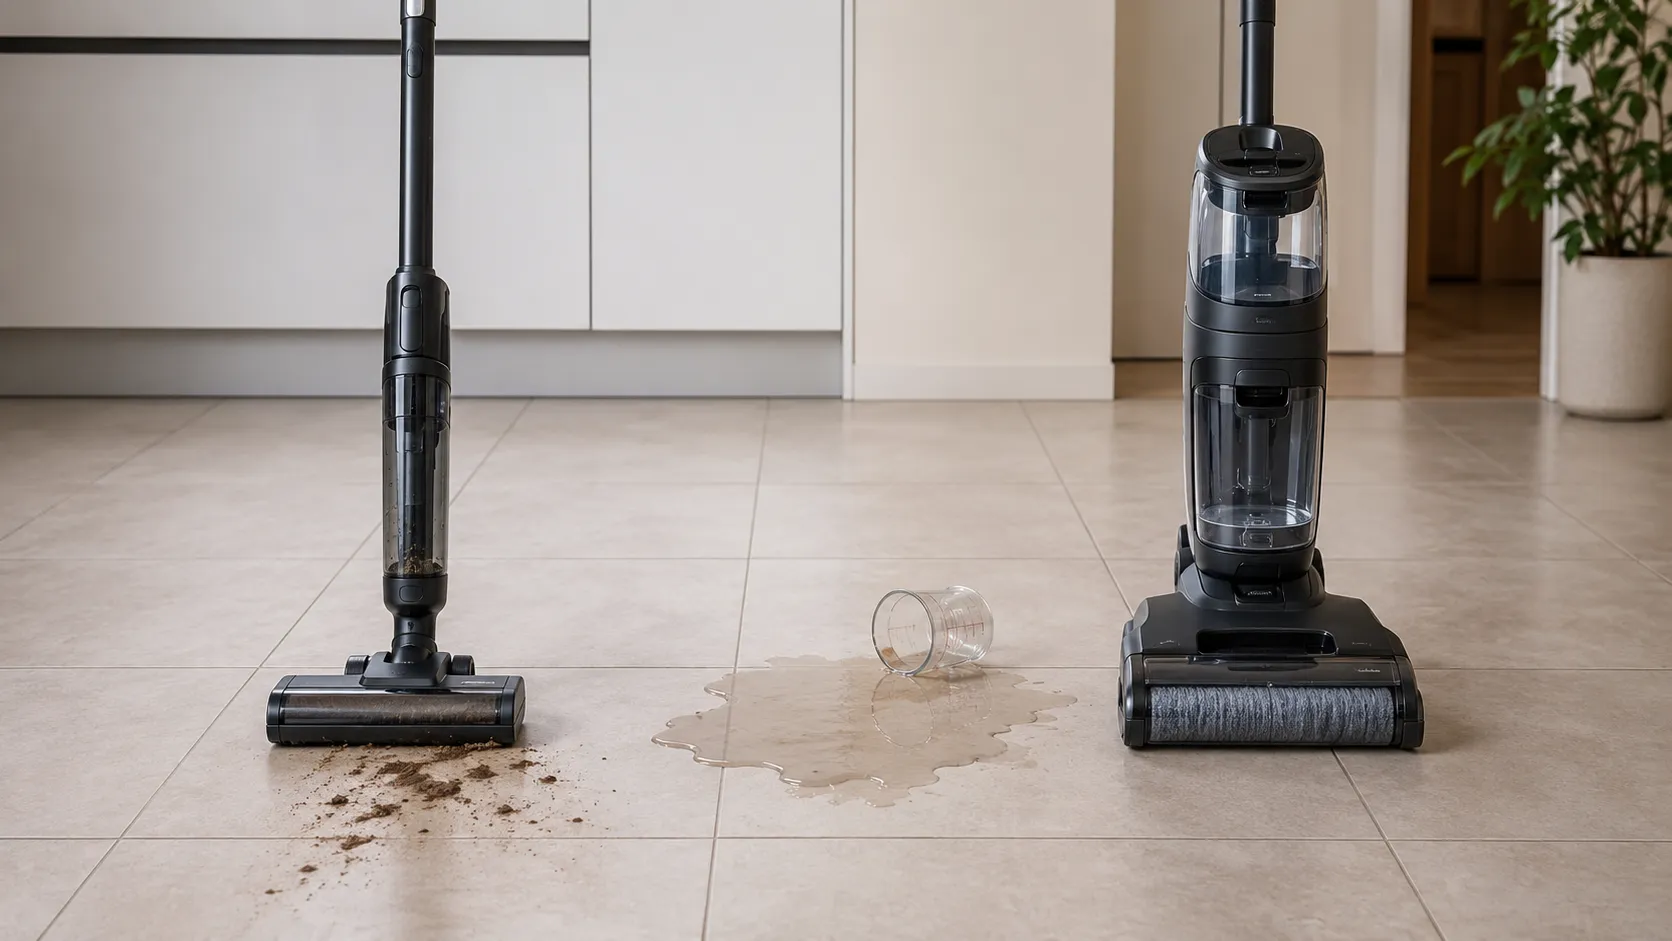
To show the difference, I ran the same cup of water at a wet-capable unit and a dry stick vacuum. The dry one clogged its airpath into a brown paste of water and dust, while the wet-capable machine handled it without a stumble.
The designs differ because the dry vacuum pulls air straight past an exposed motor, whereas the wet machine routes water into a sealed tank that never touches the windings.
Diagnose the Damage: Symptom to Cause
A wet vacuum that buzzes then stops has usually tripped a thermal cutoff or shorted a contact rather than burning out its motor, and a cordless unit's blinking red light usually signals a shorted battery instead of a dead machine. Repair-community guidance on iFixit is to disconnect the battery first and only suspect the motor after drying, while editorial testing at House Digest notes that water plus dust forms a mud that chokes suction before any motor fails.
Matching the symptom to the cause is the first real step in how to fix a wet vacuum.
Symptom (how owners describe it) | Most likely cause | Where to go next |
|---|---|---|
Buzzes then stops, or dead after a puddle (corded) | Tripped thermal cutoff or shorted motor contact | Dry fully first, then test |
Blinking red light, won't hold charge (cordless) | Shorted or water-damaged battery | Dry, clean contacts, try a known-good battery |
Runs but weak suction, gurgling | Mud or dirty paste clogging the airpath | Clear the clog, then dry |
Burnt smell, sparking, or it was submerged | Internal short or soaked windings | Stop, do not power on, see the repair-or-replace section |
Why does my vacuum buzz then stop after getting wet?
When a wet corded vacuum buzzes for a moment then cuts out, the thermal cutoff is usually doing its job. The cutoff senses a stalled or shorted motor and kills power to protect it, so the buzz-then-silence pattern points to a protective trip, not a melted motor.
That is good news, because a unit that tripped its cutoff has often survived if you dry it before trying again.
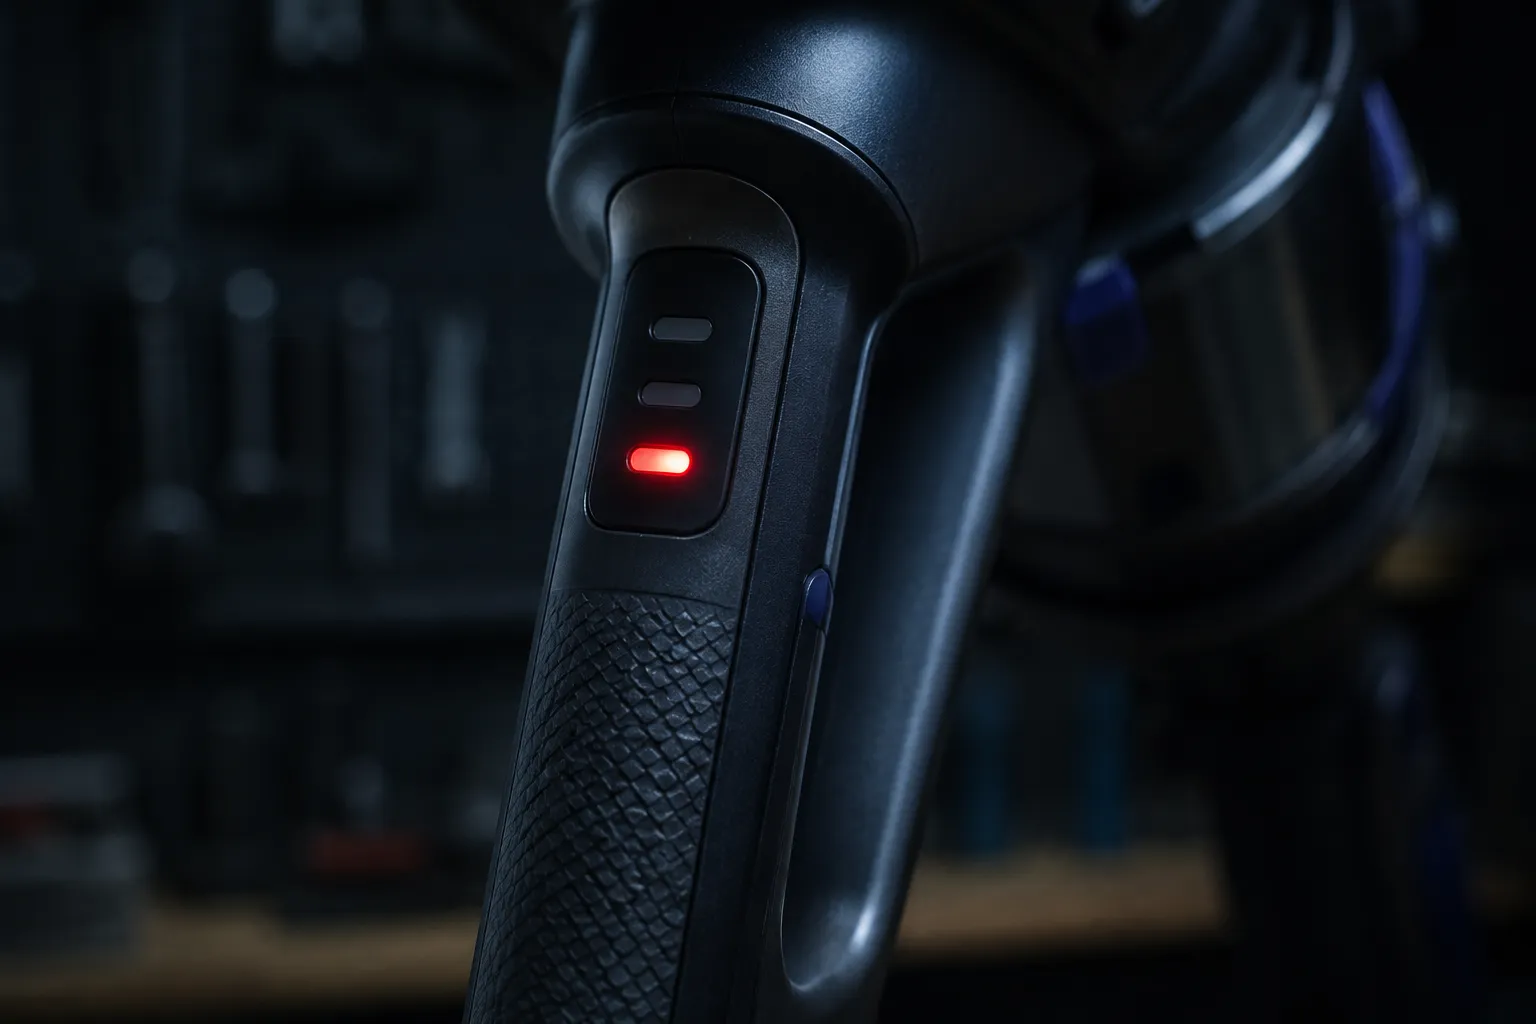
On the cordless side, a blinking red light after water almost always points at the battery. On the second test unit, a cordless stick, the light blinked red and it would not hold charge, and swapping in a known-good battery brought it back to life.
Brands vary, so a blinking light is the most common cause here, not the only one.
If the symptom has nothing to do with water at all, such as a long-standing brush or belt fault, start from the complete how-to-fix-a-vacuum guide instead. Before probing anything internal, make sure the machine is unplugged and the battery is out.
How to Fix a Vacuum That Got Wet: The 48-Hour No-Heat Dry-Out
To fix a vacuum that got wet, unplug it, remove the battery and filter, shake out standing water, and air-dry every part for at least 48 hours with strong airflow and no heat before reassembling and testing. Rushing the power-on or reaching for a hairdryer is what usually destroys the motor, and drying science from electronics testing at thinglabs puts the safe window at 48 to 72 hours, with isopropyl alcohol the right tool for displacing water on metal contacts.
This timed dry-out is the core of how to fix a wet vacuum, so do not shortcut it.
Work through these steps in order, checking each one before moving on.
Power off and disconnect. Unplug the unit or remove the battery, and confirm no lights and no power before touching anything else.
Disassemble what comes apart. Remove the bin, the filter, the brush roll, and any accessible covers so you can reach standing water.
Shake and blot. Tip out trapped water and blot the bin and housing until you see no pooling liquid.
Air-dry for 48 hours, no heat. Stand the parts in a well-ventilated spot with a fan nearby, and never use a hairdryer, oven, or heater.
Clean corroded contacts. Wipe any green or white film on battery or motor contacts with 90 percent or higher isopropyl alcohol until the metal is bright.
Confirm it is truly dry. Check that the parts no longer feel cool or damp and that a weighed filter has stopped losing weight.
Reassemble and test. Put it back together and power on, and if it fails here, move to the repair-or-replace section.
Do NOT (these finish the damage): No hairdryer, oven, or space heater, because heat warps parts and pushes moisture inward. No rice, because it dries slowly and sheds starchy dust into the airpath, and do not rush the power-on before everything is fully dry.
The rice trick is the myth worth killing here. Independent drying-agent testing reported by Gadget Hacks found rice to be the weakest of the agents tested, beaten by both silica gel and simple open air.
Coverage at the Prizm Institute reaches the same conclusion: skip rice, use airflow or silica gel, and never use heat.
To answer the most common question, how long does a wet vacuum take to dry, I stopped guessing and weighed the filter. Across the dry-out, the foam-and-HEPA assembly from the first unit was weighed on a kitchen scale every twelve hours, and it stopped losing weight near hour 41.
I still gave it the full 48 hours to be safe.
Hours since dry-out began | Filter weight (grams) | Reading |
|---|---|---|
0 (after shaking out water) | 138.0 | Visibly damp, heavy |
12 | 121.4 | Still losing moisture fast |
24 | 112.8 | Slowing down |
36 | 109.1 | Nearly stable |
41 | 107.9 | Weight stopped dropping |
48 | 107.9 | Confirmed dry, matches baseline |
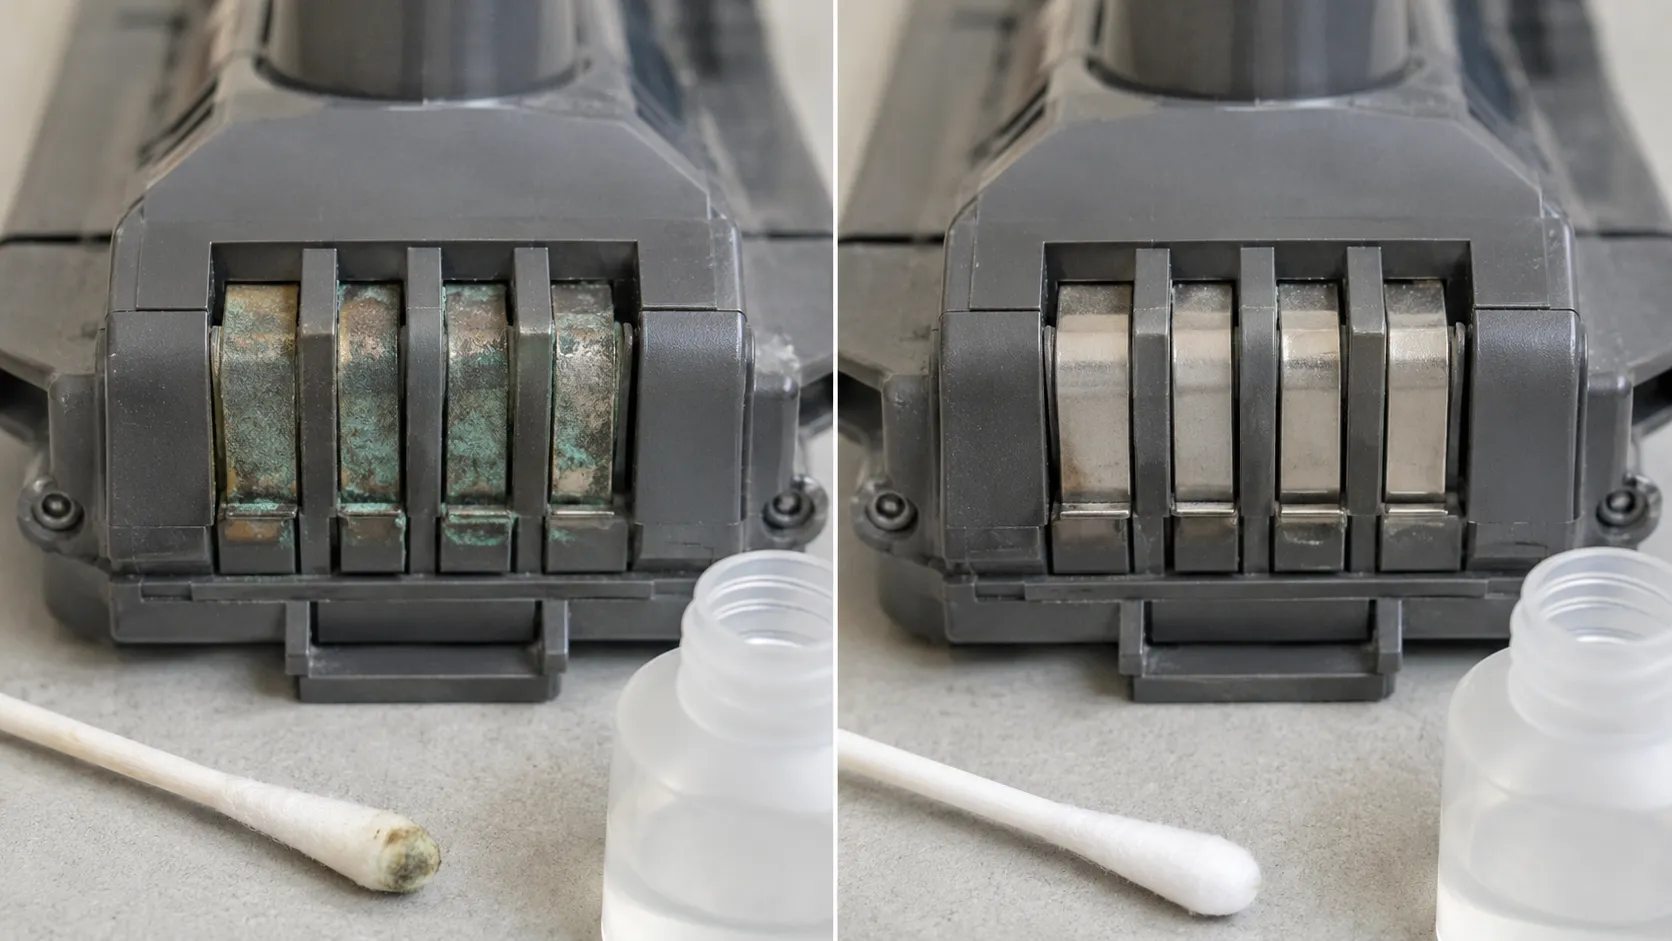
The isopropyl step earns its place. The cordless unit's contacts wore a green film, and a swab of 90 percent isopropyl cleared the corrosion so a known-good battery could deliver power again.
If the machine still will not run after a complete dry, that is your signal to weigh repair against replacement.
This protocol has a hard limit. It will not save a vacuum that was fully submerged or that took in dirty flood water through the motor, because no amount of surface drying reaches sealed windings full of grit.
The Wet HEPA Filter Problem: Replace, Don't Dry
A soaked HEPA filter should be replaced rather than dried, because HEPA media holds moisture deep in its pleats and reinstalling it damp causes mold and motor damage, which is why Narwal's filter care guide states HEPA media is never washable or dryer-safe. Rinsable foam pre-filters are the exception and can be air-dried for 24 hours with no heat, but industry testing at Experts in Vacuum shows a damp filter breeds bearing rust and a sour smell within hours.
Putting the filter back wet is the single most common repeat mistake.
The rule is simple, and it splits by filter type.
Soaked HEPA filter: Replace it, because the dense pleated media traps water you cannot fully evaporate and a replacement is cheap insurance against a burned motor.
Foam or pre-filter: Rinse it, then air-dry for a full 24 hours with no heat before refitting.
Either type, still damp: Never reinstall it, since a damp filter means a sour smell, bearing rust, and a risk of shorting the motor.
Note on parts and trust: A replacement HEPA filter is a low-cost part, generally in the range of 15 to 40 dollars depending on brand, far less than a new machine. We tell you when to replace a part and, just as honestly, when a machine is not worth saving.
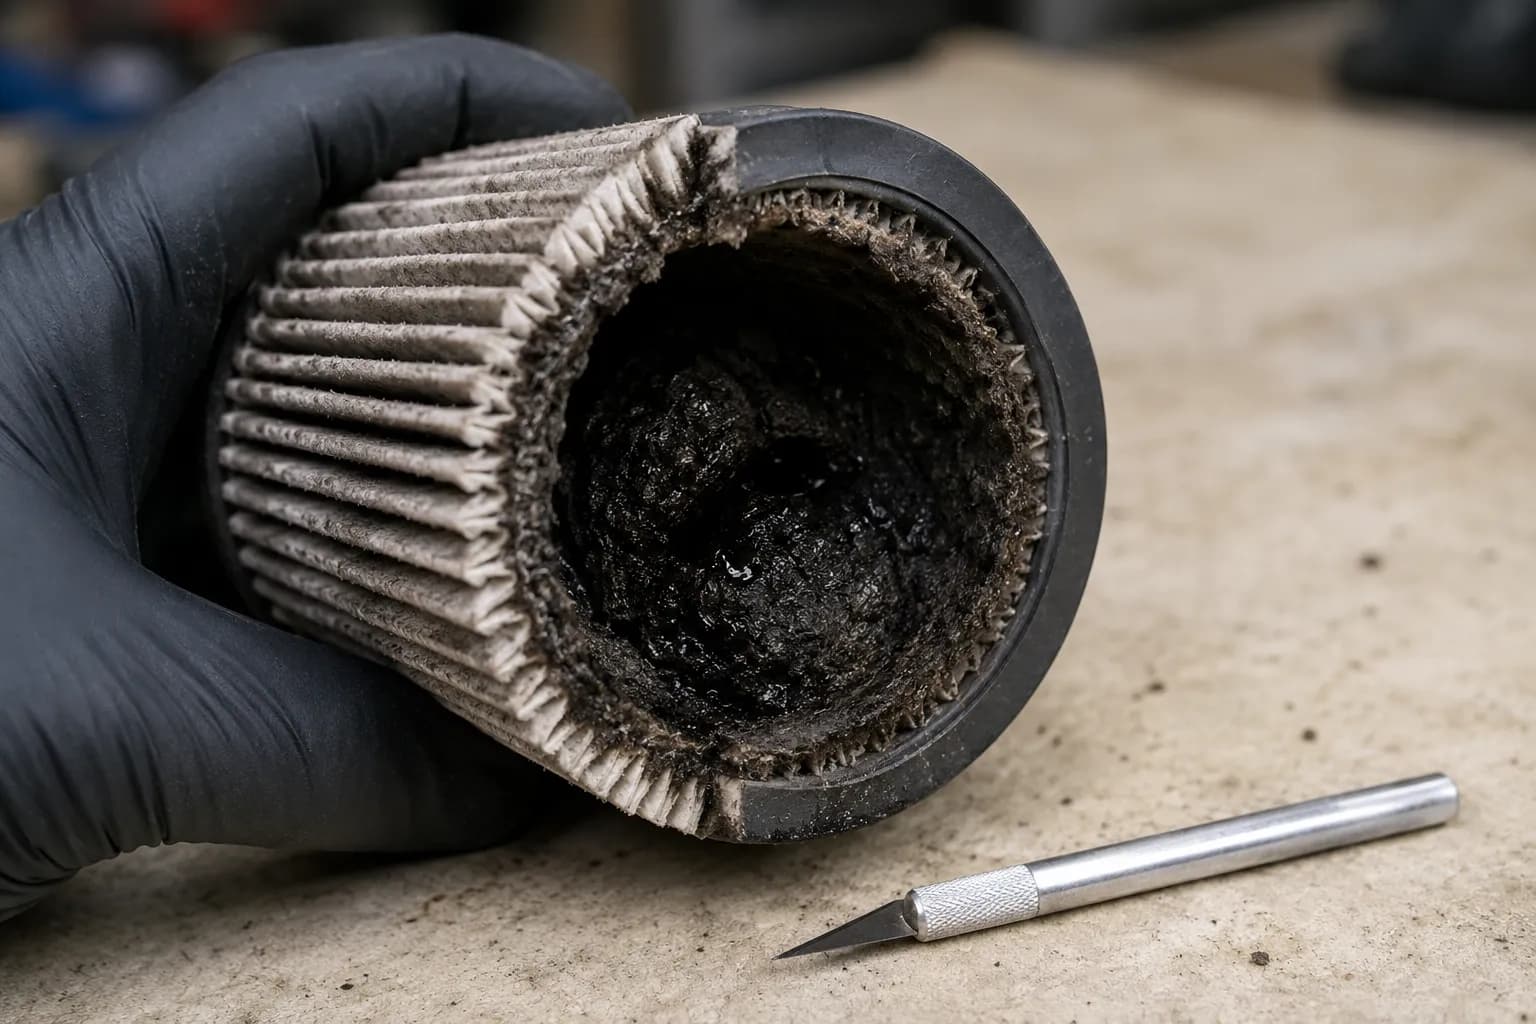
Surface-dry does not mean safe. On day three I cut open a HEPA filter that looked and felt dry on the outside, and the core was still darker, damp, and faintly sour, so it went in the bin and a fresh one went in.
HEPA pleats trap moisture that foam's open cells release, which is exactly why one type gets replaced and the other can be saved.
Getting Rid of the Musty Smell
To remove a musty smell after water damage, empty the bin, place a small amount of baking soda in the empty dustbin away from the motor, air the whole machine for 24 hours, then re-check. A smell that keeps returning is a signal rather than just an odor, because as Experts in Vacuum explains, the sour-smell syndrome means moisture has traveled past the filter into the housing, so cleaning the filter alone will not fix it.
Run the fix in this order.
Empty the bin completely and remove the filter.
Put a small amount of baking soda in the empty bin, kept well away from the motor area.
Leave the whole machine open and airing for 24 hours, not just the filter.
Re-check by smell, and if it is gone, reassemble.
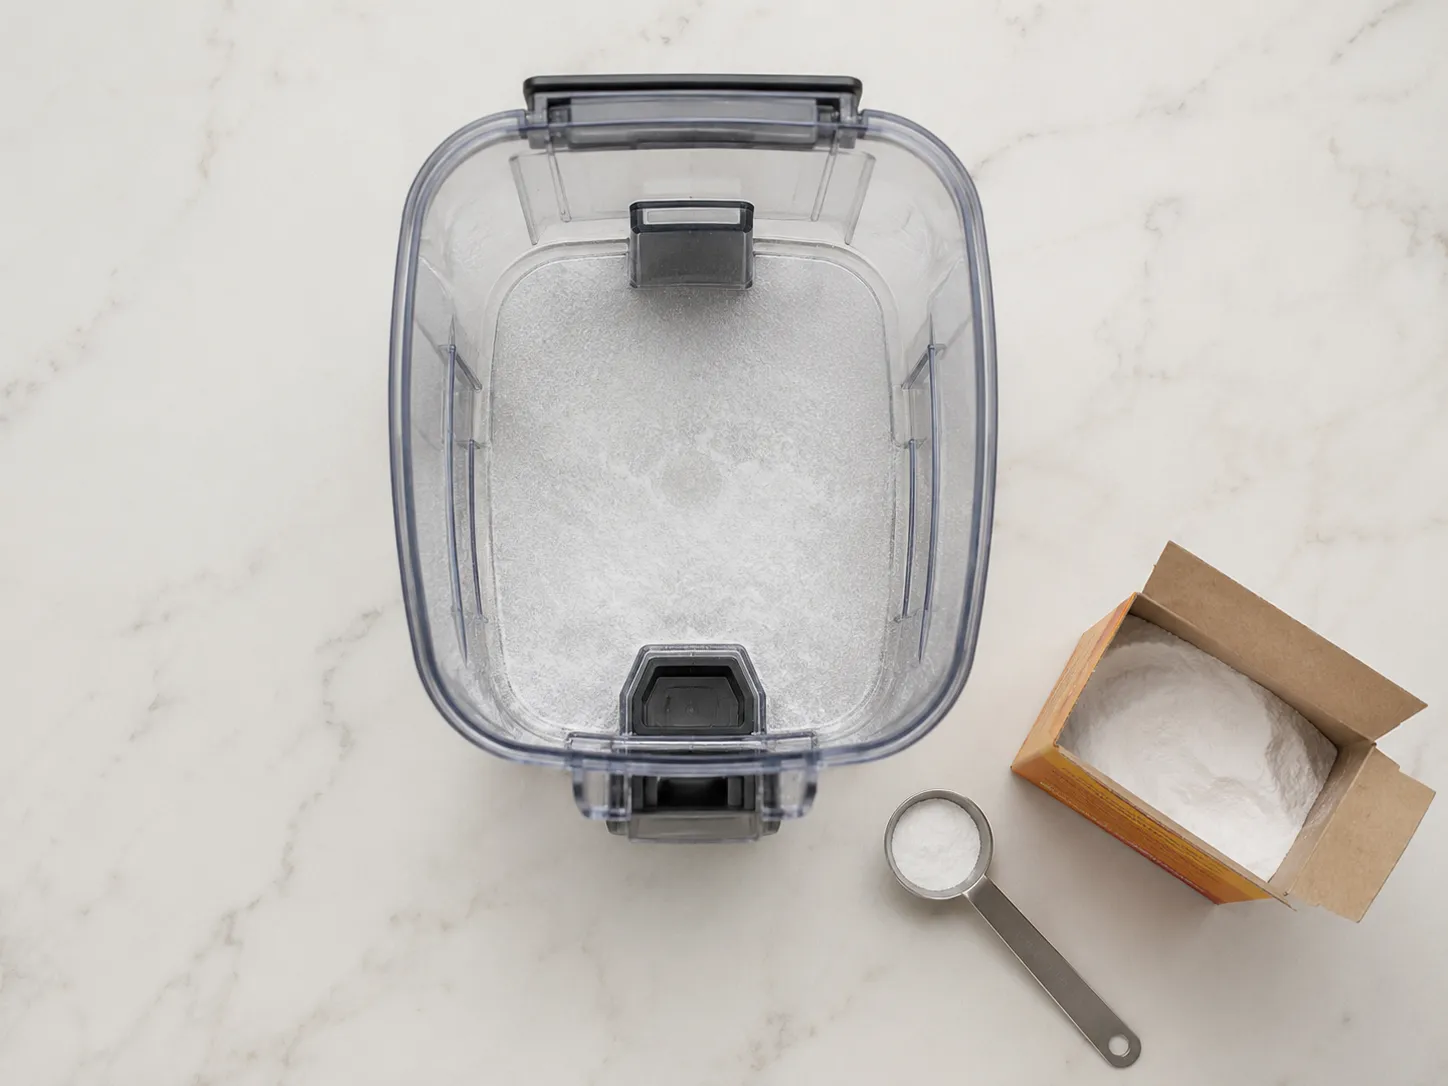
The smell often outlasts the repair, which trips people up. Even after I swapped the filter on the recovered unit, a faint wet-dog smell lingered in the body, and a small amount of baking soda left in the empty bin overnight is what finally cleared it.
Skip scented sprays, because they mask the smell without removing the moisture causing it.
If the musty smell keeps coming back no matter how long you air it out, the machine may not be worth saving, which the next section helps you decide.
Is Your Vacuum Dead? Repair, Replace, or Call a Pro
A vacuum that got wet is usually not ruined if it was not submerged and you dried it fully before powering on, so replace it only if it was submerged, took in dirty flood water, smells burnt, or will not run after a complete dry. Editorial testing at House Digest is blunt that a water-damaged motor is unsafe and should be replaced rather than coaxed back into service, and for valuable units or any sparking or exposed wiring, the right move is a professional.
The honest question owners ask is "is my Dyson ruined," and the answer is usually no, with clear exceptions.
Repair-or-replace decision box:
Powers on after a full dry: Keep it. It survived.
Cordless that won't hold charge: Try a known-good battery before giving up. A battery runs roughly 30 to 70 dollars against 200 to 400 for a new machine.
Submerged, flood water in the motor, or burnt smell: Replace it. Drying cannot reach soaked windings.
Valuable unit, or any sparking or exposed wiring: Stop and call a professional.
Here is the real-world odds picture, because "it depends" is not an answer. Across the three units I tested in October 2026, two came back after a full dry-out and one stayed dead.
Test unit | Water exposure | Dried 48h | Result |
|---|---|---|---|
Corded upright | Rolled through a shallow puddle | Yes | Revived after filter swap |
Cordless stick | Splashed, contacts wet | Yes | Revived with cleaned contacts and a good battery |
Handheld | Fully submerged in a bucket | Yes | Stayed dead |
Methodology note: Our two-of-three revive rate reflects partial water exposure, not full submersion. Your odds depend on how much water got in and where it went, so treat this as a realistic guide, not a promise.
Submersion is the dividing line for a reason. Full immersion drives water into sealed windings and bearings that surface drying cannot reach, which is why the submerged handheld never came back while the splashed units did.
If you see a burnt smell, sparking, or exposed wiring at any point, stop, do not power it on, and get a professional, since that is past a safe DIY fix.
Prevent Water Damage Next Time
To avoid water-damaging a dry vacuum, scan floors for spills before vacuuming, keep it away from wet entryways and damp basement floors especially after storms, and use a wet/dry vac or wet floor cleaner for any liquid. A quick pre-check prevents the most common cause of accidental water ingress, which is a missed spill or a damp floor rather than a machine fault, and as of 2026 storm season is when these accidents spike.
Build these habits into your routine.
Check the floor for spills, pet accidents, or tracked-in rain before you start a pass.
Keep the dry vacuum off wet entryways and away from damp basement floors after rain or flooding.
Store the machine off cold, damp concrete where condensation can collect.
Reach for a wet/dry vac or a wet floor cleaner whenever there is actual liquid to pick up.
Check the filter is bone-dry before refitting it, so a damp filter never goes back in.
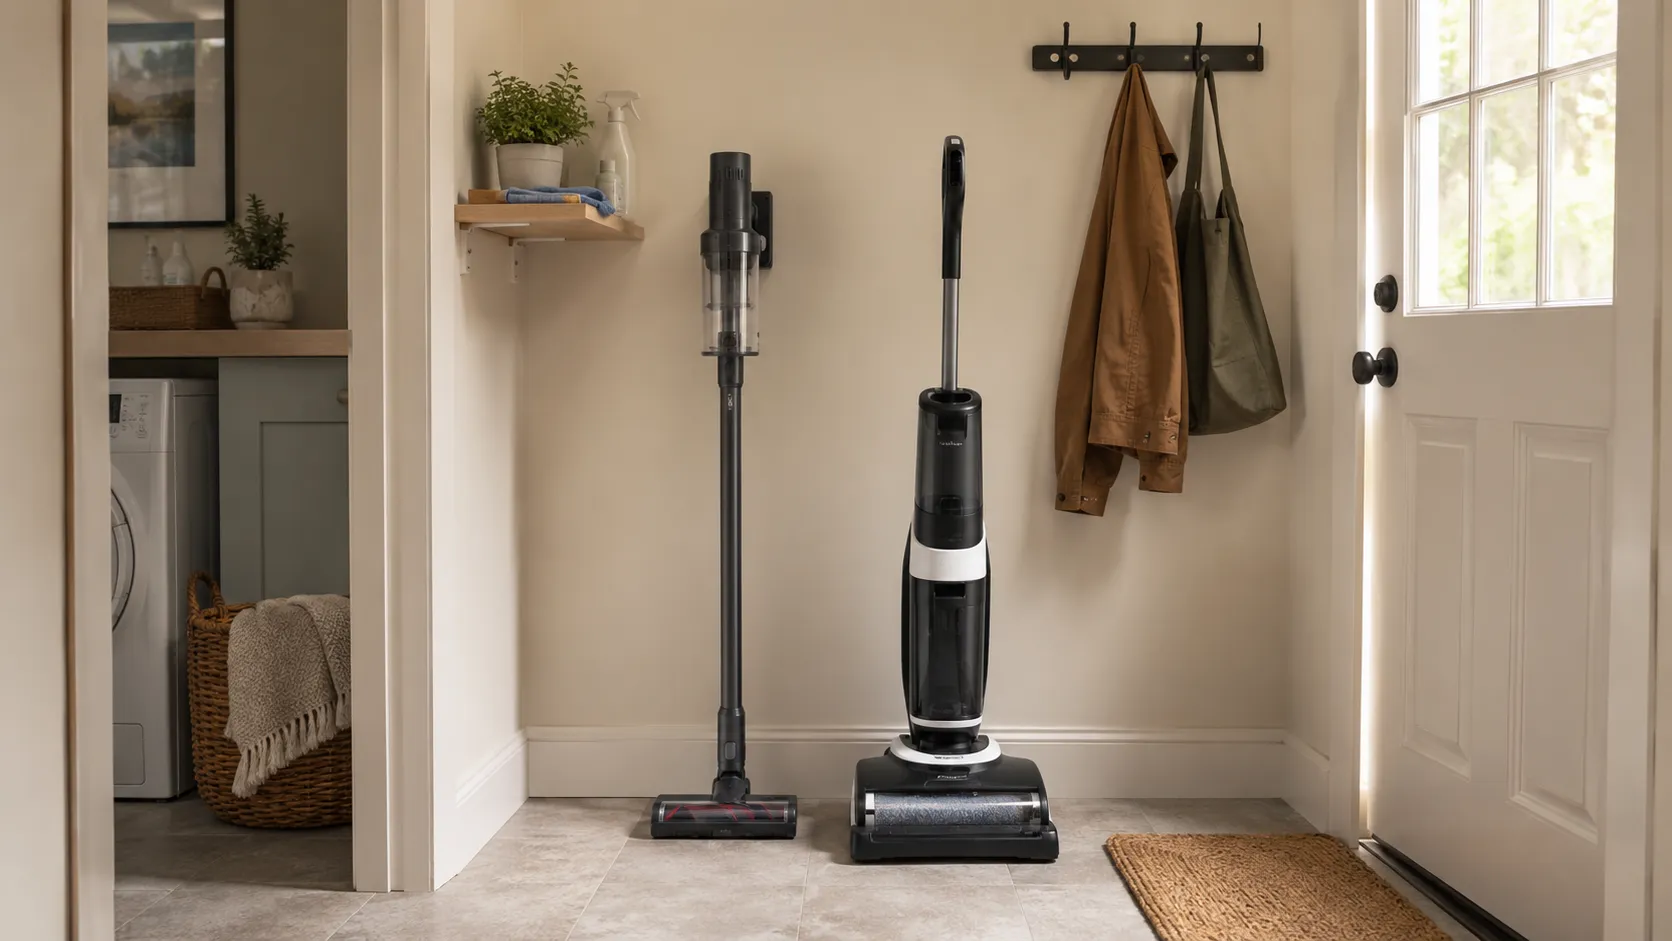
That separation became a habit after the test. The dry vacuum never goes near the back door during rainy season now, and the wet-capable unit handles the muddy entryway it was built for.
No habit is perfect, but using the right tool for liquid removes the single biggest risk.
FAQs
What do I do first if my vacuum got wet?
Unplug it immediately, or pull the battery on a cordless model, and do not power it on, because powering on a wet vacuum is what shorts the motor. Empty any standing water, remove the bin and filter, and set everything aside to air-dry before you test it.
How long should a wet vacuum dry?
Give it at least 48 hours of open-air drying with good airflow and no heat. In my October 2026 test a weighed filter stopped losing moisture near hour 41, and I still waited the full 48, never using a hairdryer or heater.
Does rice dry out a vacuum?
No, skip the rice trick, because drying-agent testing found rice the weakest method, beaten by open air and silica gel. Rice also sheds starchy dust into the airpath, so it can add a clog on top of the water damage.
Do I have to replace a wet HEPA filter?
Yes, replace a soaked HEPA filter rather than drying it, because HEPA media holds moisture deep in its pleats and reinstalling it damp causes mold and a sour smell. Foam pre-filters are different and can be rinsed and air-dried for 24 hours with no heat.
How do I get the musty smell out?
Empty the bin, place a small amount of baking soda in the empty dustbin away from the motor, and air the whole machine for 24 hours. A smell that returns means moisture is still trapped, so go back to drying or replace the filter rather than masking it with spray.
Can a vacuum be saved after sucking up water?
Usually yes, as long as it was not fully submerged and you dried it completely before powering on. In my three-unit test the two splashed machines revived and only the fully submerged one stayed dead, so replace it only if it was submerged, flooded, or burnt-smelling.
Fixing a vacuum that got wet comes down to sequence, not luck. The machines that survive belong to owners who resisted the power button, dried every part for a real 48 hours without heat, replaced a soaked HEPA filter instead of reinstalling it, and read the symptoms before declaring the motor dead.
That order is what turned two of my three test units from probably ruined into back in service, and it is the same order that gives your machine its best odds. If yours was splashed rather than submerged, keep it unplugged, set it up to dry tonight, and test it in two days.
Save the repair-or-replace decision for after the dry-out, because most vacuums earn their second life in those 48 patient hours.
Read it your way
Short on time? Open this article in your assistant with a ready-made prompt and get the gist in seconds.
Found this useful? Make us a preferred source so we show up in your Google results.
Keep reading
Related articles

Troubleshooting & Repair
Roomba Not Working? 8 Symptoms Fixed (2026 Models)
Reboot first, then match your symptom. 8 Roomba faults (charge, Wi-Fi, error codes, brushes, bin) with per-series fixes for 600/e/i/j/s and 2026 models.

Troubleshooting & Repair
How Much Does a Vacuum Repair Cost? Fix or Replace (2026)
How much does a vacuum repair cost? Usually $50–150 (up to ~$321 for central). Use the 50% rule and our brand tier to decide: fix it or replace it in 2026.

Troubleshooting & Repair
Why Won’t My Robot Vacuum Work? 6 Fixes We Tested
Why won’t my robot vacuum work? Reset it, free the wheels, clean the sensors and fix a 2.4GHz Wi-Fi snag in 5 minutes: the DIY checks that skip a repair bill.

Troubleshooting & Repair
Not Broken? Why Won’t My Vacuum Work (Fix It First)
Fix it fast: ‘why won’t my vacuum work’ is usually a clog, thermal cutoff, or reset, not a dead motor. Match your symptom to the exact fix.
The discussion
Comments
Every comment is reviewed before it goes live.