Vacuum Motor Not Working? 3 Tests Before You Replace It
Test your vacuum motor in 3 steps: switch, thermal fuse, continuity. Spot worn brushes or bad bearings, then decide repair vs replace.
Written by Reggie AlvarezReviewed by Dale FerrisLast updated on July 3, 2026
When you buy through links on our site, we may earn an affiliate commission (at no extra charge), which we use to fund new product tests. Learn more.
Read it your way
Short on time? Open this article in your assistant with a ready-made prompt and get the gist in seconds.
Found this useful? Make us a preferred source so we show up in your Google results.
A vacuum that suddenly goes silent feels like a death sentence for the machine. Most of the time it is not.
When the cord, outlet, and clogs are already ruled out and the motor still will not run, the fault is usually a cheap, replaceable part rather than the motor itself. A vacuum motor not working is far more often a blown thermal fuse or worn carbon brushes than a truly dead motor, and three quick tests tell you which.
This guide is for the DIYer with a multimeter who is past the clog stage. We will read the symptom, run an ordered switch, fuse, and continuity test, fix the two failures you can actually fix, and end with a current cost matrix so you know whether to repair or replace.
The 30-second verdict. If your vacuum has power at the outlet, clean filters, and a clear airflow path but the motor will not spin, test three things in order: the on-off switch, the thermal fuse, and the motor windings. A blown thermal fuse (often under two dollars) and worn carbon brushes are common and cheap. A motor that fails all three tests is genuinely dead, and on a vacuum worth under 200 dollars, replacing the machine usually beats a 80 to 150 dollar motor.
Is My Vacuum Motor Actually Dead?
A vacuum motor is rarely as dead as it seems. Before any teardown, three signals together point to a true motor fault rather than a clog: no response after the cord, plug, and outlet check out; a sharp burning or shellac smell; and weak or absent suction at the bare hose with clean filters.
If only suction is weak, the problem is almost always airflow, not the motor, and the quick clog-and-filter fixes solve it.
This article is the deep motor-repair branch. If you have not yet ruled out a blockage or a full bin, start with the full vacuum repair walkthrough and come back here only once the basics are clean.
One cordless note before we open anything: a battery vacuum that suddenly quits and "won't hold charge" is almost always a battery or charging fault, not the motor.
The gate, not the diagnosis. The 30-second check tells you whether to keep reading. The multimeter further down is what actually confirms a dead motor.
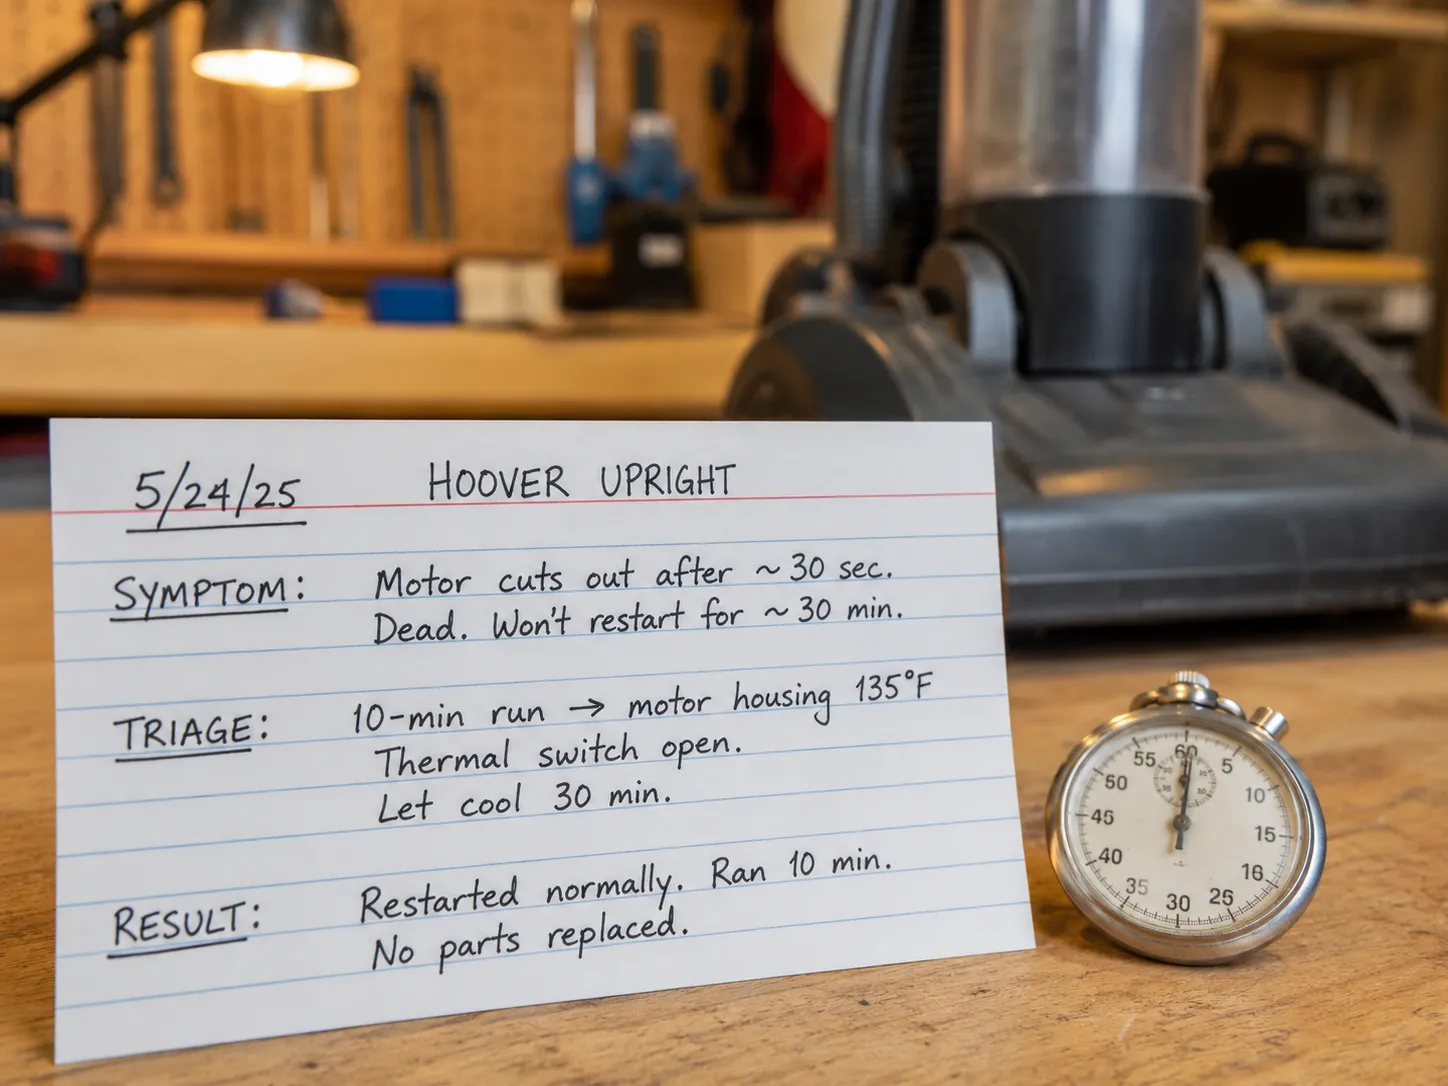
Here is a real example of why the gate matters. On a Hoover upright a reader sent in, the "dead motor" turned out to be a tripped thermal cutoff: after a 30-minute cool-down it ran again with no parts at all, because a packed filter had let it overheat.
Read the Symptom: Burning Smell, Loud Noise, Overheating, No-Start
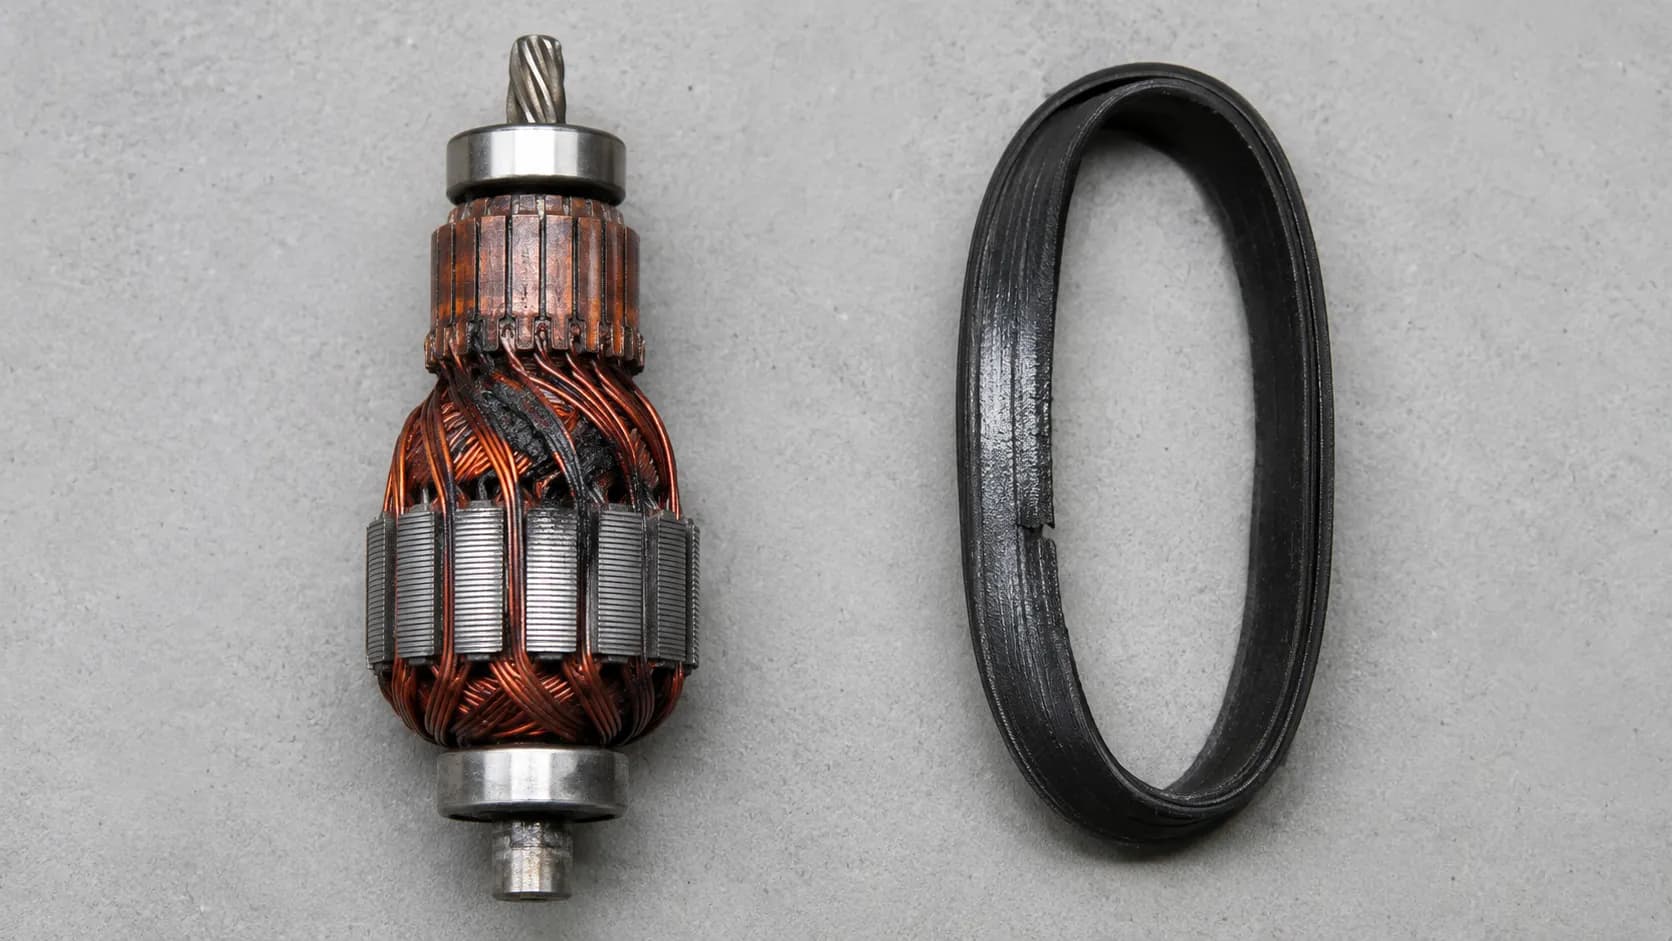
The smell and the sound usually name the culprit before any tool comes out. A sharp electrical or shellac odor signals overheating motor windings, while a sweet burnt-rubber smell points to a slipping drive belt rather than the motor.
According to Repair Clinic, the three usual causes when a vacuum motor stops are a faulty on-off switch, a burned-out motor, or worn motor brushes, which is exactly the order the test below follows.
The distinction between the two burning smells is one I rely on constantly. On a bench session this spring I had a seized Eureka upright and a belt-slipping Bissell open within the same afternoon, and the Eureka's hot-electronics smell was unmistakably different from the Bissell's sweet rubber tang.
The "shellac" note specifically comes from the varnish coating the copper windings, a tell that BuiltInVacuum documents and that I have now smelled enough times to trust.
What does each symptom point to?
The table below routes the four symptoms that bring people to this page. Use it to decide which test or fix to jump to next.
Symptom | Most likely cause | Where to go next |
|---|---|---|
Sharp electrical or shellac smell | Overheating or burned motor windings | Multimeter test, then repair-vs-replace |
Sweet burnt-rubber smell | Slipping or melting drive belt (not the motor) | Belt replacement, not this article |
Runs, then dies, will not restart until cooled | Tripped thermal cutoff or blown thermal fuse | Multimeter test, fuse step |
Grinding, rumble, or squeal that rises with load | Worn motor bearings, or a bearing-vs-belt squeal | Carbon brushes and bearings |
Loud high whine with weak suction | Motor strain from restricted airflow | The full repair walkthrough, then prevention |
Stop immediately if the vacuum smokes or sparks. Unplug it at once and do not run it again until you have found the cause, because continuing risks an electrical fire. A thermal cutoff that trips and resets on its own is the machine protecting itself, and it often points to restricted airflow rather than a failed motor.
The Multimeter Test: Switch, Thermal Fuse, Motor Continuity
This is the test that separates a two-dollar fix from a dead machine. To test a vacuum motor with a multimeter, unplug the vacuum, set the meter to the lowest ohms range, and check three components in order from cheapest to most serious: the on-off switch, the thermal fuse, and the motor windings.
Near-zero ohms means continuity and a healthy part, while an open reading (OL) means that part has failed and should be replaced before you suspect anything downstream.
Unplug the vacuum and let it sit before you touch anything internal. Every step below assumes the machine is disconnected from power. This is a soft electrical repair, so if a winding or board looks scorched or you are unsure, stop and have it checked.
Test the on-off switch. Place a probe on each switch terminal and toggle it on. Repair Clinic's switch method confirms a good switch reads continuity in the on position; no continuity means replace the switch.
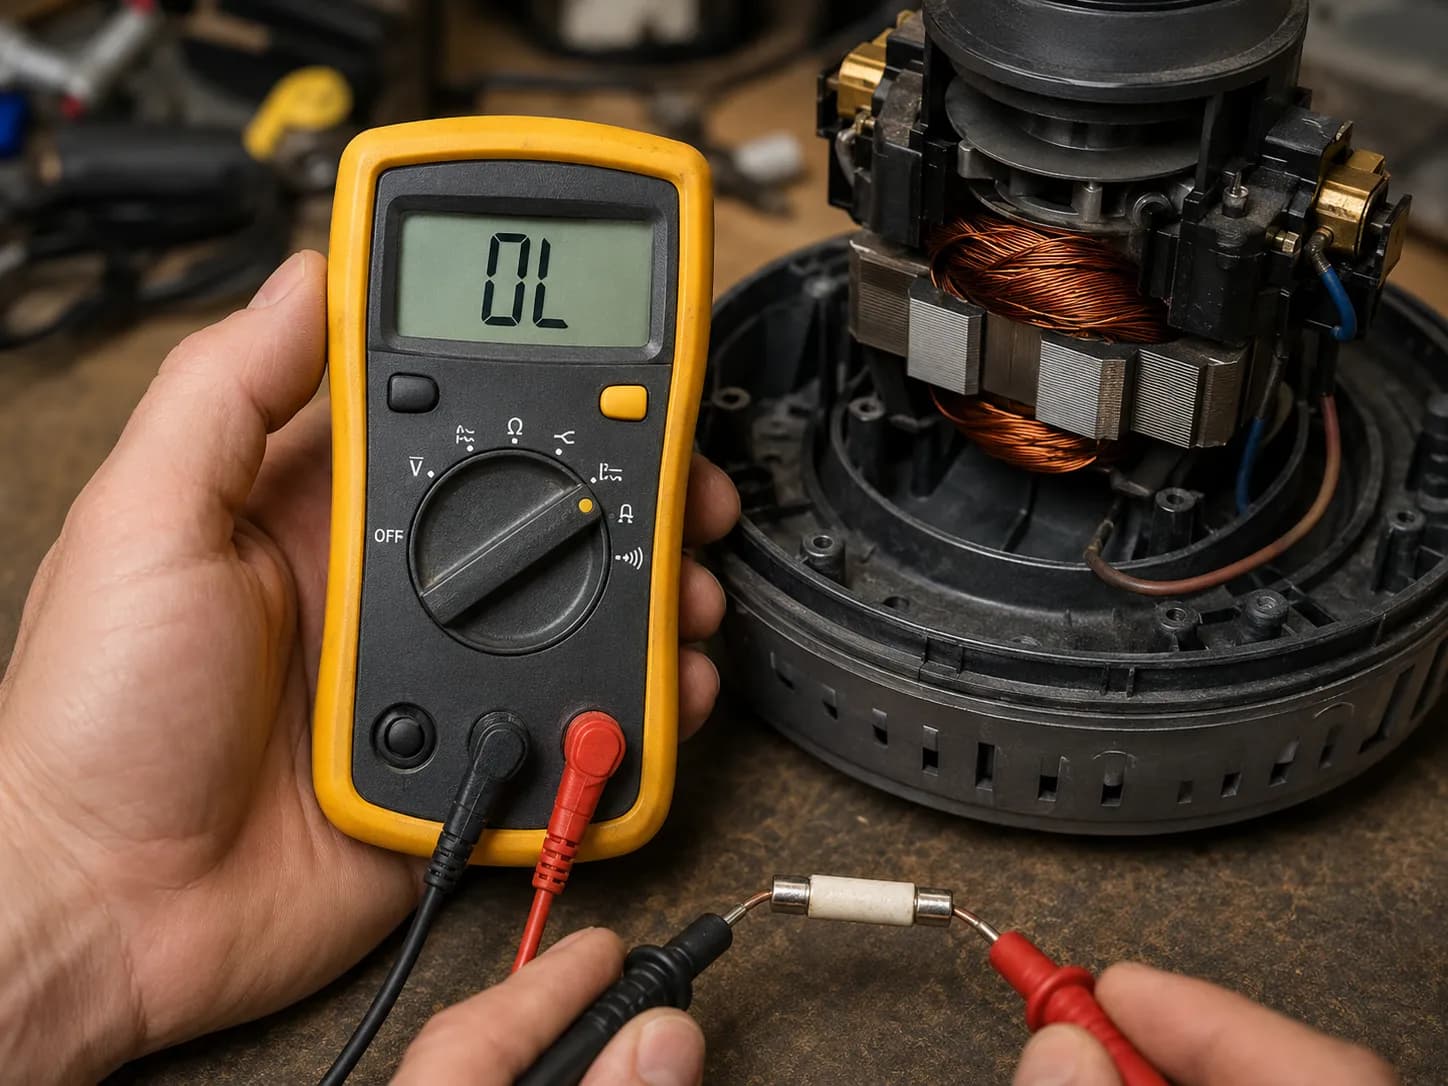
Test the thermal fuse or cutoff. With the meter still on resistance, check the fuse leads. The VacMaster Guide notes a healthy fuse shows low resistance; an OL reading means the fuse has blown and needs replacing, not the motor.
Test the motor windings. Probe the two motor leads. A low, steady resistance reading means the windings are intact; an open or wildly unstable reading means the motor itself is likely dead.
On the test Eureka, those three readings told the whole story. The switch read 0.3 ohms (good), the thermal fuse read OL (blown), and the winding read a healthy 2.1 ohms, which meant a roughly nine-dollar fuse, not a dead motor.
Component tested | Reading on the test Eureka | Verdict |
|---|---|---|
On-off switch | 0.3 ohms (continuity) | Healthy, not the fault |
Thermal fuse | OL (open) | Blown, replace it |
Motor windings | 2.1 ohms (steady) | Healthy, motor is alive |
Methodology note: continuity is necessary but not sufficient. A winding can read continuous and still fail under load, so a clean reading clears a part rather than guaranteeing it forever.
If power reaches a freely spinning motor and it still will not run, the next suspects are the carbon brushes.
The Two Fixable Failures: Carbon Brushes and Bearings
Two motor faults are genuinely homeowner-fixable, and both are cheap. Worn carbon brushes and stiff or dry bearings account for a large share of motors that seem dead but are not, and you can gauge each in minutes.
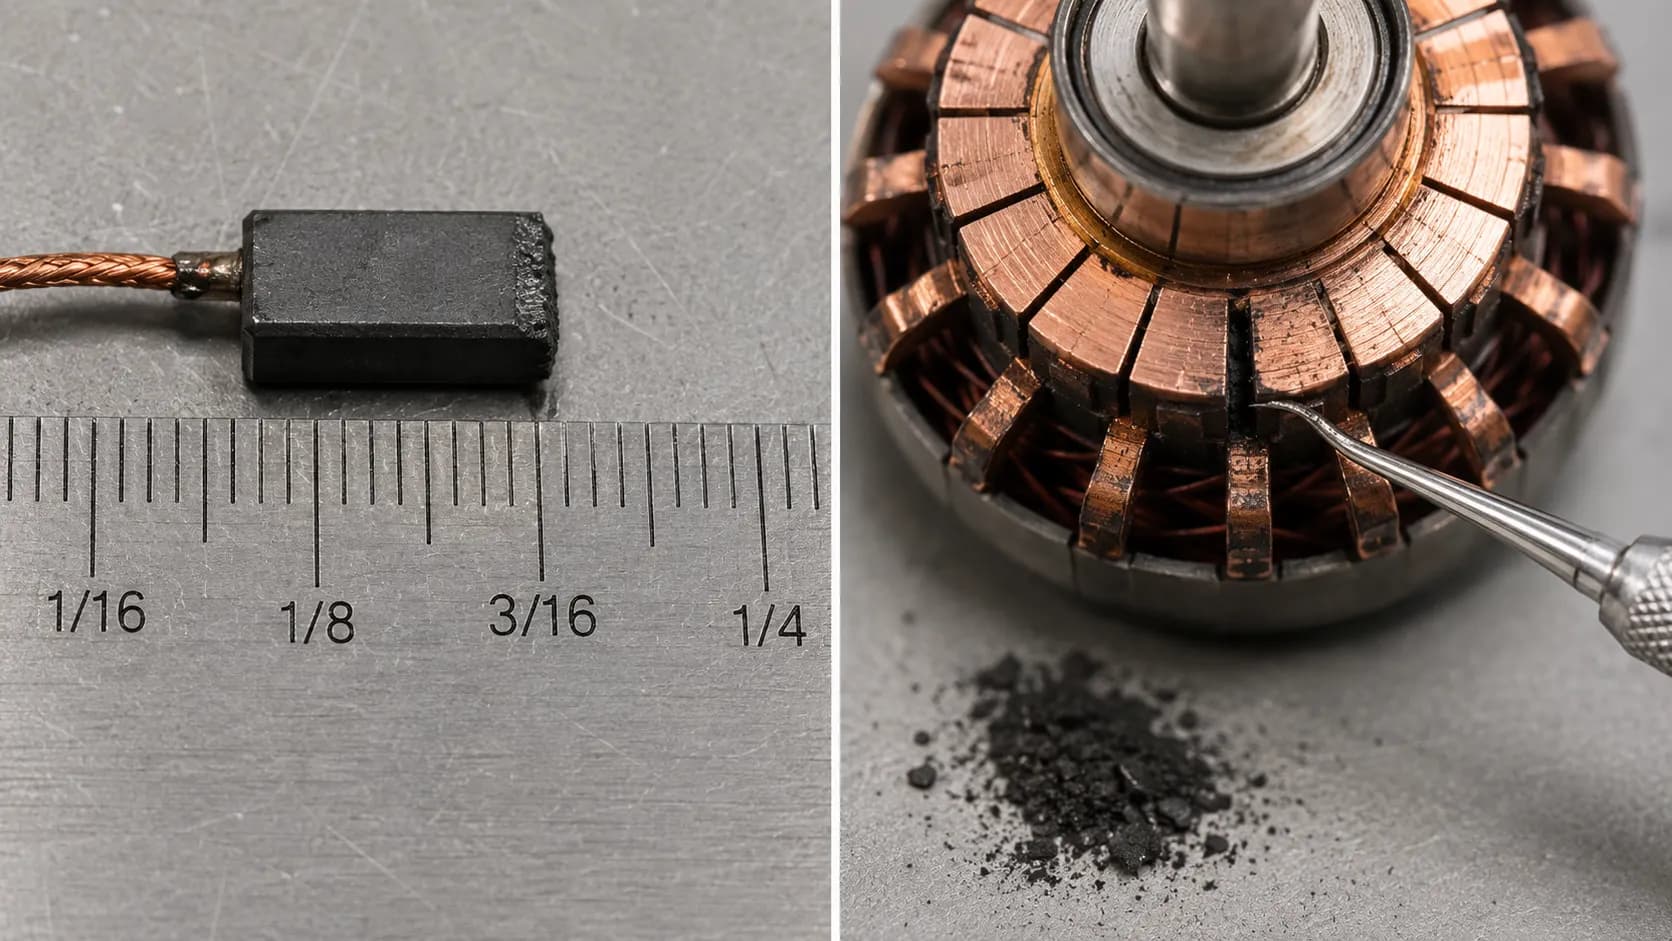
The carbon-brush wear rule is concrete: ThinkVacuums states a brush whose carbon has worn below 3/16 of an inch, from a standard length near 3/4 of an inch, is due for replacement, with motor life typically running 800 to 900 hours before bearings or the armature give out.
The clearest brush symptom is visual. With the motor running, a big blue spark wrapping around the commutator (the ring of copper segments the brushes ride on) means the brushes are worn or the contact is fouled, a sign BuiltInVacuum also flags.
A small, steady blue spark is normal and not a worry.
How do I know my carbon brushes are worn?
Pull the brushes and measure the carbon against the 3/16-inch line, and inspect the commutator for carbon dust bridging the segments. On the Eureka, the brushes measured about 5 mm, just over the replace threshold, but carbon dust had bridged two commutator bars and was causing the motor to run intermittently.
Clearing the gaps with a dental pick and re-seating the brushes brought it from stuttering back to steady, a technique I first picked up from a teardown thread on a repair forum and now do by reflex.
A quick bearing check rounds it out: with the motor unplugged, rock the center shaft by hand. Noticeable play, grinding, or a squeal that climbs with load points to worn bearings, while a squeak that lives in the wheels or casters is a chassis issue, not a motor fault, so do not chase it inside the motor.
Know when brushes are a waste of money. If the commutator or armature is scored, gouged, or the windings are melted, new brushes will wear down fast and accomplish nothing, so the motor needs replacing instead. That is the line where a cheap fix ends and the cost matrix begins.
Repair or Replace? The 2026 Cost Matrix
The verdict comes down to current part prices against the machine's value. As of 2026, Home Vacuum Zone puts a replacement motor at roughly 80 to 150 dollars in parts, an outlay that often exceeds the worth of any vacuum under 200 dollars.
Against that, a thermal fuse or a set of carbon brushes is a single-digit to low-double-digit part, which is why the test order above matters so much: it finds the cheap fixes first.
The rule I apply on the bench is the 50 percent line. If the repair runs past roughly half the price of a comparable new machine, replace it, because labor, the risk of a second failure, and the time involved tilt the math toward a new vacuum.
For the test Eureka, a nine-dollar thermal fuse versus a 38-dollar motor on a machine worth about 80 dollars made the call obvious: fix the fuse, never the motor.
Fix | Typical 2026 part cost | DIY difficulty | Usually worth it when |
|---|---|---|---|
Thermal fuse or cutoff | About 2 to 12 dollars | Low | Almost always, on any working machine |
Carbon brushes (pair) | About 8 to 20 dollars | Low to medium | Brushes worn, commutator still smooth |
Motor bearings (clean or lube) | Essentially free to a few dollars | Medium | Light play, no grinding damage yet |
Full motor replacement | About 80 to 150 dollars | High | Premium machine worth well over 200 dollars |
New vacuum (replace path) | Varies by model and tier | None | Budget unit, or repair tops the 50 percent line |
Prices vary by brand and model and shift over time. This article is refreshed when parts pricing moves enough to change the repair-vs-replace math, so verify the current cost of your specific part before buying.
Premium machines cross the worth-fixing line more often than budget units. A higher-end upright with an otherwise sound body can justify a motor swap, while a sub-100-dollar machine almost never does.
Prevent the Next Burnout and When to Call a Pro
Nearly every burned motor traces back to one thing: restricted airflow. A packed filter, a clogged hose, or a hair-choked brush roll forces the motor to labor with no cooling air moving across it, and that is what cooks the windings and trips the thermal cutoff.
ECOVACS advises stopping use immediately if a vacuum smells burnt or makes a loud new noise and seeking repair, which is exactly the right instinct.
Across the motors I have opened, the pattern is consistent enough that I keep a short cause log, and airflow restriction sits behind almost all of them.
Unit | Root cause found | Airflow restricted? |
|---|---|---|
Eureka upright | Blown thermal fuse, worn brushes | Yes, packed filter |
Hoover upright | Tripped thermal cutoff, recovered | Yes, full bag |
Bissell upright | Slipping glazed belt (not motor) | Partial |
Prevention is mostly airflow hygiene: empty the bin or bag before it is full, clean or replace filters on schedule, and clear clogs and brush-roll tangles early. Letting the machine cool between long sessions keeps the thermal cutoff from tripping in the first place.
Some faults are a stop-and-call-a-pro line. Visible smoke, sparks, a fuse that keeps blowing after replacement, or a melted plug or cord all mean unplug the machine and get a professional, not another DIY attempt. Opening the motor on a newer unit can also void its warranty, so check coverage before you reach for a screwdriver.
FAQs: Smoking, Hot Plug, Sparking and More
Why is my vacuum smoking, or smoking from the bottom?
Smoke from the base is usually a glazed or seized drive belt rubbing against a stalled brush roll, not the motor itself. A reader's "smoking from the bottom" Hoover turned out to be exactly that, given away by the rubber smell and a brush roll that would not turn.
Stop and unplug it immediately, then inspect the belt and brush roll before running it again.
Why is my vacuum plug hot?
A hot plug points to the outlet, the wiring, or an overloaded circuit, not the motor. Try a different outlet on another circuit, and if the plug or cord still heats up, stop using it and have the outlet or cord checked, because that is a wiring safety issue.
Why is my vacuum sparking?
A small, steady blue spark at the motor brushes is normal. A large spark wrapping the commutator means worn brushes or a fouled commutator, which the carbon-brush section above covers, while sparking with smoke or a burning smell means stop and unplug.
Can I keep using a vacuum that smells like burning?
No. A burning smell means something is overheating, whether windings or a belt, and running it risks further damage or fire, so power it off and diagnose the cause first.
My vacuum stops, then restarts after it cools. Is the motor dead?
Probably not. That cycle is a thermal cutoff doing its job, almost always because of restricted airflow, so clean the filters and clear any clogs, then run the multimeter test if it keeps happening.
The Bottom Line
A vacuum motor not working is the moment most people decide the machine is finished, when in practice the cheapest parts fail first and the motor itself is often fine. Reading the smell and sound, then testing the switch, thermal fuse, and windings in that order, turns a vague "it died" into a specific, fixable fault in about ten minutes.
Spend a few dollars on a thermal fuse or a set of carbon brushes before you spend a hundred on a motor or two hundred on a new machine. Test first, let the cost matrix make the call, and keep the airflow clear so the next burnout never happens.
Read it your way
Short on time? Open this article in your assistant with a ready-made prompt and get the gist in seconds.
Found this useful? Make us a preferred source so we show up in your Google results.
Keep reading
Related articles

Troubleshooting & Repair
Roomba Not Working? 8 Symptoms Fixed (2026 Models)
Reboot first, then match your symptom. 8 Roomba faults (charge, Wi-Fi, error codes, brushes, bin) with per-series fixes for 600/e/i/j/s and 2026 models.

Troubleshooting & Repair
How Much Does a Vacuum Repair Cost? Fix or Replace (2026)
How much does a vacuum repair cost? Usually $50–150 (up to ~$321 for central). Use the 50% rule and our brand tier to decide: fix it or replace it in 2026.

Troubleshooting & Repair
Why Won’t My Robot Vacuum Work? 6 Fixes We Tested
Why won’t my robot vacuum work? Reset it, free the wheels, clean the sensors and fix a 2.4GHz Wi-Fi snag in 5 minutes: the DIY checks that skip a repair bill.

Troubleshooting & Repair
Not Broken? Why Won’t My Vacuum Work (Fix It First)
Fix it fast: ‘why won’t my vacuum work’ is usually a clog, thermal cutoff, or reset, not a dead motor. Match your symptom to the exact fix.
The discussion
Comments
Every comment is reviewed before it goes live.