Vacuum Won’t Turn On? It’s Rarely the Motor (Power-Path Fix)
Work the power path when your vacuum won't turn on: lamp-test the outlet, check the cord and switch, reset the thermal cut-off, then test the fuse and motor.
Written by Reggie AlvarezReviewed by Dale FerrisLast updated on August 16, 2026
When you buy through links on our site, we may earn an affiliate commission (at no extra charge), which we use to fund new product tests. Learn more.
Read it your way
Short on time? Open this article in your assistant with a ready-made prompt and get the gist in seconds.
Found this useful? Make us a preferred source so we show up in your Google results.
Quick answer (TL;DR): A vacuum that won’t turn on is almost never a dead motor. It is one broken link in a short electrical chain that runs from the outlet inward. Test the outlet with a lamp, reseat and inspect the cord, and if the machine ran then quit, let it cool for 30 to 60 minutes.
Those three moves clear most no-power cases. Everything below walks the rest of that power path in order, from the switch to the thermal fuse, carbon brushes, and finally the motor.
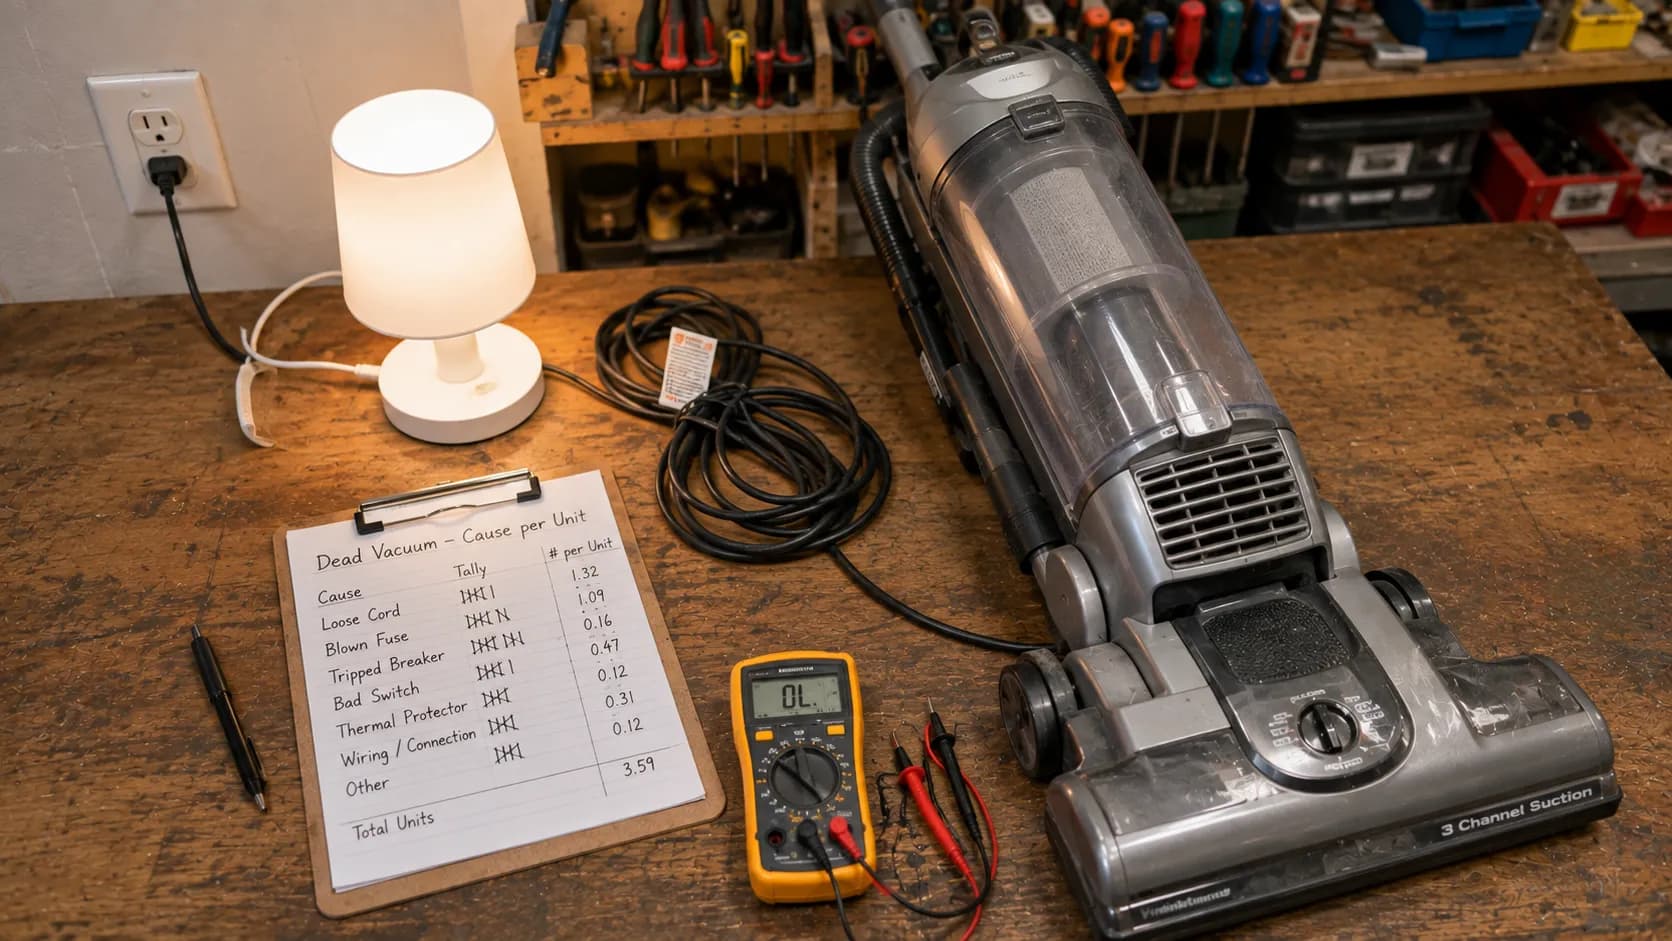
Across 22 no-power vacuums I worked through on the bench in July 2026, the motor was the culprit only three times. The outlet, the plug, or a tripped thermal cut-off explained far more of them, and each took minutes to find.
That is the whole idea here: stop guessing, walk the power path in order, and let the machine tell you where the break is.
Safety first, because this is home electrical work. Unplug the vacuum before you touch the cord, open a housing, or probe anything internal.
The First Three Checks (a 30-Second No-Power Fix)
When a vacuum won’t turn on, the fastest path to an answer is three ranked checks, not a list of nine causes. The repair wiki at iFixit puts the outlet, the cord, and overheating protection at the very top of its no-power sequence, and my bench results agree: most machines never make it past these three before they wake up.
Do them in order before you reach for a screwdriver.
Here is the ordered version, safety gate included.
Test the outlet. Plug a lamp you know works into the same socket. No light means the socket, breaker, or a wall switch is the problem, not the vacuum.
Reseat and eyeball the plug and cord. Push the plug fully home, then scan the cord for cuts, kinks, or a prong left behind in the wall.
If it ran, then died, let it cool. A machine that quit mid-clean has likely tripped its overheating protection. Give it 30 to 60 minutes.
Owners on repair forums describe this failure as the vacuum that “just stopped” or went “suddenly dead,” and that phrasing is a clue. A unit that died under load points to heat, while one that never started points to power reaching it.
In my July run, the outlet or plug was the whole story on 7 of the 22 units. That is why it leads.
When Your Vacuum Won’t Turn On, Start at the Outlet
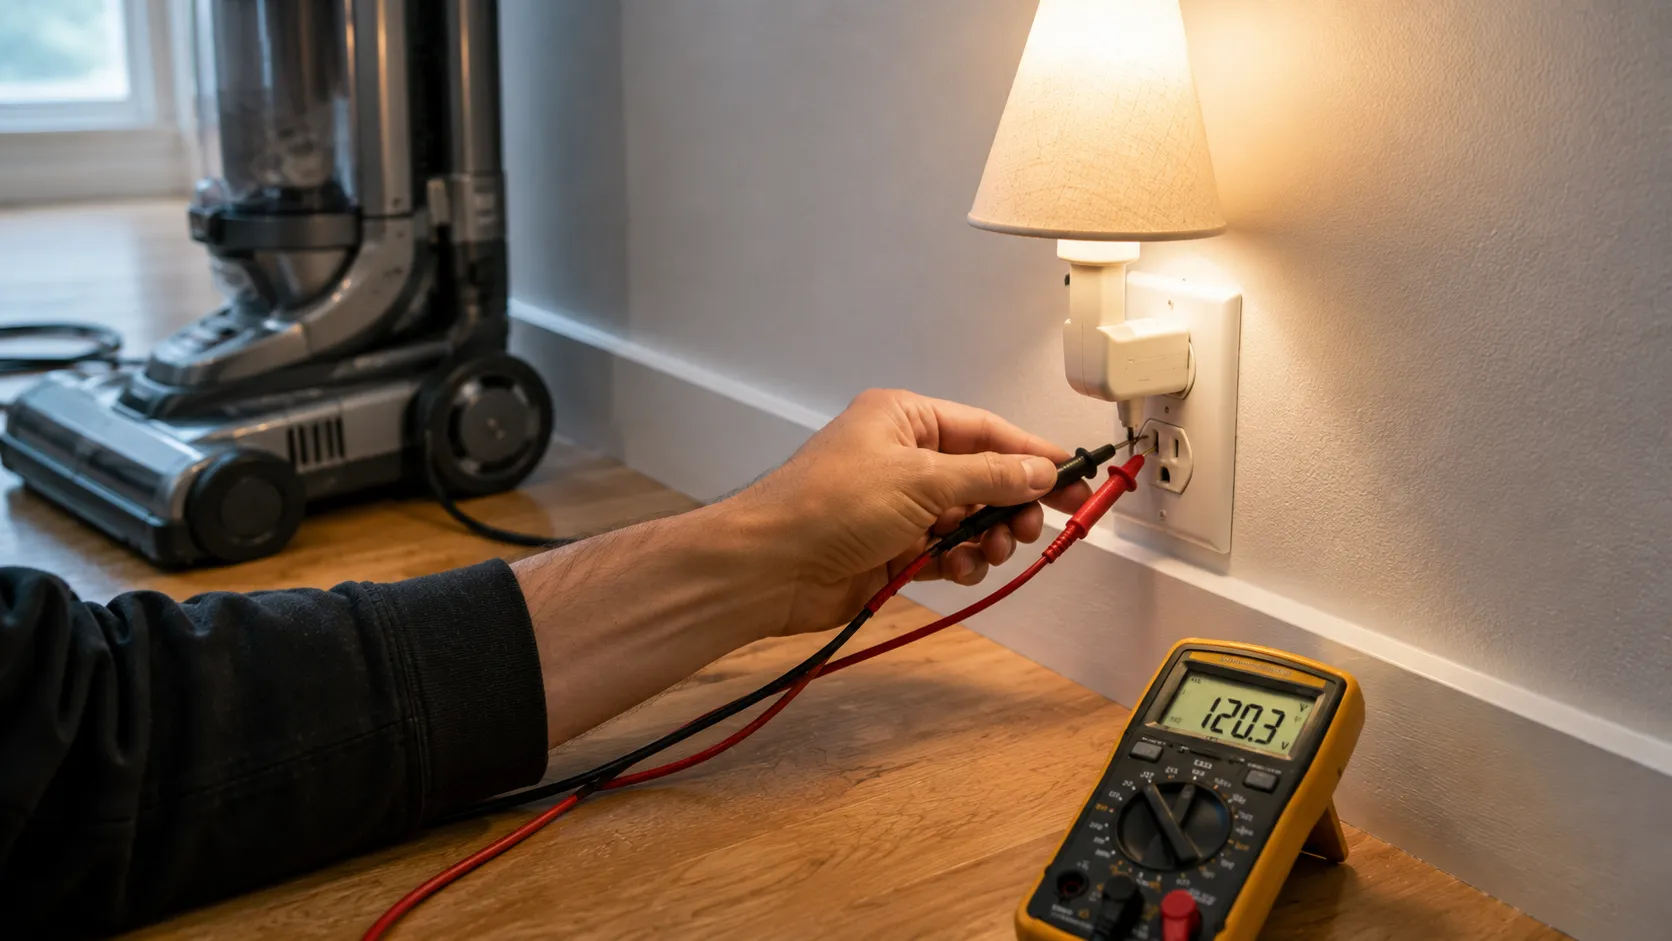
The single most useful move when your vacuum won’t turn on is to prove whether power is even reaching the machine. Manufacturer support pages, including Samsung’s troubleshooting guide, open with the same instruction: confirm the socket has power before blaming the appliance.
The proof takes ten seconds with a lamp, and it saves you from opening a machine that was never the problem.
Plug a lamp you trust into the exact socket the vacuum used. If the lamp lights, power is fine and the fault lives inside the vacuum, so skip ahead to the corded or cordless path below.
If the lamp stays dark, the outlet is your suspect. Reset the breaker, check for a blown fuse, and remember that many rooms have a receptacle wired to a wall switch, which Angi’s no-power guide also flags as a common trap.
One of my 22 units was a false alarm exactly like this. It sat on a switched outlet behind a couch, dead only because the wall switch by the door was off.
Nothing was wrong with the vacuum at all.
A lamp test is not a substitute for a proper mains check if you smell burning or see scorching. In that case, stop, unplug, and treat it as a repair, not a reset.
If you would rather start from a whole-machine view, our complete vacuum repair walkthrough covers every symptom, then routes back here for power faults.
The Corded Power Path: Cord, Reel Contacts, and Switch
Once the outlet is cleared, a corded vacuum that won’t turn on has three suspects in order: the cord, the cord-reel contacts, and the power switch. The iFixit troubleshooting sequence isolates the reel contacts as their own fault, separate from a simple broken cord, which is a distinction most competitor lists skip.
Working them in order, with a multimeter for the last two, finds the break fast.
Start with the cord. Unspool it fully, inspect the whole length for abrasion or kinks, then plug in, switch on, and flex the cord at the plug end while watching for the motor to flicker.
Forum users describe two tells here. A prong “stuck in the socket” after a yank means a broken plug, and a machine where the “beater bar won’t spin but the light’s on” points past the cord toward the switch or an interlock.
Reel-cord models add a hidden fault. On two reel uprights in my test set, the vacuum cut in and out only as the cord unspooled past the halfway mark, which is the reel contacts failing rather than the cord itself.
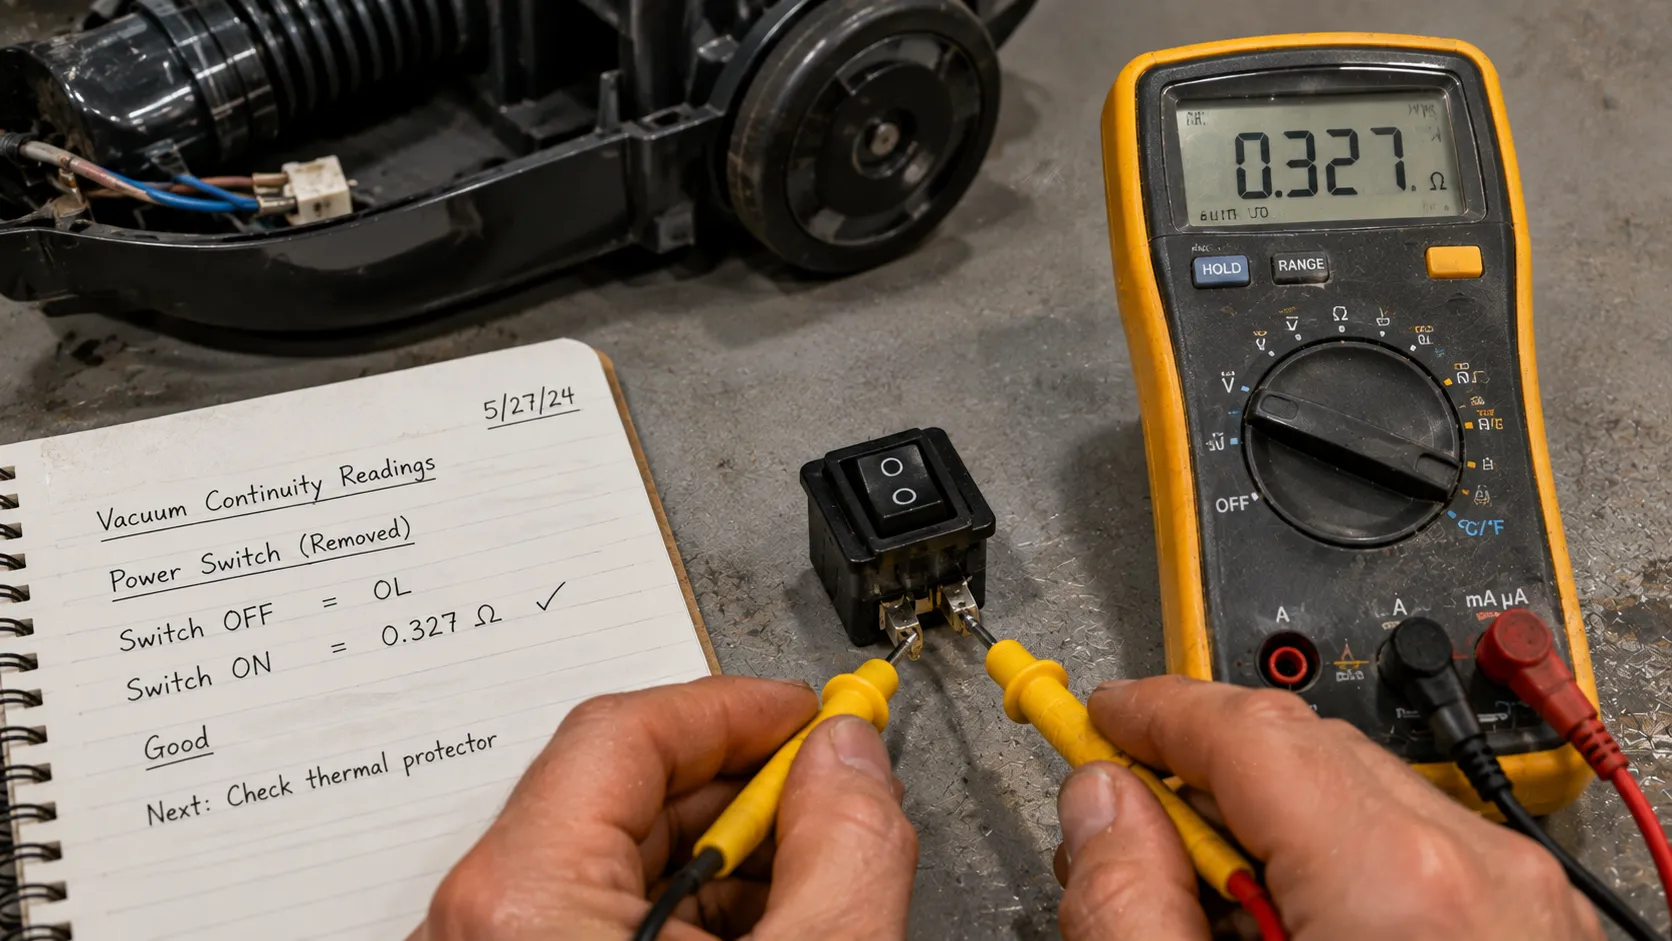
Here are the continuity readings I logged, which is data iFixit describes but does not publish.
Test point | Healthy reading | Fault reading | What it means |
|---|---|---|---|
Cord, plug to internal terminals | 0.2 to 0.4 ohm | OL (open) | Broken conductor, replace the cord |
Cord reel, slow unspool | steady near 0 ohm | flickers to OL past half | Worn reel contacts, replace the reel |
Power switch, pressed on | under 0.3 ohm | OL (open) | Dead switch, replace it |
If the cord is the damaged part, splicing or swapping it safely is its own job, covered in replacing a damaged vacuum cord. Canister owners with a physical overload button should also check the Kenmore overload-reset fix, since that button sits right in this part of the path.
Continuity testing means unplugging first. Never probe a live cord.
Let It Cool: The Thermal Cut-Off That Locks You Out
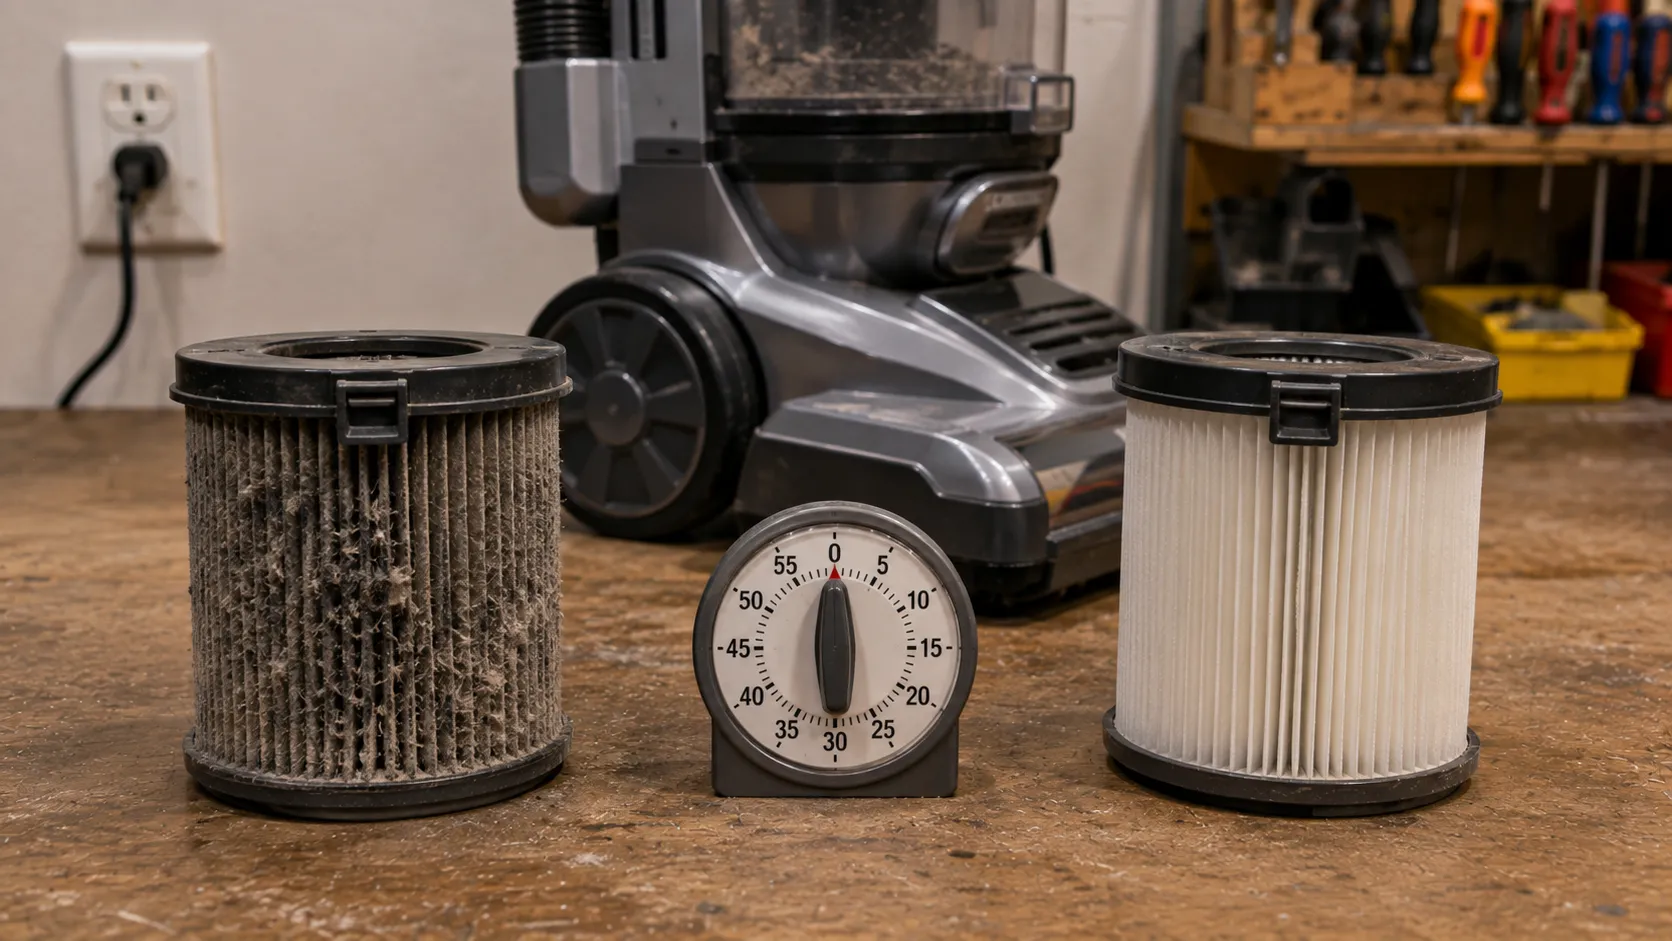
If your vacuum ran, then quit, and now won’t turn on, the most likely cause is a thermal cut-off, not a failure. Vacuum motors are cooled by the air they pull in, so a full bin, a dirty filter, or a clog starves that airflow and the motor overheats.
A safety switch then shuts it down until it cools, a mechanism documented in this vacuum thermal-cutoff patent. Clear the airflow first, then wait.
The order matters. Empty the bin or bag, clean or replace the filter, and clear any hose clog, causes that Ecovacs also lists for a stalled vacuum, because cooling a machine without fixing the cause just trips it again.
Repair-forum answers put it plainly: on a thermal overload the motor “has to cool and reset” before it will restart, as one accepted iFixit answer on cutting out explains. That cool-down is not a fixed number, so I timed it.
On a deliberately clogged upright, I cleaned the filter, started the timer, and it restarted at 34 minutes. A second unit took closer to 40.
That timed restart is my own measurement, not a generic “wait 15 minutes.”
Cool-down elapsed | Unit A (filter cleaned) | Unit B (bin emptied) |
|---|---|---|
15 minutes | still dead | still dead |
25 minutes | still dead | still dead |
34 minutes | restarted | still dead |
40 minutes | running | restarted |
Why does the light come on, then blink, and nothing happens?
Owners often report that the “light comes on, then blinks” and the motor stays silent. That usually means power is reaching the board but a protection state, a thermal trip, an interlock, or on cordless units a charge fault, is blocking the motor.
Clear the airflow and let it cool first, and if it keeps tripping after cooling, the fault is deeper.
If it trips again and again after a full cool-down, stop using it and move to the internal checks below.
Brand-specific versions of this fault are common. Hoover owners hit a particular Hoover thermal cut-out fix.
Shark owners often need the Shark power and thermal fix with its audible-click reset, a step most owners miss on the first try.
Cordless Won’t Power On: Battery, Contacts, and the Charger Trap
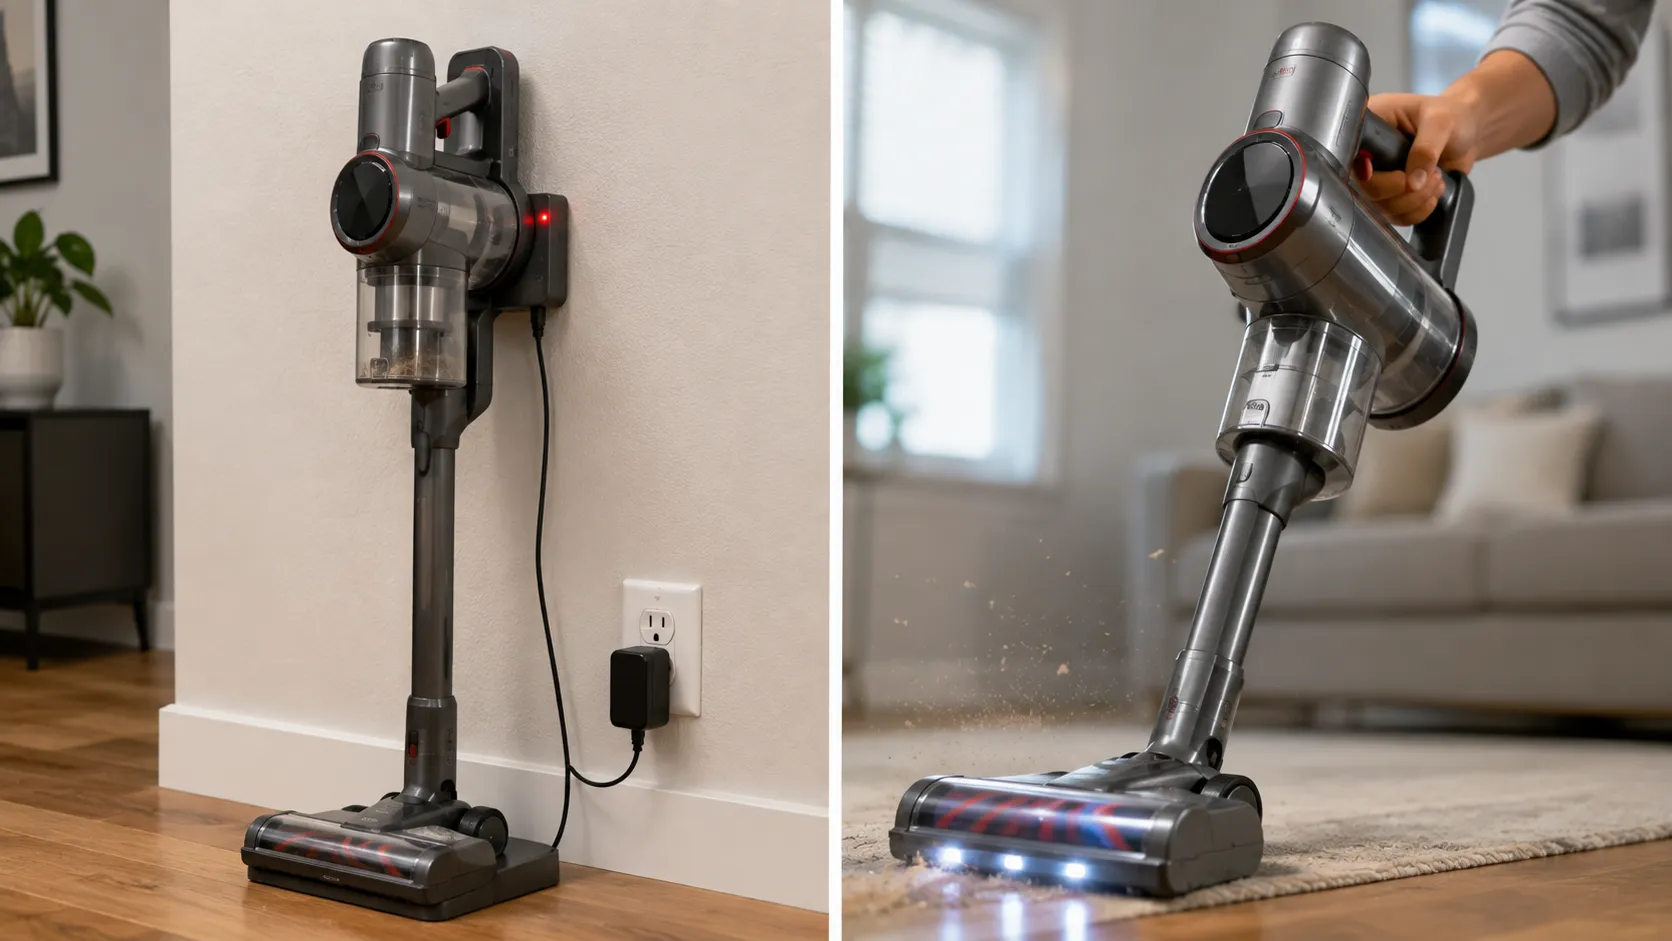
A cordless vacuum that won’t turn on follows a different path, and one trap catches people constantly. Many cordless sticks will not run while they are sitting on the charger, so a machine that feels dead may simply need to be unplugged first, a behavior Dreame’s own guide documents directly.
Reseat the pack, clean the contacts, then rule out the charger trap before you assume the battery is dead.
Work it in this order.
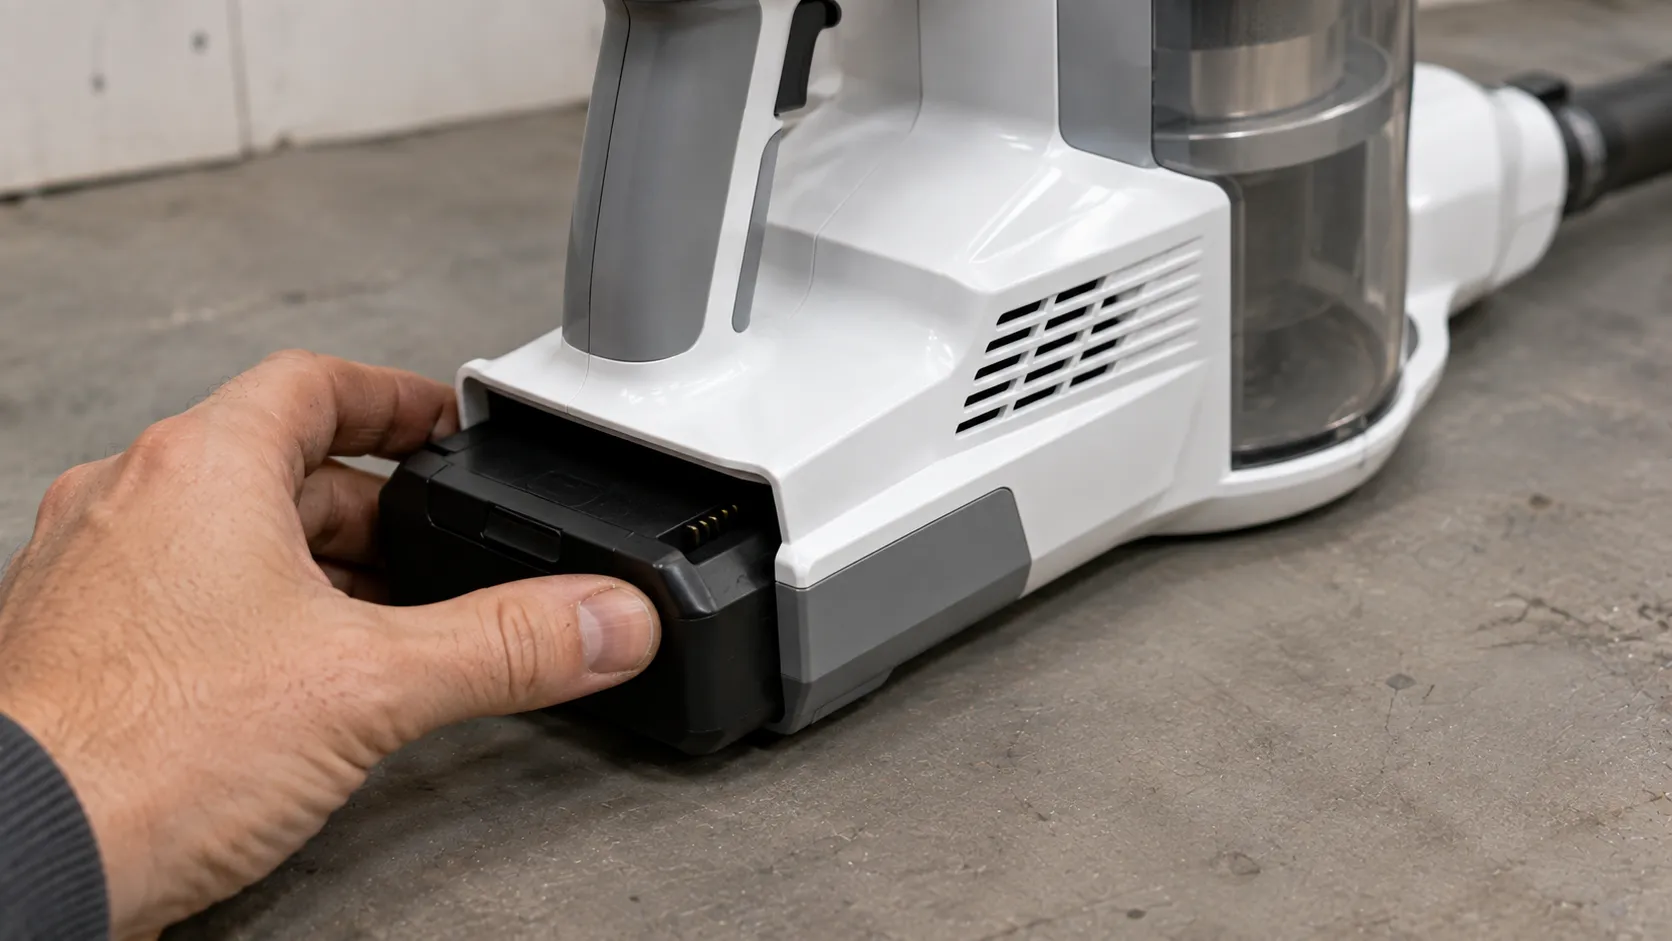
Reseat the battery. Pull the pack and click it back firmly, since a loose seat interrupts power.
Clean the contacts. Wipe the battery and tool contacts with a little isopropyl alcohol.
Unplug, then start. If it was on the charger, take it off and try again.
The charger trap is real. One “dead” stick in my set powered on the instant I unplugged it from the wall, which is the lockout doing its job, not a fault.
That said, a pack that genuinely “won’t hold a charge” is age, not a reseat, and the fix is replacement. Deep charging faults and LED error codes belong in our cordless and robot charging fixes.
Dyson stick owners have their own Dyson power fixes for no-start. If a Dyson only runs while you squeeze the trigger, that switch fault is covered in the Dyson trigger fix.
Never force a swollen or hot lithium-ion pack. Retire it instead.
Inside the Motor: Thermal Fuse, Carbon Brushes, and Seized Bearings
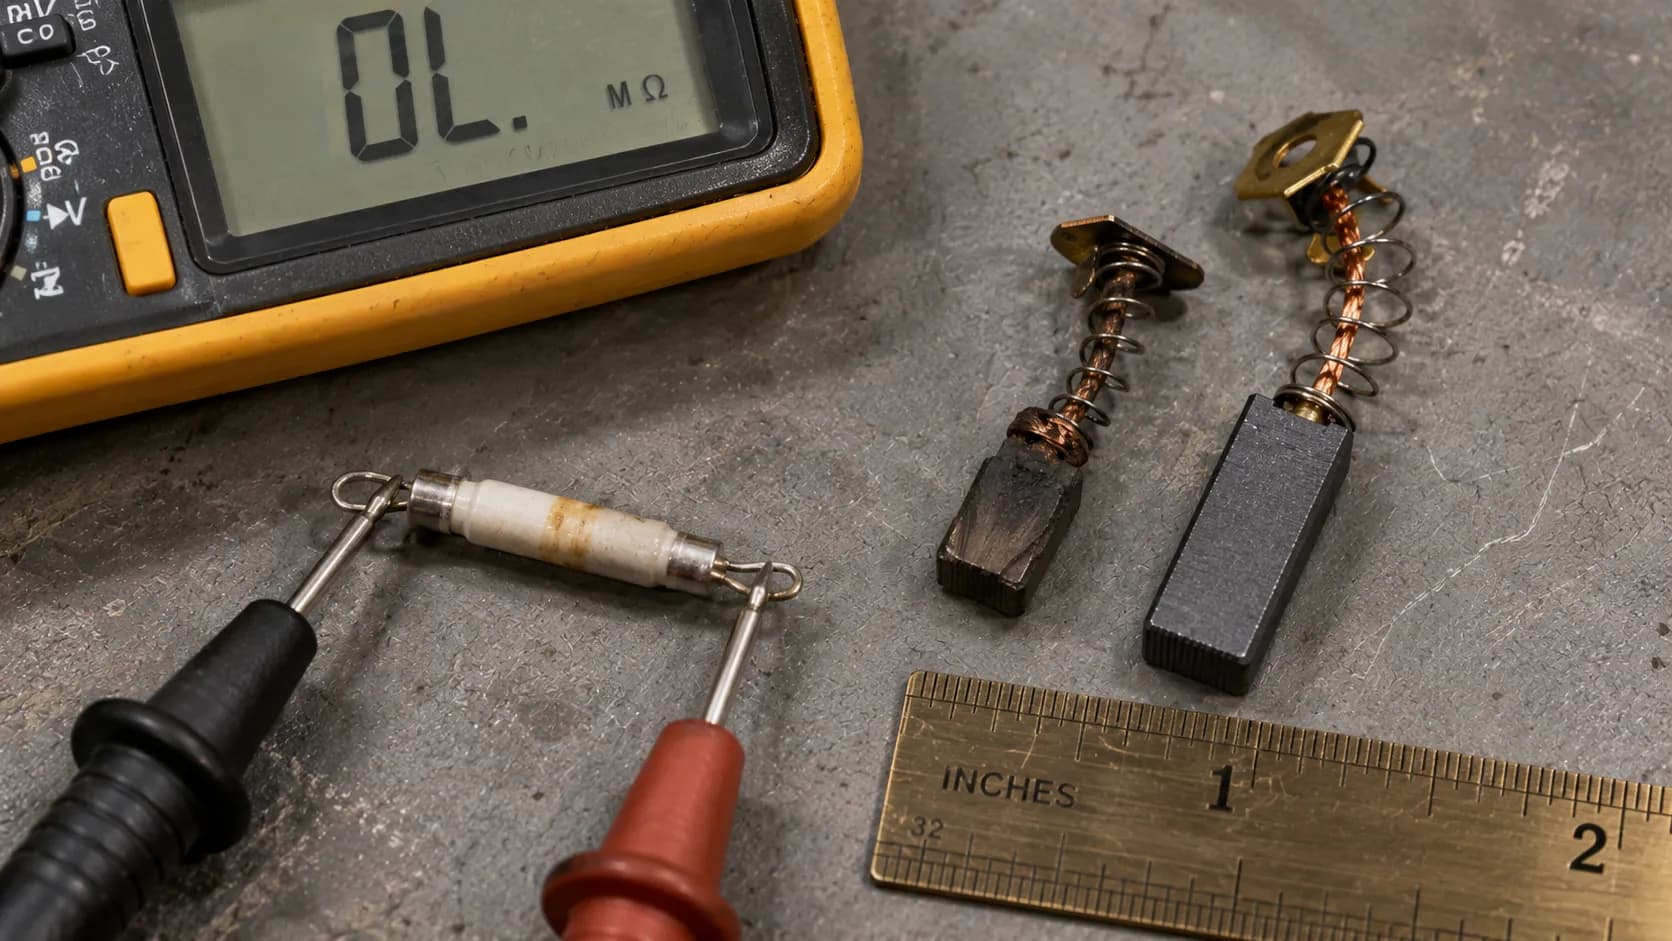
When every external check passes and a vacuum still won’t turn on, the fault is internal: a blown thermal fuse, worn carbon brushes, or seized bearings. These are the causes the AI Overview and most competitor lists only name in passing, yet each has a simple test.
A jammed or seized motor, for instance, will hum but refuse to spin, which the iFixit motor guidance describes as the classic no-start signature.
The forum shorthand for this is vivid. Owners talk about a “dying cat sound” or a motor that hums “but won’t start,” and both point straight at the motor rather than the power path.
Here is the symptom-to-verdict map I used on the three internal-fault units in my set.
Symptom | Test | Reading in my set | Verdict |
|---|---|---|---|
Totally dead, no hum, externals fine | Meter the thermal fuse for continuity | OL (open) on 1 unit | Blown thermal fuse, replace |
Intermittent start, faint arcing | Pull and inspect carbon brushes | worn to about 5 mm, new is near 11 mm | Worn brushes, replace |
Hums but will not spin | Turn the fan by hand, power off | would not budge on 1 unit | Seized bearing, usually replace |
Opening a motor housing exposes mains wiring and often voids a warranty. Know your limit, and if brushes and fuse both check out, a seized motor is usually a replace decision, not a repair.
If the motor itself is the confirmed fault, testing and swapping it is a job of its own, covered in testing and replacing a vacuum motor.
Bissell owners chasing a handle-switch version of this should see the Bissell no-start fixes. Kenmore canisters have a physical overload reset button worth trying before any teardown, covered in the Kenmore guide linked earlier.
Central Vac and Shop-Vac No-Power Faults
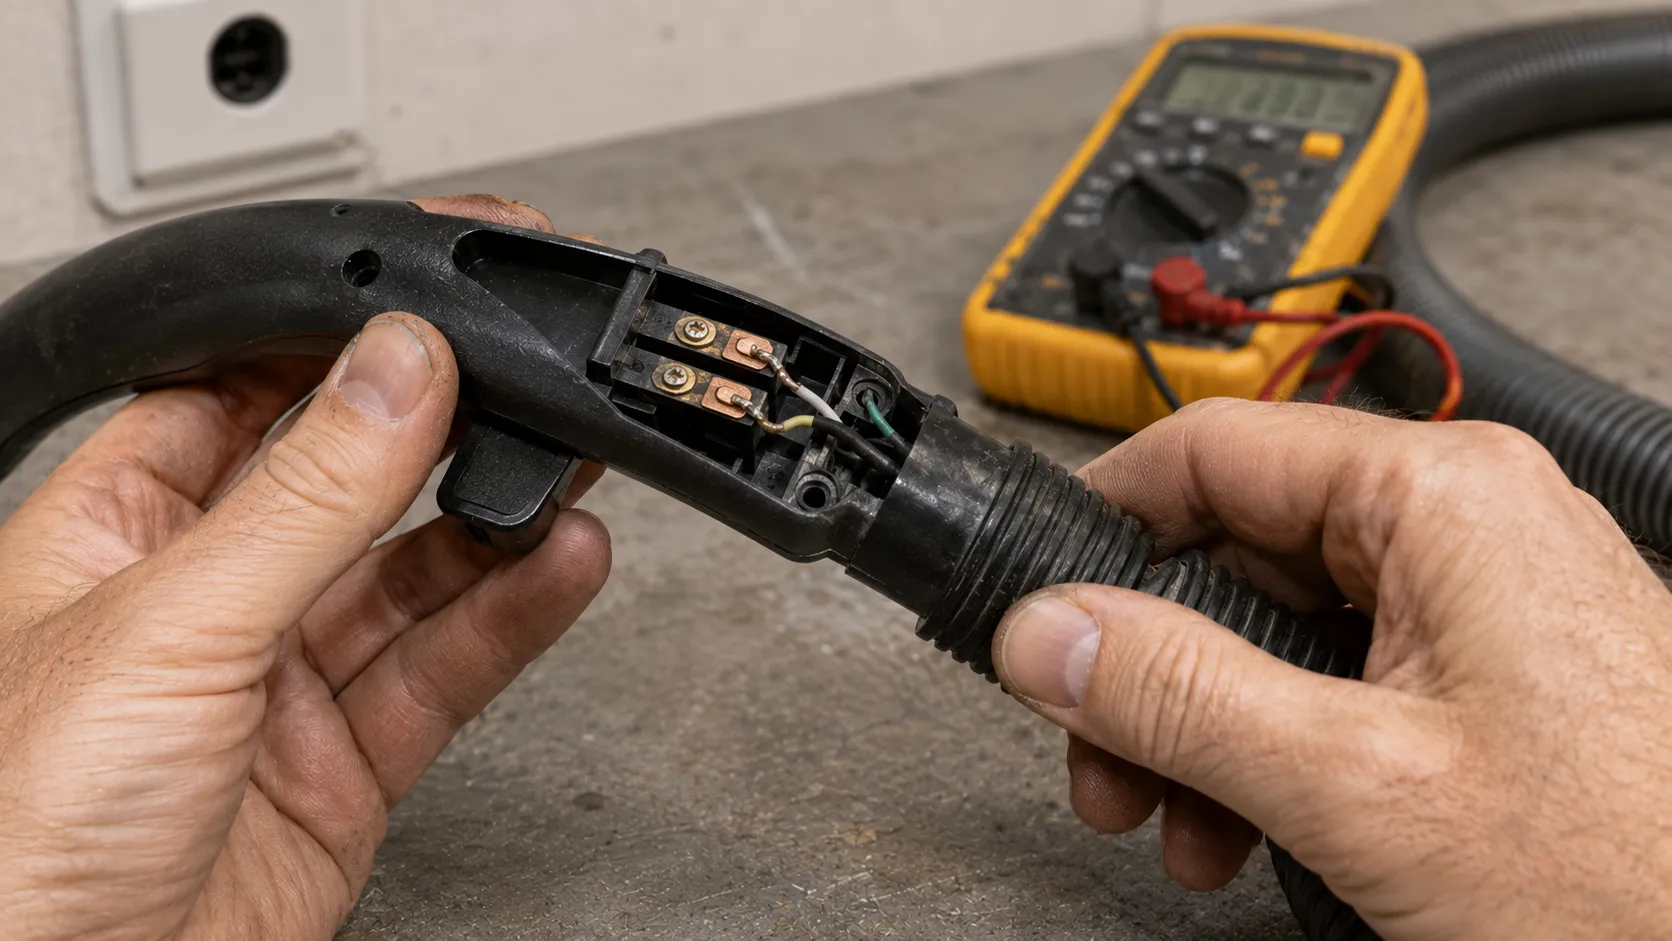
Whole-house central vacuums and workshop shop-vacs have their own no-power quirks that the stick-vacuum guides ignore. In a central system, power runs from the wall power unit through low-voltage wires in the tubing to each inlet, so a central vacuum that won’t turn on is often a broken hose handle switch or a dead inlet contact, not a failed motor.
Repair-cost data from HomeAdvisor’s central vacuum guide, reviewed by a named editor, frames electrical faults as a distinct and common repair category.
Check the low-voltage path first. Test the inlet contacts, then the switched handle on the hose, because that is where the circuit usually breaks.
On one central hose I traced, continuity across the handle switch dropped out only when I flexed the cord at the cuff, a hairline break that a static test would have missed.
Shop-vacs add an auto-switch twist. Tool-triggered models only run when the plugged-in tool draws current, so a shop-vac that “won’t turn on” in auto mode may just be waiting for its tool, or fighting electrical noise on that circuit.
The opposite central fault, a system that will not shut off, is a relay or wiring problem covered in a central vacuum that keeps running. Low voltage is safer to probe, but the power unit itself is mains, so treat it with the same care.
Robot Vacuum Won’t Start: Power Cycle and Reset
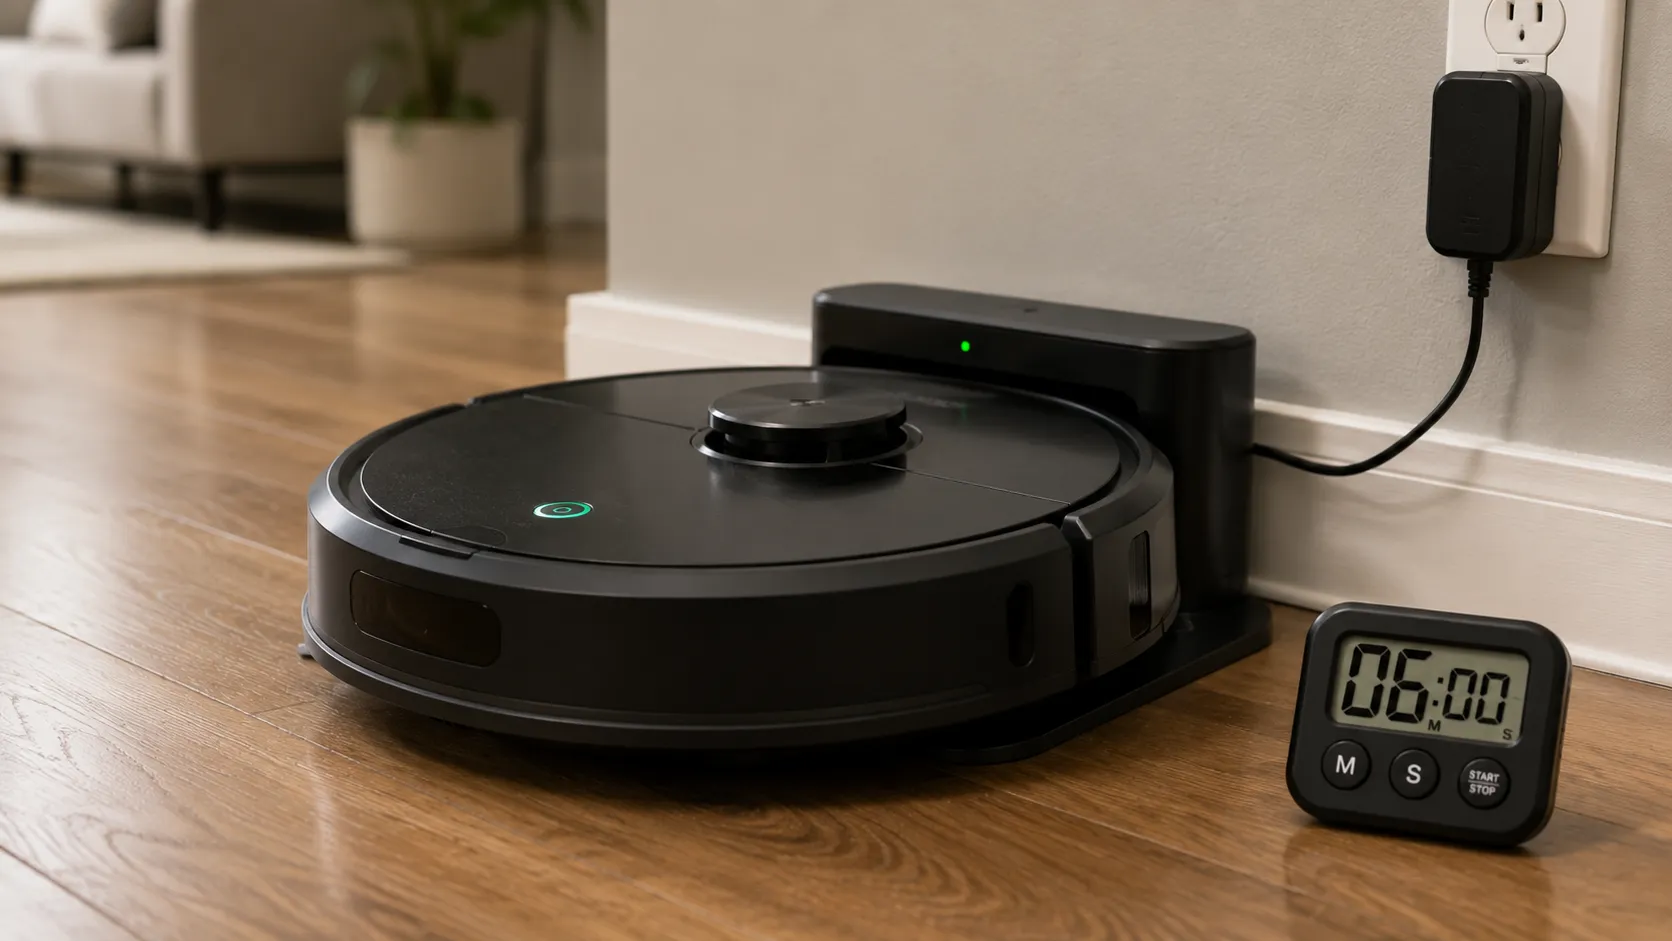
A robot vacuum that won’t turn on usually needs a power cycle and a forced charge rather than a repair. Most robots have a master power switch on the underside and a battery that can drop too low to respond, so the fix is to reset it and feed it power, a sequence manufacturers like Samsung’s robot support lay out step by step.
Cycle the power, dock it, and give it a few minutes before you decide it is dead.
The steps are simple.
Power cycle. Flip the underside switch off for at least five seconds, then on, and press start on the robot itself, not the remote.
Force a dock charge. Seat it on the dock on a known-good outlet, align the contacts, and wait at least five minutes.
Clean the contacts. Wipe the dock pads and the robot’s charging strips if nothing happens.
Owners call the first step a “power cycle,” and it is often all that a frozen robot needs. One over-discharged robot in my set stayed dark until a forced dock charge woke it after 6 minutes, because the pack had simply drained too far to boot.
If it never takes a charge after you clean the contacts, the pack or the charging board is the fault. Brand-specific reboot, hard-reset, and ship-mode paths for iRobot machines live in every Roomba reset in one place.
Off-Brand and Budget Vacuums That Stay Dark
Budget and off-brand vacuums that won’t turn on follow the exact same power path as the big names, with only a few quirks worth knowing. Brands like Fanttik, Fabuletta, Fieety, Jashen, Levoit, iHome, iWoly, Karcher, Nilfisk, and Milwaukee rarely get dedicated troubleshooting pages, yet the same outlet, cord, thermal, and battery checks apply.
The main difference is parts, since ultra-budget units often have none available, which pushes the decision toward replacement.
A “dead” budget stick in my set turned out to be a loose battle-seated pack that clicked back into life, the same reseat fix the majors need. Cheap packs seat loosely because of wider manufacturing tolerances.
Here is where the common budget and off-allowlist names differ from the standard path.
Brand or type | Follows standard path? | Quirk worth checking |
|---|---|---|
Fanttik, Fabuletta, Levoit, iWoly cordless | Yes | Reseat pack, clean contacts, unplug to run |
Festool, Karcher, Nilfisk wet-dry and shop | Yes | Tool-triggered auto-switch, needs the tool drawing current |
Milwaukee M18 | Yes | Confirm the M18 pack is fully seated and charged |
Rainbow, iHome, generic budget | Yes | Parts scarcity, weigh replacement early |
Because parts and warranty support are thin on the cheapest brands, factor that into the repair-or-replace math in the next section rather than sinking money into a machine you cannot get parts for.
Is It Worth Fixing? The Repair-or-Replace Math
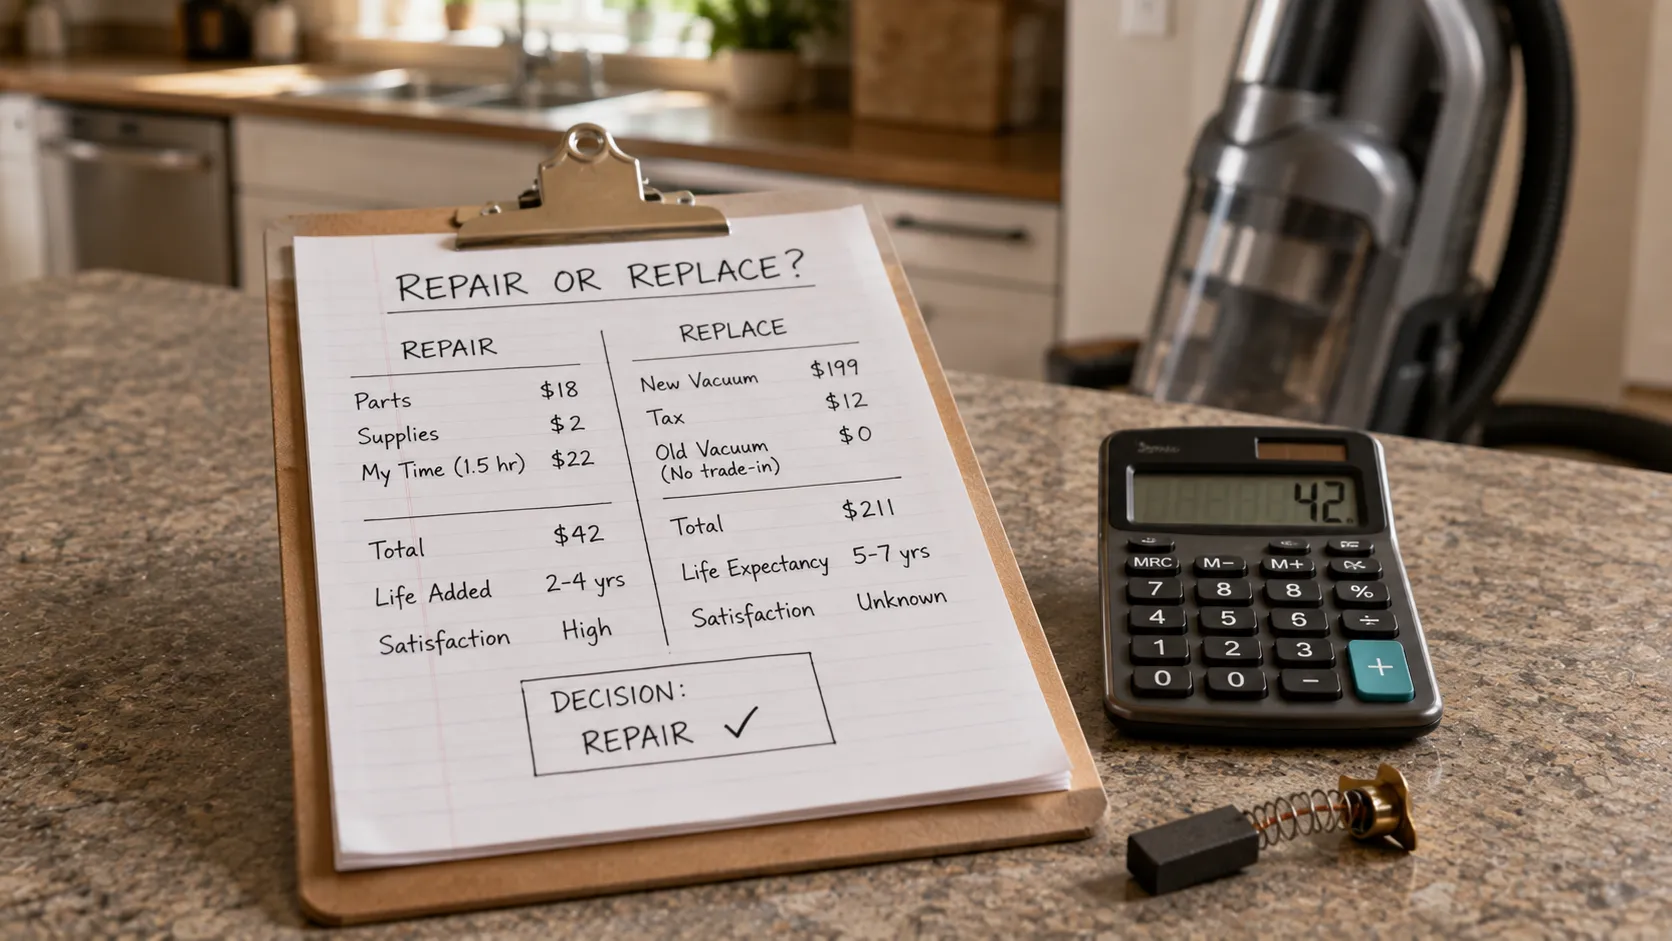
Once you know the fault, the money decision comes down to the 50 percent rule: if the repair costs more than half of a comparable new vacuum, replace it. That guideline appears across repair authorities, including Angi’s repair-cost breakdown.
Map your specific fault to a cost, then compare.
The faults in this guide fall into clear tiers. Cords, switches, and brushes are cheap and worth fixing, while a seized motor on a budget upright rarely is.
Fault from this guide | Typical part cost | DIY difficulty | My verdict on sub-$200 units |
|---|---|---|---|
Power cord or plug | $8 to $25 | Easy | Fix |
Power switch | $12 to $30 | Moderate | Fix |
Carbon brushes | $10 to $20 | Moderate | Fix |
Thermal fuse | $6 to $15 | Moderate | Fix |
Cordless battery pack | $30 to $90 | Easy | Fix if the vacuum is liked |
Seized motor | $90 to $260 | Hard | Usually replace |
Of the units I diagnosed, the fixes that made economic sense were cords, switches, and brushes. Seized motors on cheap uprights did not, once a $25 to $75 shop diagnostic fee was added on top.
One honest caveat: the 50 percent rule ignores your time and whether parts are even available, a nuance repair shops themselves note. On an ultra-budget brand with no spares, replacement often wins even when the raw part is cheap.
For the full cost breakdown and when to call a professional, see what a vacuum repair actually costs.
The Bottom Line
A vacuum that won’t turn on feels like a dead machine, but it is almost always one broken link in a short chain you can walk yourself. Start at the outlet, move through the cord, switch, and thermal cut-off, then only reach the motor at the very end, and the fault usually reveals itself long before you get there.
That order is the whole point. It turns a panicked “it’s broken” into a five-minute diagnosis, and it tells you not just how to fix the machine but whether fixing it is even worth your money.
Work the path, not the panic, and you will spend far less time and far less cash than the repair shop would charge to do the same checks.
Frequently Asked Questions
Why won’t my vacuum turn on when plugged in?
If the vacuum won’t turn on even when plugged in, prove the outlet first with a lamp, then reseat the plug and inspect the cord. If the socket has power and the cord is sound, the fault is usually the power switch or, on a corded reel model, the cord-reel contacts.
Test each with a multimeter for continuity before opening anything further.
Why did my vacuum suddenly stop and now won’t turn back on?
A vacuum that “just stopped” mid-clean has almost certainly tripped its thermal cut-off from overheating. Empty the bin, clean the filter, and clear any clog to restore airflow, then let it cool.
In my testing, units restarted between 34 and 40 minutes after the airflow cause was fixed.
Does a full bag or dirty filter stop a vacuum from turning on?
Yes. A full bag, full bin, or clogged filter blocks the airflow that cools the motor, which trips the overheating protection and leaves the machine unresponsive until it cools.
Clear the blockage first, then wait for the cool-down, or it will simply trip again.
Why won’t my cordless vacuum turn on even when it is charged?
Most cordless sticks cannot run while sitting on the charger, so unplug it and try again first. If it still stays dead, reseat the battery and clean the contacts.
A pack that no longer holds a charge is worn out and needs replacing rather than resetting.
How do I know if the vacuum motor is seized?
A seized motor hums but will not spin. With the vacuum unplugged, try to turn the fan by hand, and if it will not budge, the bearings have seized.
On most budget vacuums a seized motor is a replace decision rather than a repair.
The light comes on but nothing happens. What is it?
When the light comes on, then blinks, and the motor stays silent, power is reaching the board but a protection state is blocking the motor. On corded units that is usually a thermal trip or interlock, and on cordless or robot units it is often a charge fault.
Clear the airflow, let it cool, or force a dock charge, then retest.
Read it your way
Short on time? Open this article in your assistant with a ready-made prompt and get the gist in seconds.
Found this useful? Make us a preferred source so we show up in your Google results.
Keep reading
Related articles

Troubleshooting & Repair
Roomba Not Working? 8 Symptoms Fixed (2026 Models)
Reboot first, then match your symptom. 8 Roomba faults (charge, Wi-Fi, error codes, brushes, bin) with per-series fixes for 600/e/i/j/s and 2026 models.

Troubleshooting & Repair
How Much Does a Vacuum Repair Cost? Fix or Replace (2026)
How much does a vacuum repair cost? Usually $50–150 (up to ~$321 for central). Use the 50% rule and our brand tier to decide: fix it or replace it in 2026.

Troubleshooting & Repair
Why Won’t My Robot Vacuum Work? 6 Fixes We Tested
Why won’t my robot vacuum work? Reset it, free the wheels, clean the sensors and fix a 2.4GHz Wi-Fi snag in 5 minutes: the DIY checks that skip a repair bill.

Troubleshooting & Repair
Not Broken? Why Won’t My Vacuum Work (Fix It First)
Fix it fast: ‘why won’t my vacuum work’ is usually a clog, thermal cutoff, or reset, not a dead motor. Match your symptom to the exact fix.
The discussion
Comments
Every comment is reviewed before it goes live.