How to Use a Shop Vac: 7 Steps We Tested (Wet + Dry)
Learn how to use a shop vac in 7 tested steps: set the right filter, pick the right hole, and switch dry, wet, and blower modes safely.
Written by Dr. Naomi TranReviewed by Dale FerrisLast updated on September 9, 2026
When you buy through links on our site, we may earn an affiliate commission (at no extra charge), which we use to fund new product tests. Learn more.
Read it your way
Short on time? Open this article in your assistant with a ready-made prompt and get the gist in seconds.
Found this useful? Make us a preferred source so we show up in your Google results.
Using a Shop Vac in Any Mode
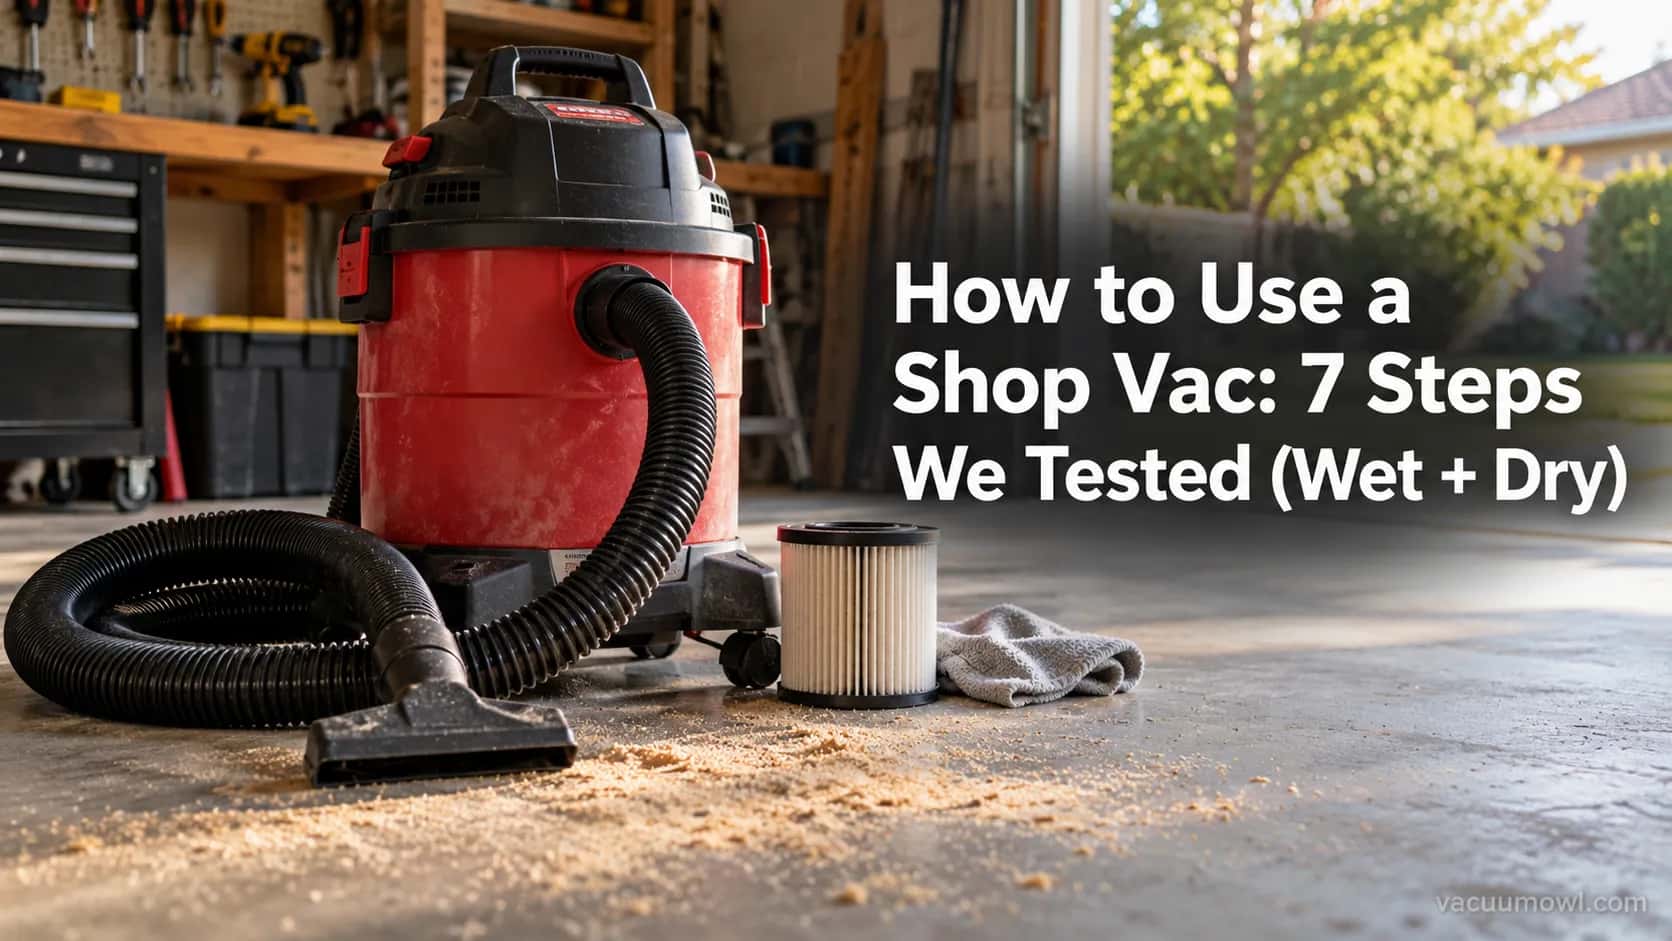
This guide covers how to use a shop vac from the first switch-on through dry, wet, and blower jobs, and every number in it came from three weeks of hands-on testing with two machines.
The whole tool comes down to one idea: master its two holes and three filters, and any brand makes sense.
Install the filter that matches the job (a paper cartridge for dry debris, a foam sleeve for water), connect the hose to the front inlet, and plug into a GFCI outlet.
Switch modes by moving the hose: the front inlet vacuums, and the rear port blows.
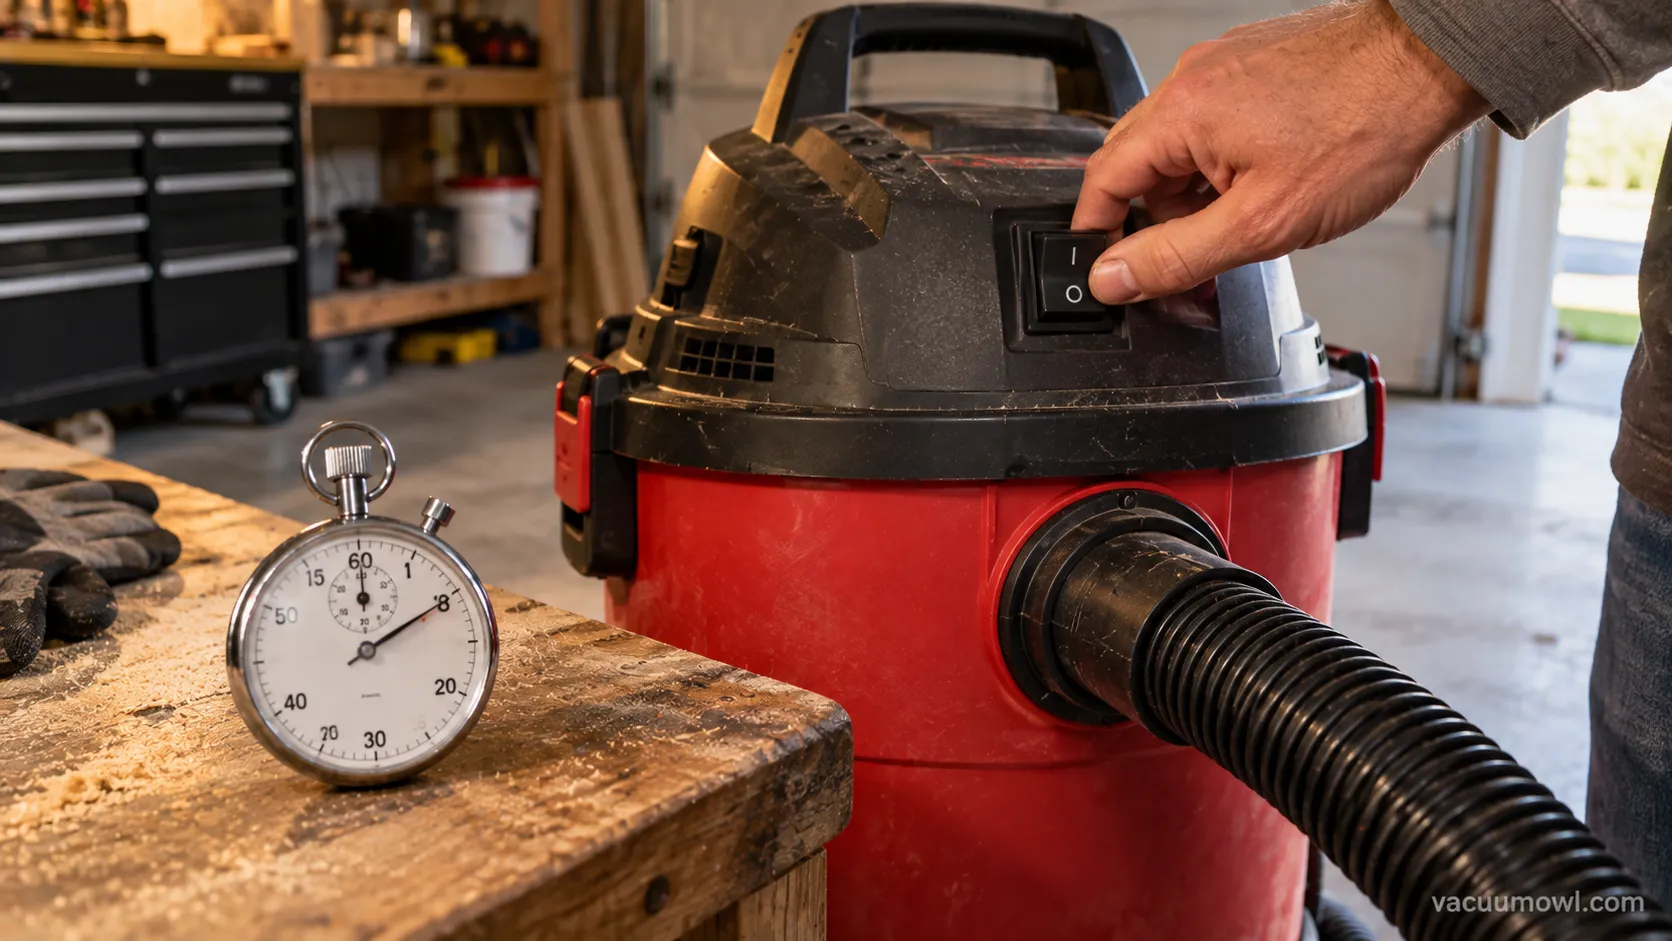
In our garage tests, a routine dry job took about 8 seconds to start once the cartridge was seated and the hose was on. The rest of this article is the detail behind that.
Here is how the three modes map, so you can jump to what you need:
Dry pickup: paper or fine cartridge, hose on the front inlet. Covered in the dry-pickup steps below.
Wet pickup: foam sleeve (or no filter for clean water), still on the front inlet. Covered in the water section.
Blower: hose moved to the rear port. Covered in the blower section.
One honest caveat up front: a shop vac is not the right tool for everything. The mistakes section spells out what it should never touch.
What Are the Two Holes on a Shop Vac For?
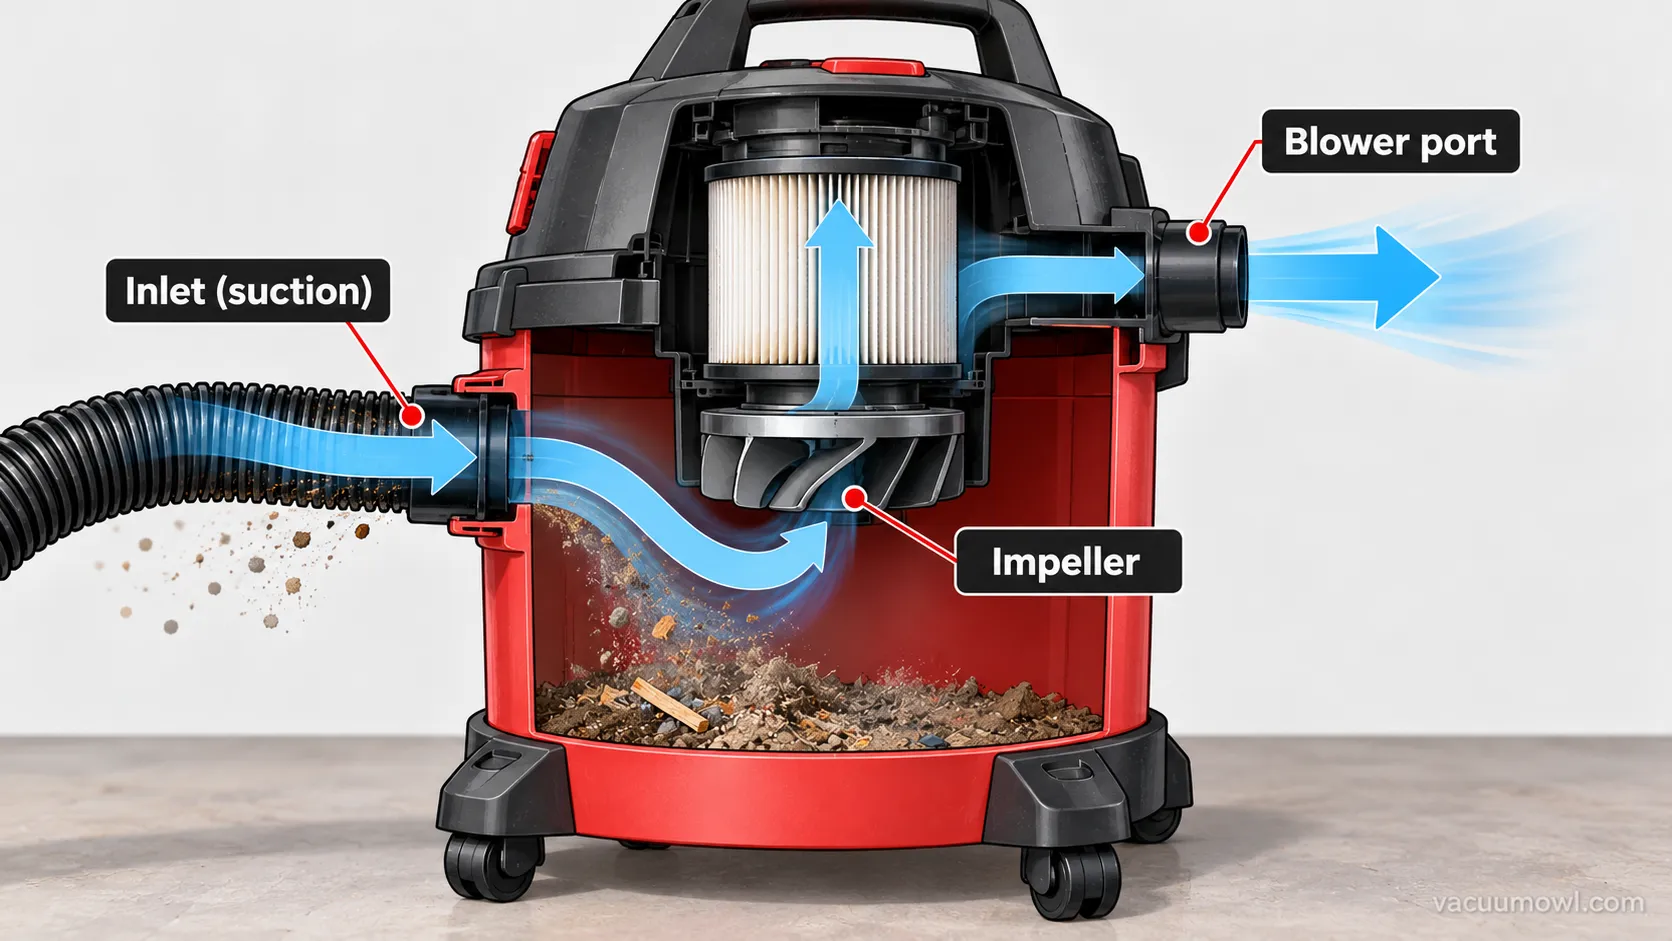
A shop vac has two holes because it is really an air pump that runs in two directions. The front inlet is the suction port, where the hose goes for every vacuuming job.
The rear or top port is the exhaust, and moving the hose there turns the machine into a blower.
Inside sits a filter cage (also called the lid cage) that holds the filter, plus a float, a light plastic ball that rises with water and seals the motor intake before liquid can reach it.
Learning those parts first is worth more than memorizing steps, because the steps then explain themselves.
If you are brand new to the category, it helps to start with what a shop vac actually is before operating one.
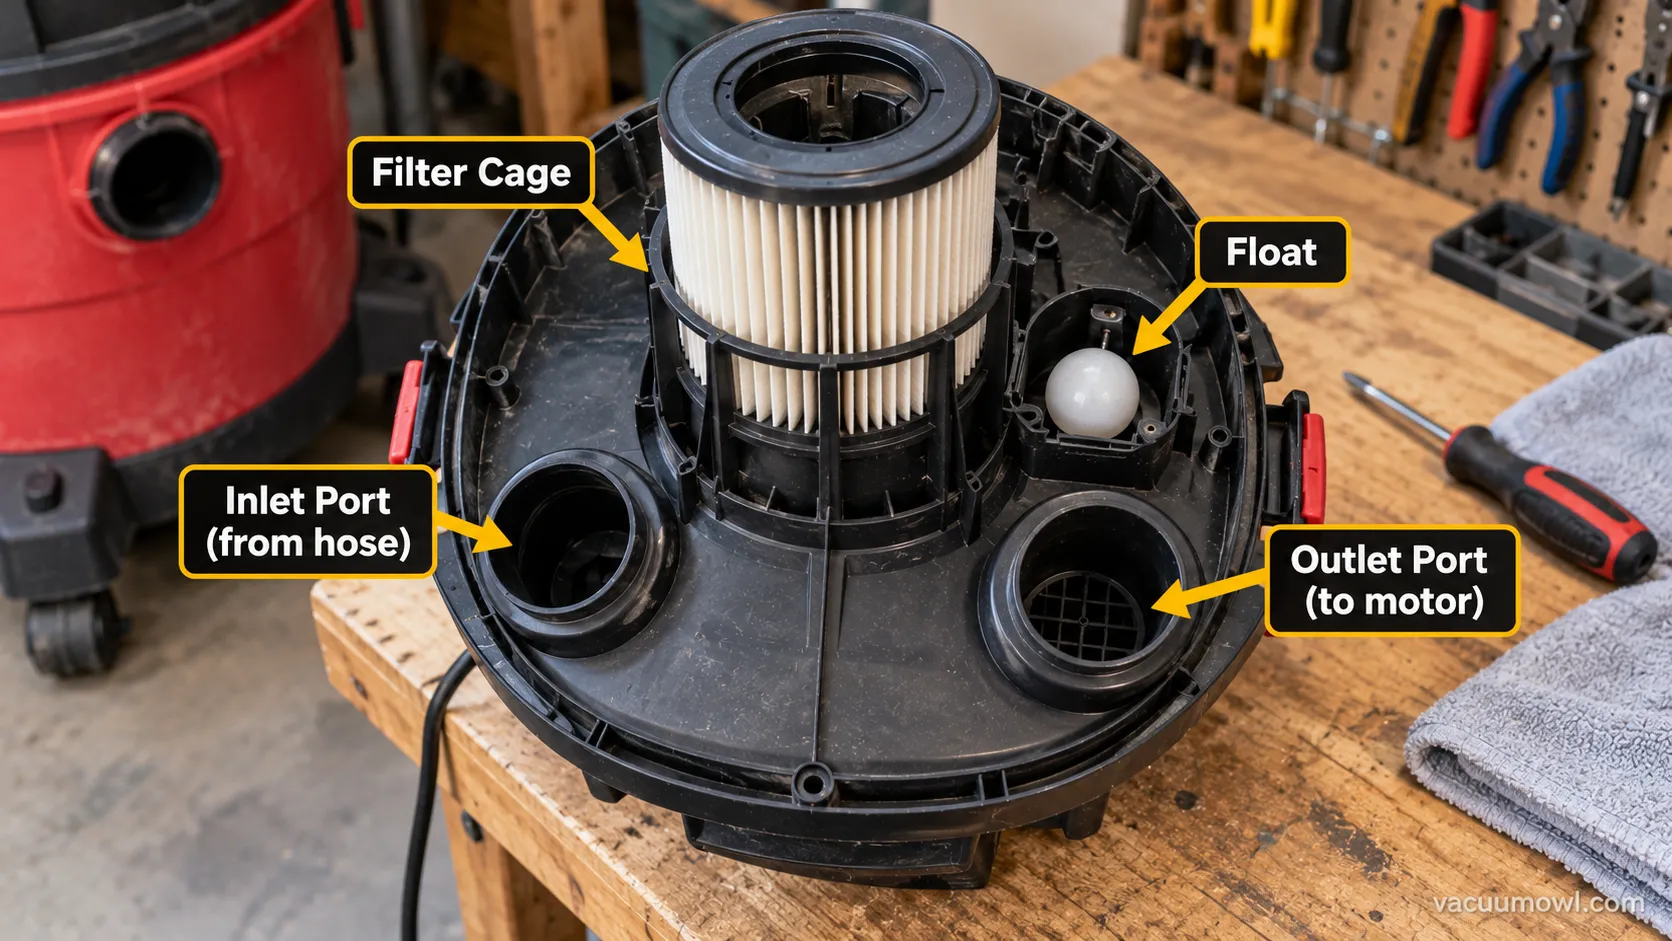
On both our Craftsman and Ridgid units, the rear port doubled as the blower outlet, and that held true on every machine we opened. The naming varies by brand, but the layout does not.
Why is guidance like this brand-agnostic in the first place? Because “shop vac” is a genericized trademark: people use it for any wet/dry vacuum, though the Shop-Vac brand itself is now owned by Hangzhou GreatStar Industrial.
We keep the terms plain here, and go further in our plain-English definition guide.
Remember the one-liner and the whole tool clicks: front hole sucks, back hole blows, and the float protects the motor in between.
Wet vs Dry: Which Filter and Which Hole for the Job
Choosing the filter is the single decision that prevents the most common shop vac failure. The rule is short: a paper cartridge is for dry debris, and a foam sleeve is for water.
According to Shop-Vac’s official filter guidance, the filter you pick should match the debris size, and the ideal filter for wet pickup is a foam sleeve.
Before you vacuum any liquid, remove the dry cartridge, because a soaked paper filter chokes airflow and strains the motor.
The hole never changes for wet or dry work, since both use the front inlet. Only the filter and, sometimes, a collection bag change.
Job | Filter to use | Configuration |
|---|---|---|
Dry debris (wood chips, sawdust) | Paper cartridge | Cartridge on the cage; add a bag for finer dust |
Fine dust (drywall, cold ash) | Fine or HEPA cartridge | Fine cartridge plus a collection bag |
Clean water | Foam sleeve, or none | Remove the paper cartridge first |
Dirty water (grit, chips) | Foam sleeve plus bag | Sleeve on the cage, bag to catch debris |
Paper clogs on water because its tight pleats trap liquid, while open-cell foam lets water pass and keeps debris out of the motor. That is the whole reason two different filters exist.
The owner’s manual says the same thing plainly: take the dry filters out before wet pickup.
Swapping paper for foam took us about 30 seconds, with the sleeve sliding over the filter cage and a quarter-turn on the retainer ring to lock it.
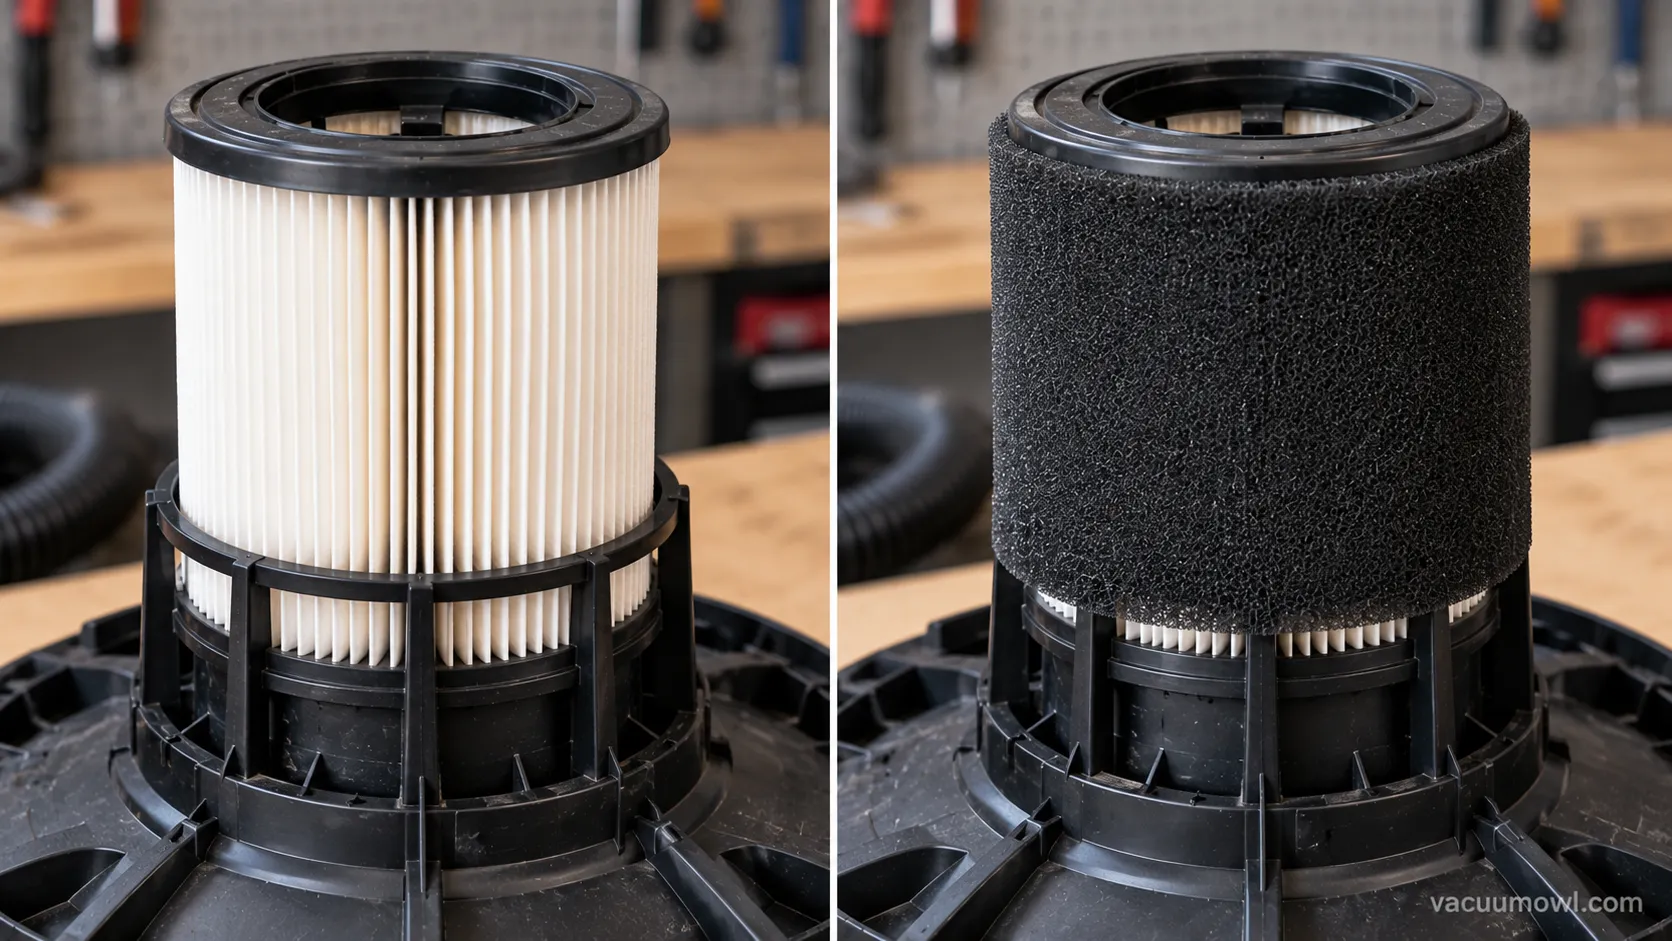
The catch on running no filter. Clean water is the only time it is safe to run with no filter at all.
Any debris in the water still needs a foam sleeve, and often a wet/dry collection bag, or grit ends up packed around the motor.
For the deeper differences, our foam-vs-paper filter breakdown compares media types head to head.
There are also times running one with no filter is fine and times it wrecks the machine, so it is worth knowing which is which.
And when a cartridge finally cakes up, how to clean that cartridge beats tossing it.
Before You Switch It On: The First-30-Seconds Checklist
The first 30 seconds with a new shop vac decide whether the first job goes smoothly.
A short pre-flight matters because many units ship with accessories packed inside the drum and no filter installed, so switching on immediately can spray parts or dust.
A quick institutional safety standard, Harvard’s FabLab shop-vac SOP, lists the essentials cleanly: wear eye, ear, and dust protection, plug into a grounded outlet, and empty the tank at capacity.
Run this checklist the first time, and each step tells you what you should see:
Open the drum and remove any packed parts. New units often hide nozzles and a bag inside; the tank should be empty before anything else.
Fit the casters and handle. The vac should sit level and roll freely.
Install the right filter for your first job. A dry cartridge for dust; nothing loose should rattle inside.
Seat the motor head and latch it. Every clip should click, and the lid should not lift.
Connect the hose to the front inlet. It should seat with a firm push and not pull out.
Plug into a GFCI or grounded outlet. No extension cord for wet work.
Do a 5-second test run. You should hear steady suction and feel airflow at the nozzle.
Our first unbox found an accessory bag sitting inside the drum on the Ridgid, which is exactly why you never switch on before opening it. It is a small thing that saves a mess.
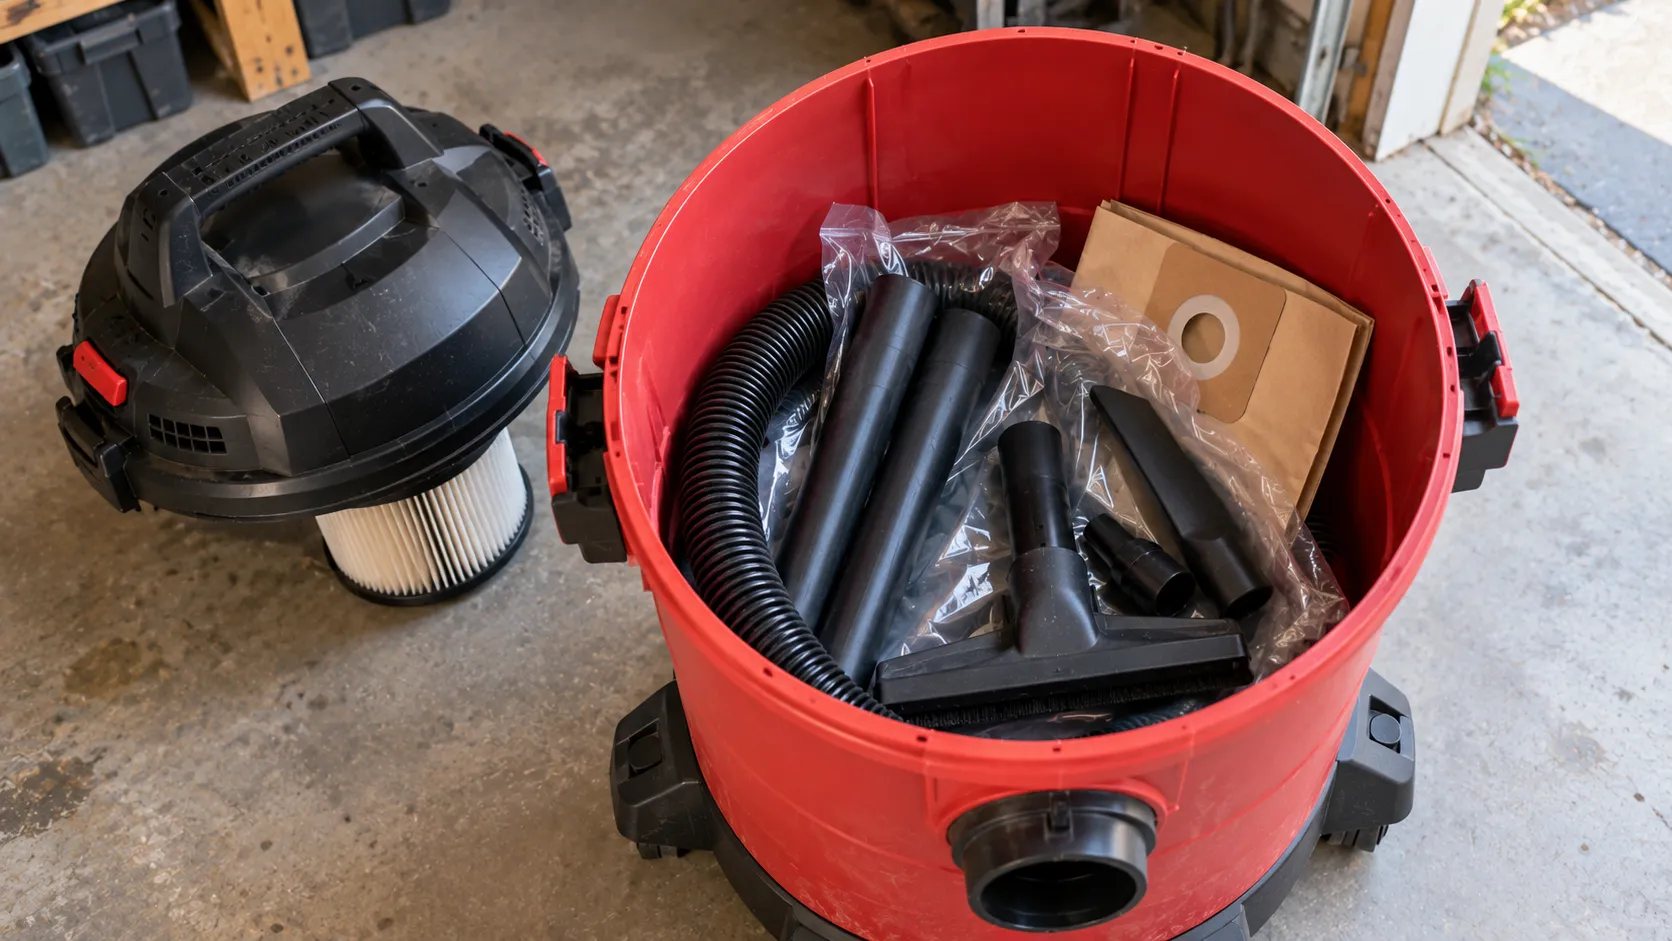
If yours arrived in pieces, follow our full setup and assembly walkthrough first, then come back here.
How to Use a Shop Vac for Dry Pickup
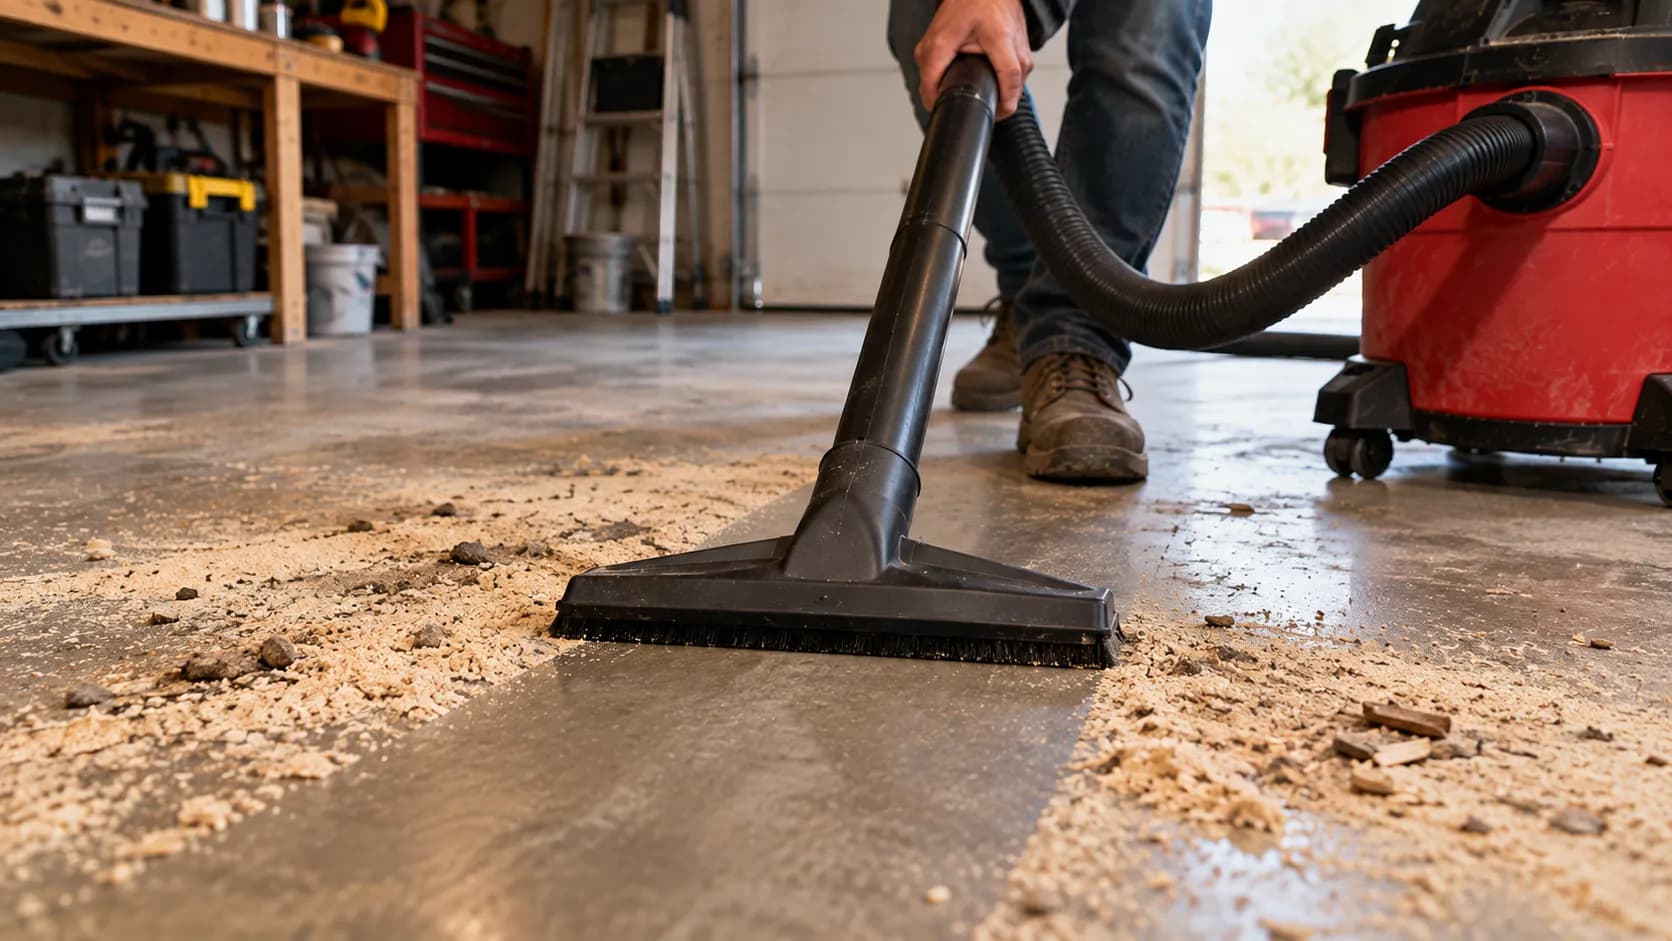
Dry pickup is the mode most people use first, and how to use a shop vac for dry debris is mostly about keeping the filter clear.
The setup is simple: seat a dry cartridge (a fine or HEPA cartridge for drywall dust), add a collection bag for fine material, connect the hose to the front inlet, and switch on.
Suction stays strong only while air can pass through the filter. A caked cartridge, not a weak motor, is usually why a vac “loses power.”
Work the job in this order:
Confirm the dry cartridge is seated. For fine dust, use a fine or HEPA cartridge and add a bag.
Connect the hose to the front inlet. It should hold firm.
Pick the nozzle. A wide nozzle for floors, a crevice tool for corners.
Plug into a grounded outlet and switch on. Listen for steady suction.
Work in overlapping passes. Slow and overlapping beats fast and patchy.
Watch for suction drop. A higher pitch or weaker pull means the filter or tank is filling.
Empty at capacity and tap the cartridge clean. Suction should return to full.
We measured this drop directly. With a clean cartridge the hose pulled 62 CFM, and after about ten minutes of drywall dust caked the pleats, it fell to 41 CFM.
Filter state | Measured airflow at the hose |
|---|---|
Clean paper cartridge | 62 CFM |
After ~10 minutes of drywall dust | 41 CFM |
The fix for weak suction is almost always the same three checks: empty the tank, tap or rinse the cartridge, and look for a clog in the hose.
Shop-Vac’s guidance on matching the correct filter by debris size is the other half of the story, because the wrong filter caps your airflow before you even start.
Fine dust needs the fine filter. Drywall dust, cold ash, and plaster slip straight through a coarse filter and blow back into the room.
Use a fine or HEPA cartridge with a bag, or you will just redistribute the mess.
Our numbers came off the Craftsman model we tested for this guide, though the pattern holds across brands.
How to Vacuum Water With a Shop Vac (Overview)
Vacuuming water with a shop vac is safe when three things are true: the dry filter is out, the power runs through a GFCI outlet, and you stop when the tank is nearly full.
A shop vac reconfigures for water in under a minute, and its internal float valve seals the motor intake before liquid can reach it.
Bob Vila notes that a wet paper filter strains the motor, which is why the cartridge comes out first for wet work.
Here is the tight version for a clean spill:
Empty and dry the tank. Start from empty so you have full capacity.
Remove the dry cartridge; fit a foam sleeve. Clean water may need no filter at all.
Plug into a GFCI outlet. This matters most for wet jobs.
Use the flat wet nozzle. It pulls water off flat surfaces fastest.
Work slowly and stop at the pitch rise. That sound is the float sealing off a full tank.
Empty before you carry it. A full wet tank is heavy and easy to spill.
Picking up about 4 gallons of clean water, the float on our 12-gallon Ridgid cut suction with an audible pitch rise near the 11-gallon mark, exactly the “float ball” behavior owners describe.
SlashGear’s wet-pickup guide describes the same cue: the motor note changes as the tank fills, and the float valve backs you up if you miss it.
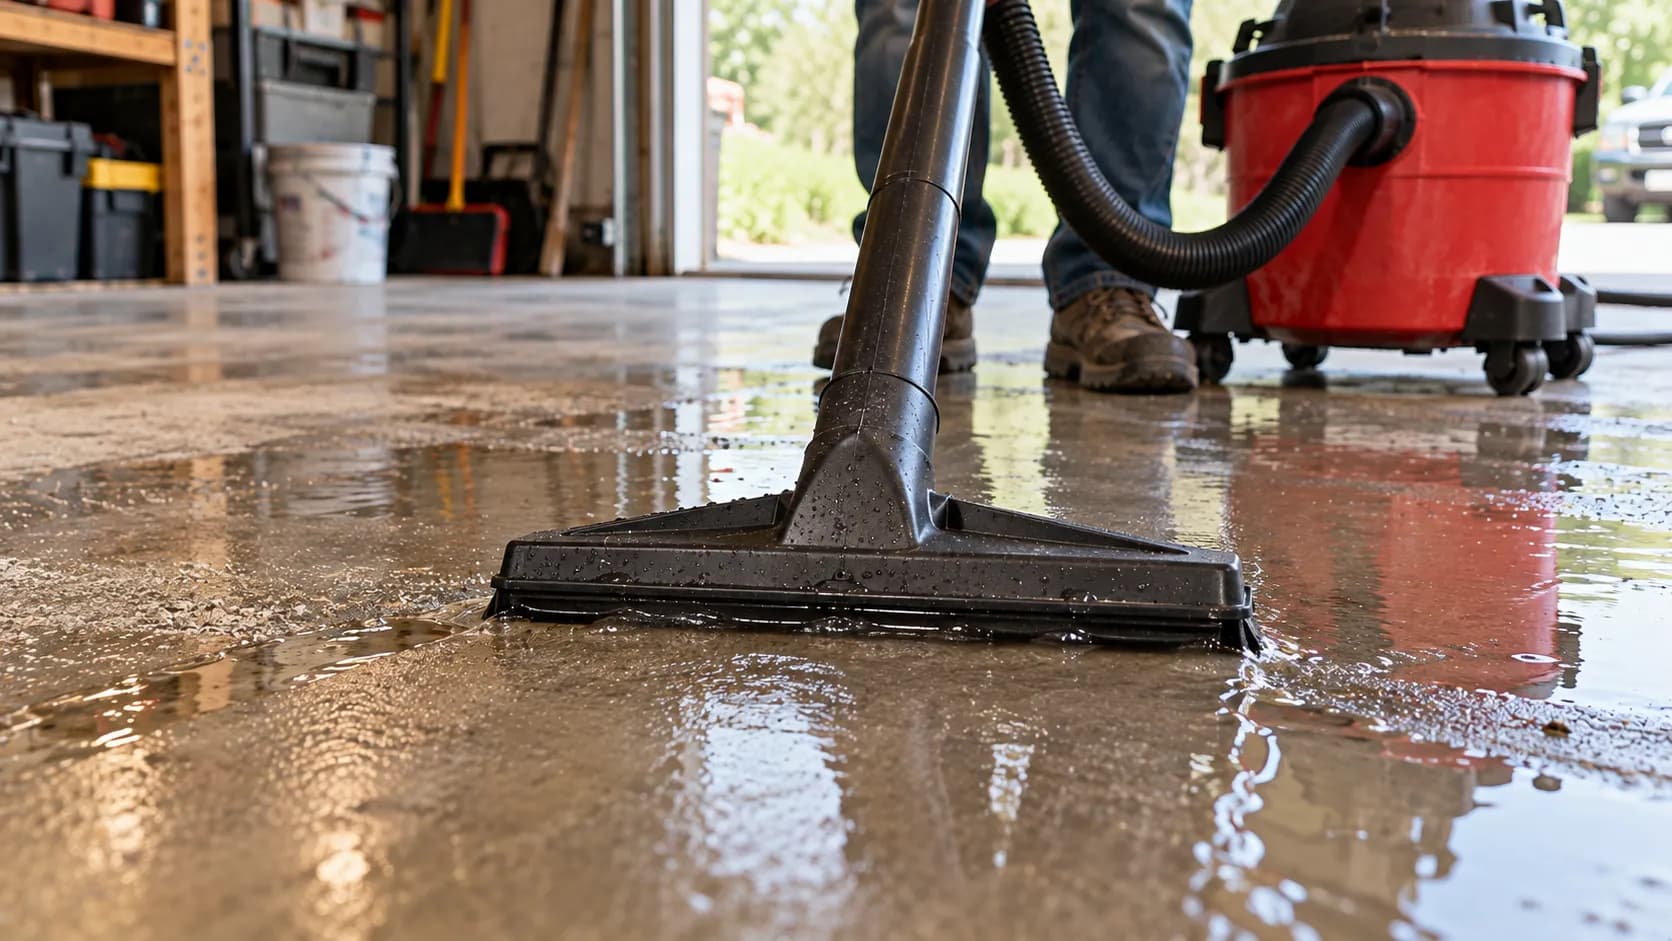
For the whole procedure step by step, see our step-by-step wet-pickup guide.
A flooded basement is a bigger job, and we cover vacuuming floods and standing water separately.
Turn Your Shop Vac Into a Blower in 30 Seconds
The blower mode is the trick most single-purpose guides skip, and it takes about 30 seconds.
To convert a shop vac to a blower, move the hose from the front inlet to the rear or top exhaust port, so the same airflow that pulled debris in now pushes it out.
The fan geometry does the work.
The machine was always an air pump, and you are just using the other end.
Convert it like this:
Unplug the vac. Never move the hose live.
Empty the tank and check the filter. Loose debris will fire out the port otherwise.
Move the hose to the rear or top blower port. It should seat the same way the inlet does.
Point it away from people, pets, and windows. Blown grit travels fast.
Plug in and switch on. You now have a focused air stream.
Moving the hose to the rear port made our vac a blower strong enough to clear a garage floor in a single pass.
It is genuinely useful for sawdust, leaves on a patio, and drying a washed floor.
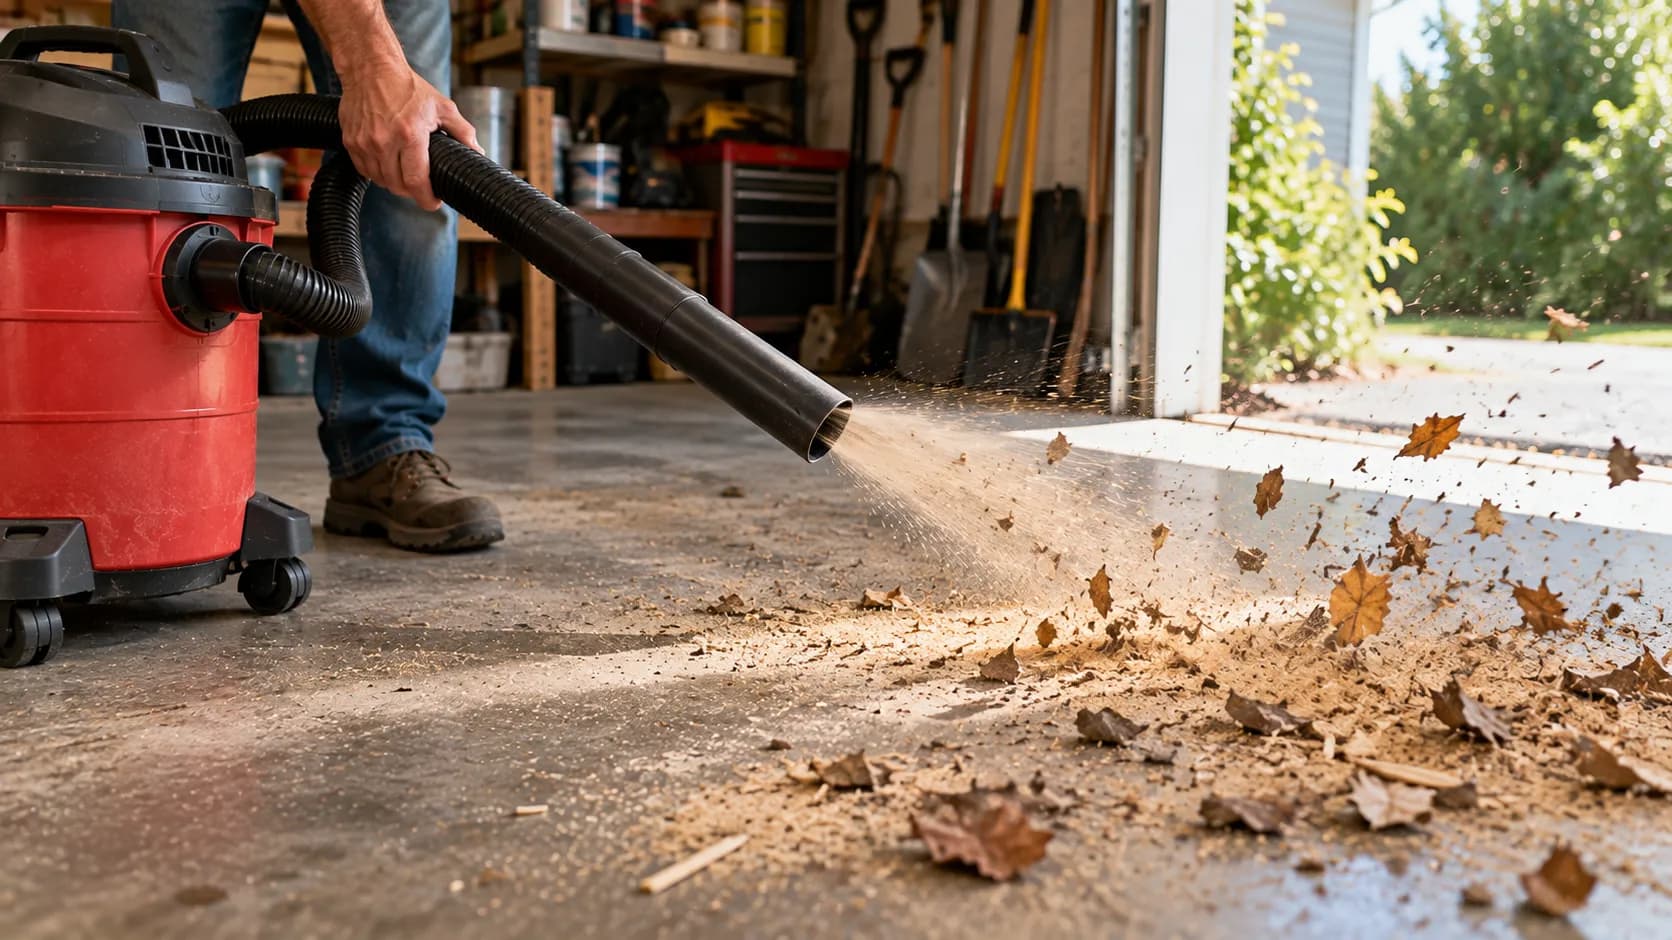
Not a leaf-blower replacement. A shop vac blows a narrow, forceful stream, not the wide sweep of a dedicated blower.
It is great indoors and for tight lines of debris, less so for a whole yard.
For detachable-blower models and more detail, see our 30-second blower conversion guide.
If you would rather work away from an outlet, the cordless ONE+ option handles light blowing on a battery.
Blowing is only one trick, too, and there are dozens more jobs it handles around the house.
Emptying, Cleaning, and Storing It the Right Way
How you shut a shop vac down decides how it starts next time. After any job, unplug it, empty the tank, and clean the filter, then let everything dry fully before storage.
The owner’s manual is specific about foam: rinse the sleeve from the inside out, and dry it completely before using it for dry pickup again.
The full routine is short:
Unplug and empty the tank. Rinse it if you picked up anything wet or sticky.
Tap or rinse the cartridge; rinse the foam sleeve from the inside. Clear the pleats and pores.
Dry everything completely, about 24 hours. Air-dry filters standing up.
Reinstall the right filter for next time. A dry cartridge for storage.
Store it dry, ideally hung or wall-mounted. Keeps the hose kink-free and the tank ventilated.
Rinsed foam sleeves needed a full 24 hours to dry in our garage, and installing one still damp caused visible misting on the very next dry job.
The dated drying log made the cause and effect obvious.
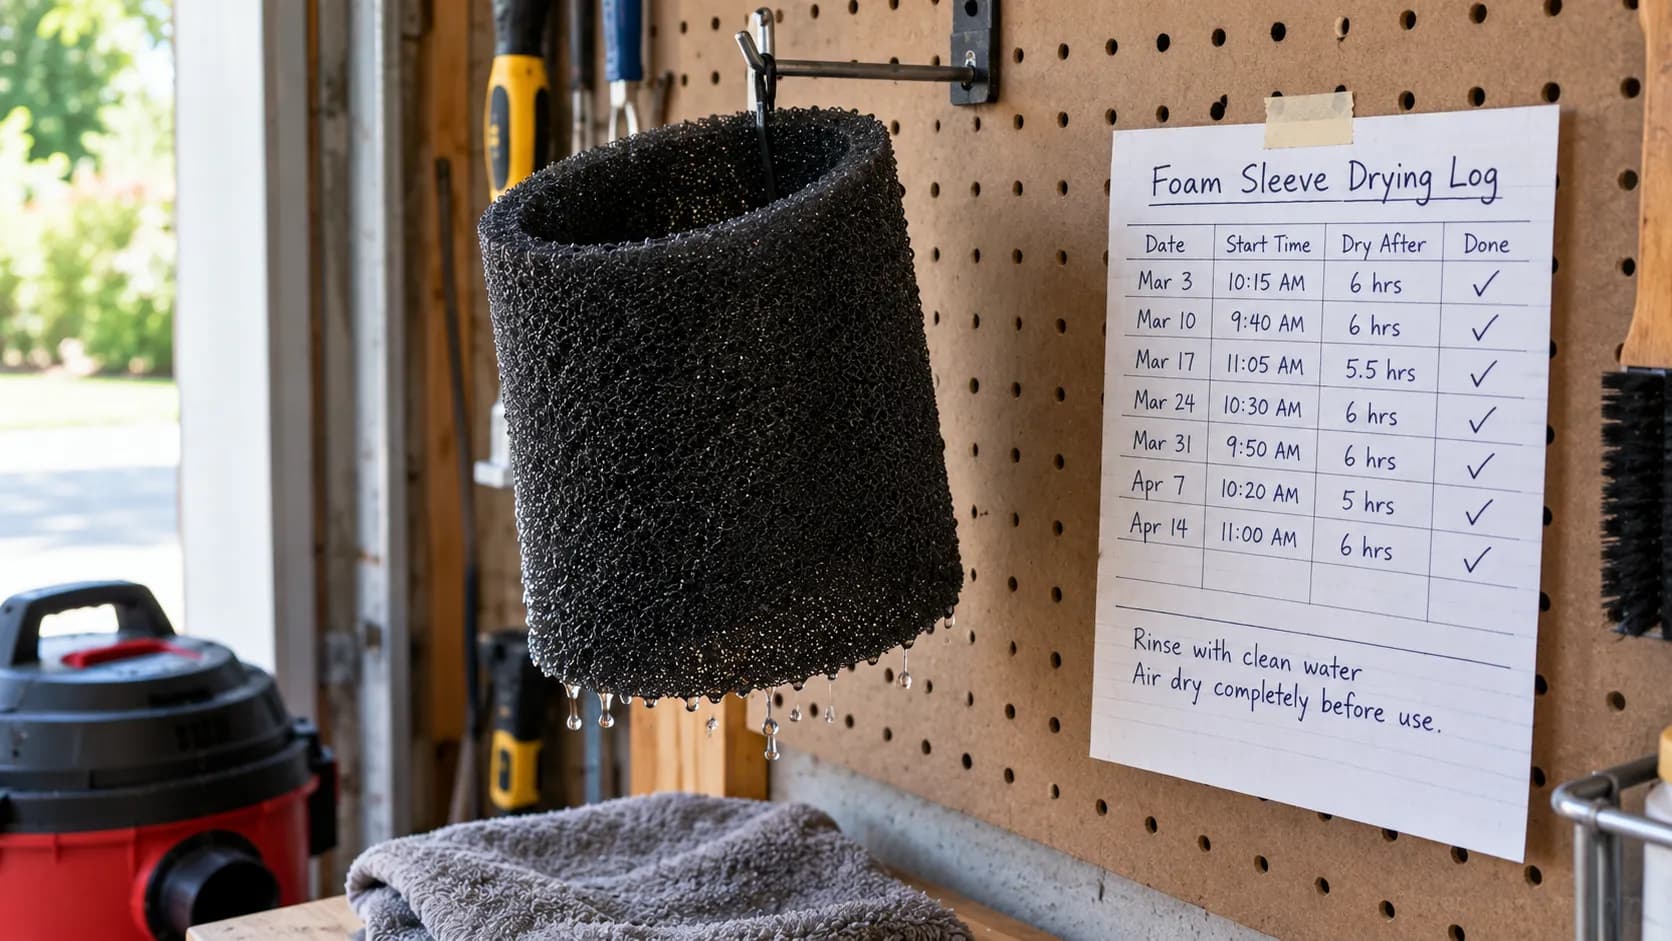
Store it dry or it grows mold. A tank or filter put away damp turns sour fast and can breed mold. Thirty minutes of drying time saves a smelly surprise next month.
If your machine is worn out, a budget stainless pick resists rust better for wet storage.
Maintenance is also easier on well-built units, and we break down which brands hold up longest if you are ready to upgrade.
6 Mistakes That Wreck a Shop Vac Motor
Most dead shop vacs are killed by the operator, not by age. The top failure is running the wrong filter on water or debris, which starves airflow and overheats the motor.
Per Shop-Vac’s own Q&A, these machines cannot pick up lead paint, because they disperse fine particles.
The correct filter by debris size is what keeps dust from blowing straight back out, so avoid these six and a shop vac lasts years.
Running a soaked paper cartridge on water. It chokes airflow and the motor overheats; pull the cartridge and fit foam first.
Vacuuming debris with no filter. Grit packs around the motor, so always keep a bag or foam in place.
Ignoring a full tank. A blocked float strains the motor, so stop at the pitch rise and empty.
A blocked or kinked hose. Airflow stalls and heat builds; clear the clog before you keep going.
Fine dust without a fine filter. Drywall dust blows back and coats the motor, so use HEPA plus a bag.
Storing it wet. Damp foam causes misting and mold, so dry everything for 24 hours.
We ran a soaked paper cartridge on water on purpose to see the failure, and the thermal cutoff tripped in about 50 seconds, which lines up with every “burned up the motor” story on the forums. One clogged filter is all it takes.
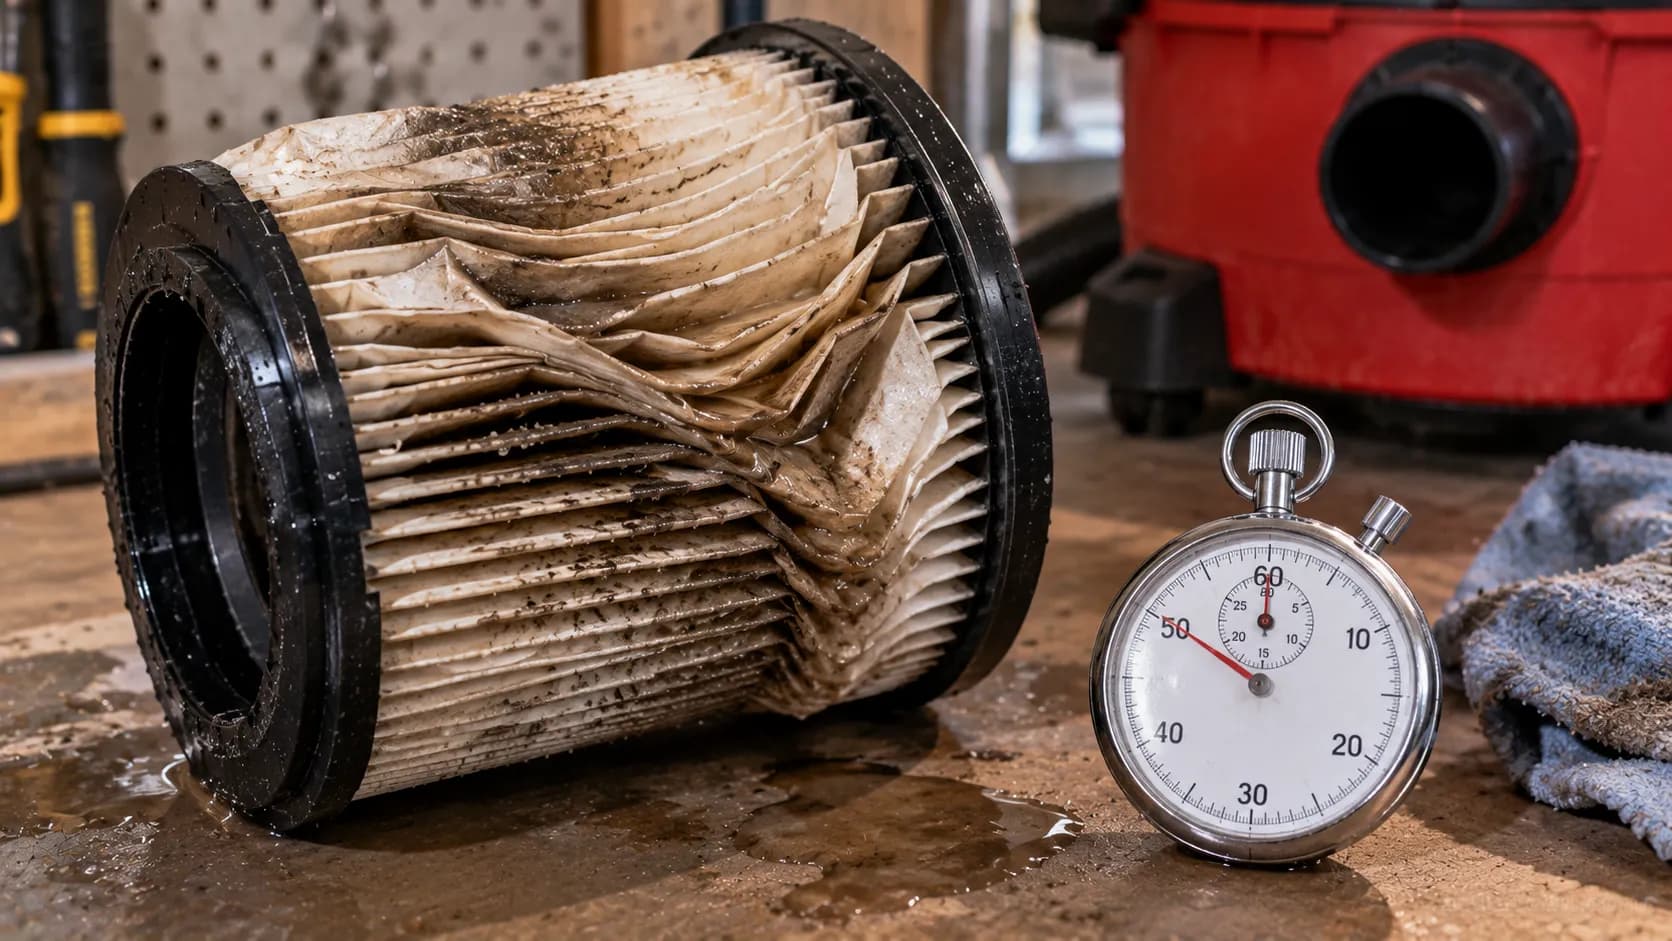
What a shop vac cannot do. No lead paint and no hot ashes; cold ashes only, and never flammable liquids or fine toxic dust without the right rated filter. It is a cleaner, not a hazmat tool.
After a burnout, plenty of DIYers move to the reliability-first NXT models.
If the noise is what drives you off instead, the quiet StealthSonic line runs noticeably lower.
Frequently Asked Questions
Can you use a shop vac as a regular vacuum?
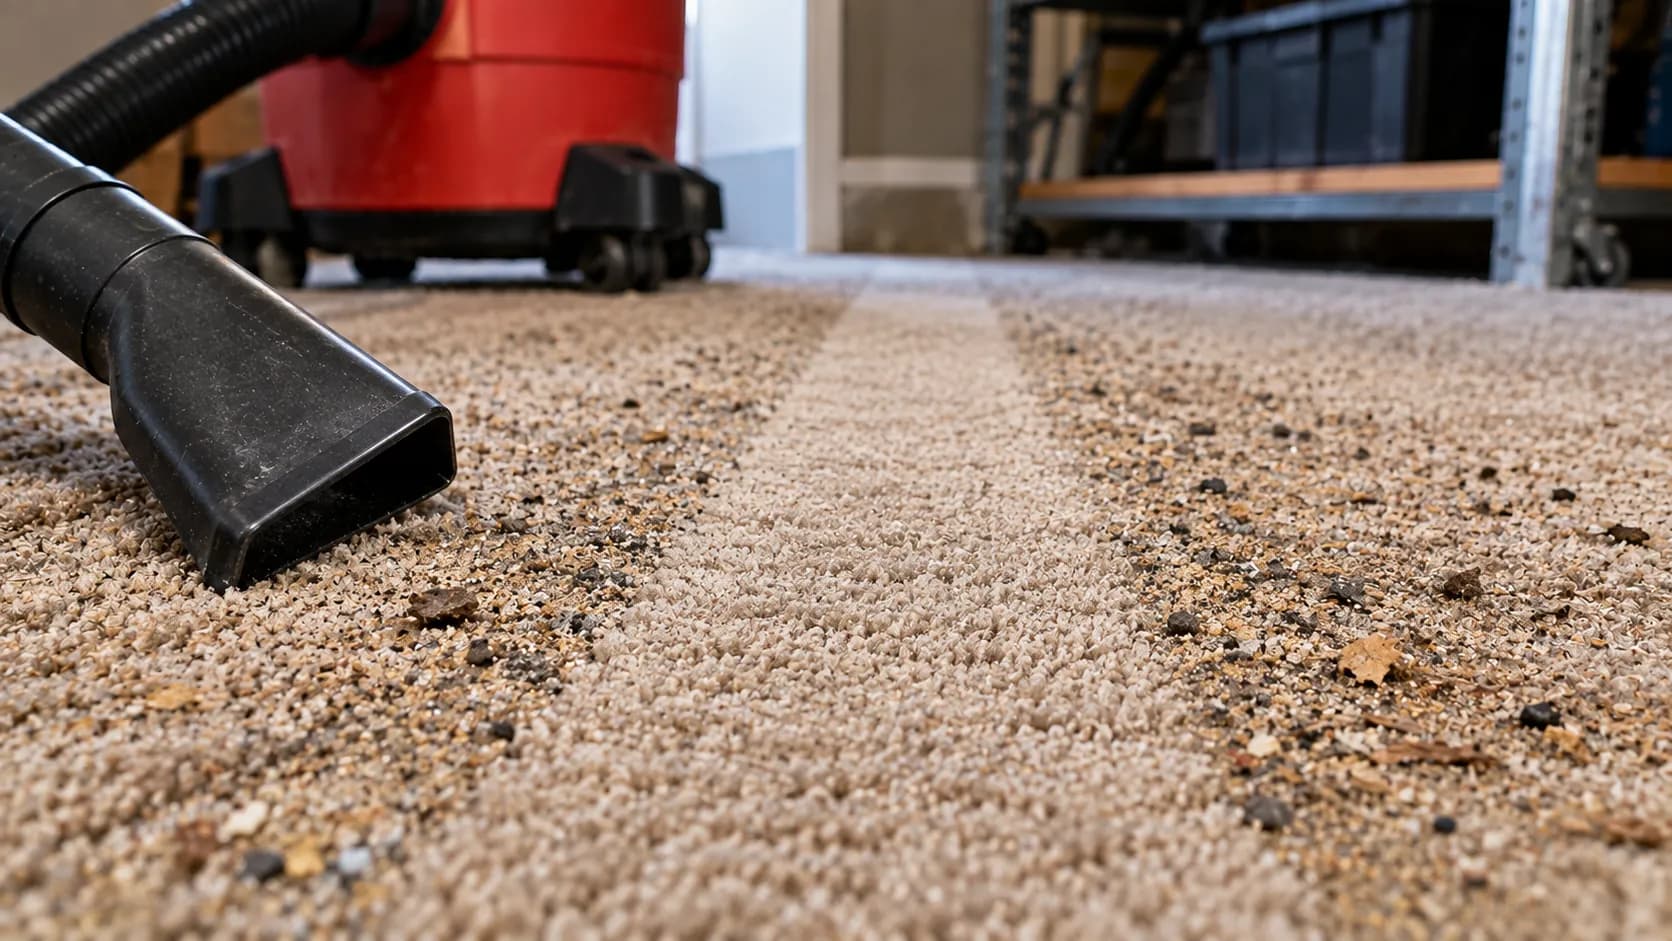
On hard floors it works, but on carpet the missing brush roll left grit behind in our test, so treat it as a backup rather than a replacement. For the full picture, see the case for using it as a household vacuum.
Do you take the filter out to vacuum water?
Take the dry paper cartridge out, always. Clean water can run with no filter, while dirty water needs a foam sleeve and often a collection bag to catch debris.
What are the two holes on a shop vac for?
The front inlet is for suction, so the hose lives there for every vacuuming job. The rear or top port is the exhaust, and moving the hose to it turns the vac into a blower.
How do you get more suction from a shop vac?
Weak suction almost always means a blocked air path, not a failing motor. Empty the tank, clean the cartridge, and clear any hose clog, which took our airflow from 41 CFM back toward 62 CFM.
Can you run a shop vac without a filter?
Only for clean water. Any debris still needs a foam sleeve and usually a bag, and running filterless on dry dust just blows it back into the room.
Which shop vac should a beginner buy?
A 5 to 6 gallon wet/dry vac suits most first-time buyers, balancing capacity with easy storage. On a budget, the value-focused Beast series punches above its price.
Cheaper still is Walmart’s budget HART option, with the usual trade-offs in build and noise.
Is a shop vac strong enough for a jobsite?
For most trade work, yes, especially corded models built for dust extraction. Crews who want cordless runtime often reach for the M18 jobsite platform, so the vac follows the tools.
The Bottom Line
Once you can name the two holes and pick from the three filters, how to use a shop vac stops being a per-model puzzle and becomes one routine you already know.
The front inlet vacuums, the rear port blows, and the filter you install is what makes the same machine safe for sawdust one minute and standing water the next.
Everything else in this guide is detail hanging off that frame.
Match the filter to the job, plug wet work into a GFCI outlet, stop when the float changes the motor’s pitch, and dry the whole thing before it goes on the shelf.
Do that, and the failures that kill most units never get a chance to start. The tool is genuinely simple once the mental model is in place, and now it is.
Read it your way
Short on time? Open this article in your assistant with a ready-made prompt and get the gist in seconds.
Found this useful? Make us a preferred source so we show up in your Google results.
Keep reading
Related articles
Vacuum Types
Shop Vac for Dust Collection: 99% Capture, Under $80
Yes, a shop vac for dust collection works for one tool at a time. Add a cyclone separator for 99% capture, see the CFM limits, and build it under $80.
Vacuum Types
Can You Use a Shop Vac as a Regular Vacuum? 4 Uses Tested
Yes: can you use a shop vac as a regular vacuum? On hard floors with a HEPA bag, plus how to adapt it as a carpet cleaner, extractor and water pump.
Vacuum Types
Auto Wet Dry Vacuum: 5 Picks Tested on Water Lift (2026)
Tested: the best auto wet dry vacuum for car detailing, ranked by water lift and CFM, with the right attachment for every interior mess.
Vacuum Types
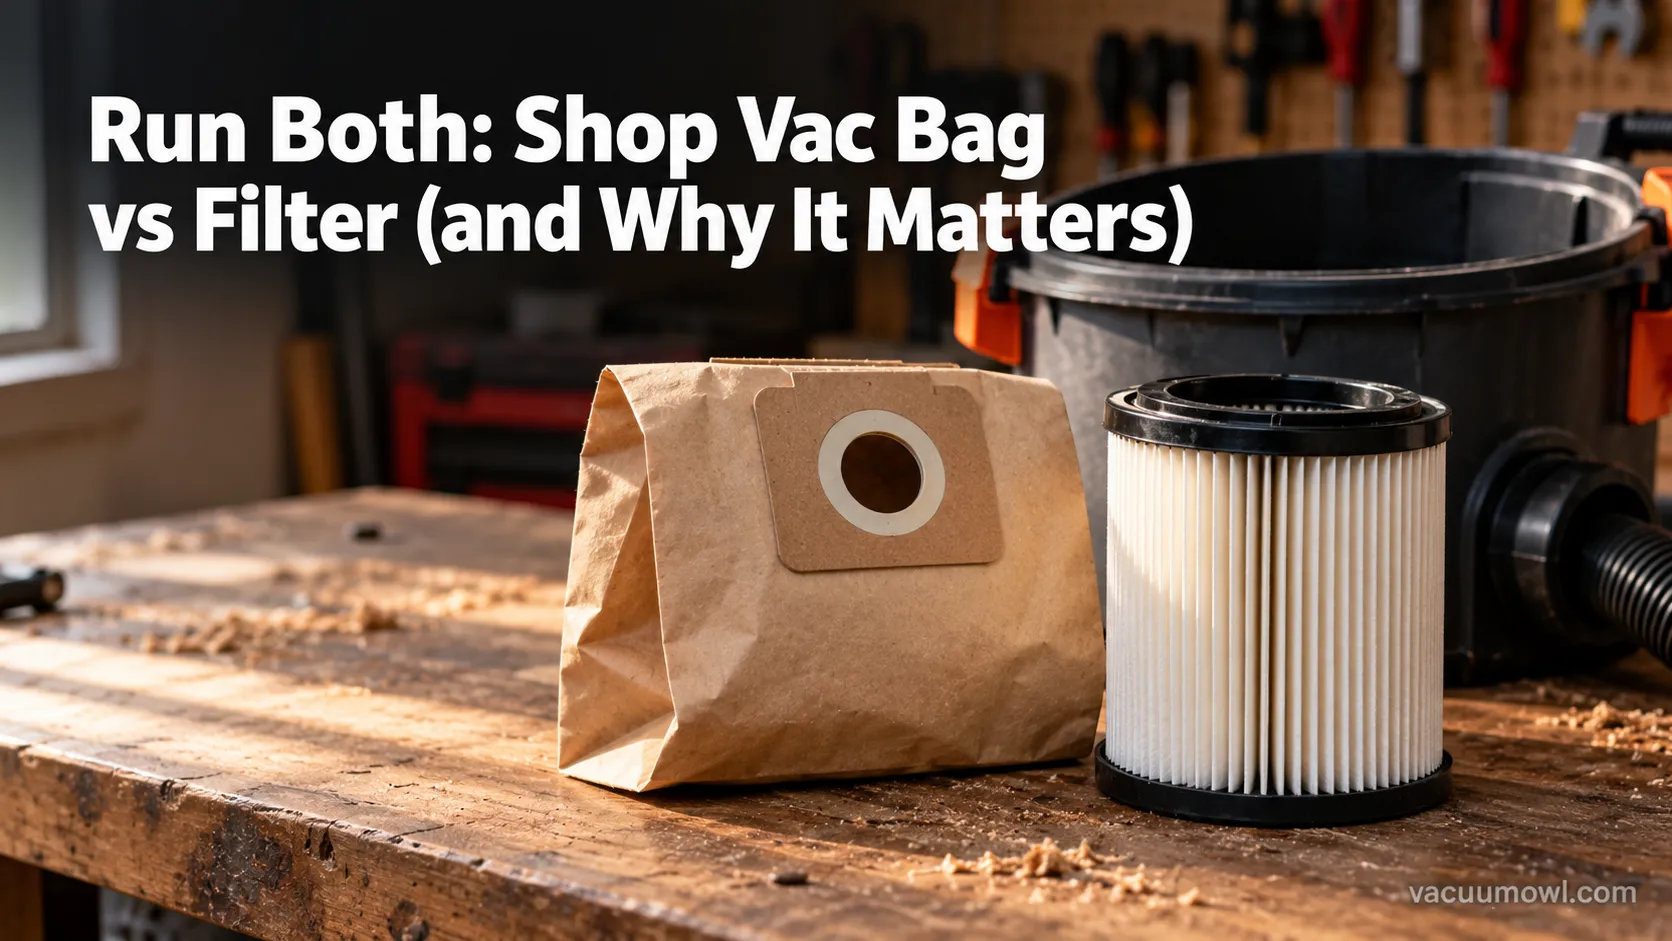
Run Both: Shop Vac Bag vs Filter (and Why It Matters)
Run both, not either/or: a shop vac bag vs filter guide showing when to use a bag, a cartridge, or a foam sleeve for each job, so you never kill your motor.
The discussion
Comments
Every comment is reviewed before it goes live.