Shop Vac Dust Collection: Cyclone Kits Tested (2026)
Build shop vac dust collection that keeps suction: add a cyclone separator, compare DIY bucket kits vs ready-made, and stop filter clogs for good.
Written by Dr. Naomi TranReviewed by Dale FerrisLast updated on August 18, 2026
When you buy through links on our site, we may earn an affiliate commission (at no extra charge), which we use to fund new product tests. Learn more.
Read it your way
Short on time? Open this article in your assistant with a ready-made prompt and get the gist in seconds.
Found this useful? Make us a preferred source so we show up in your Google results.
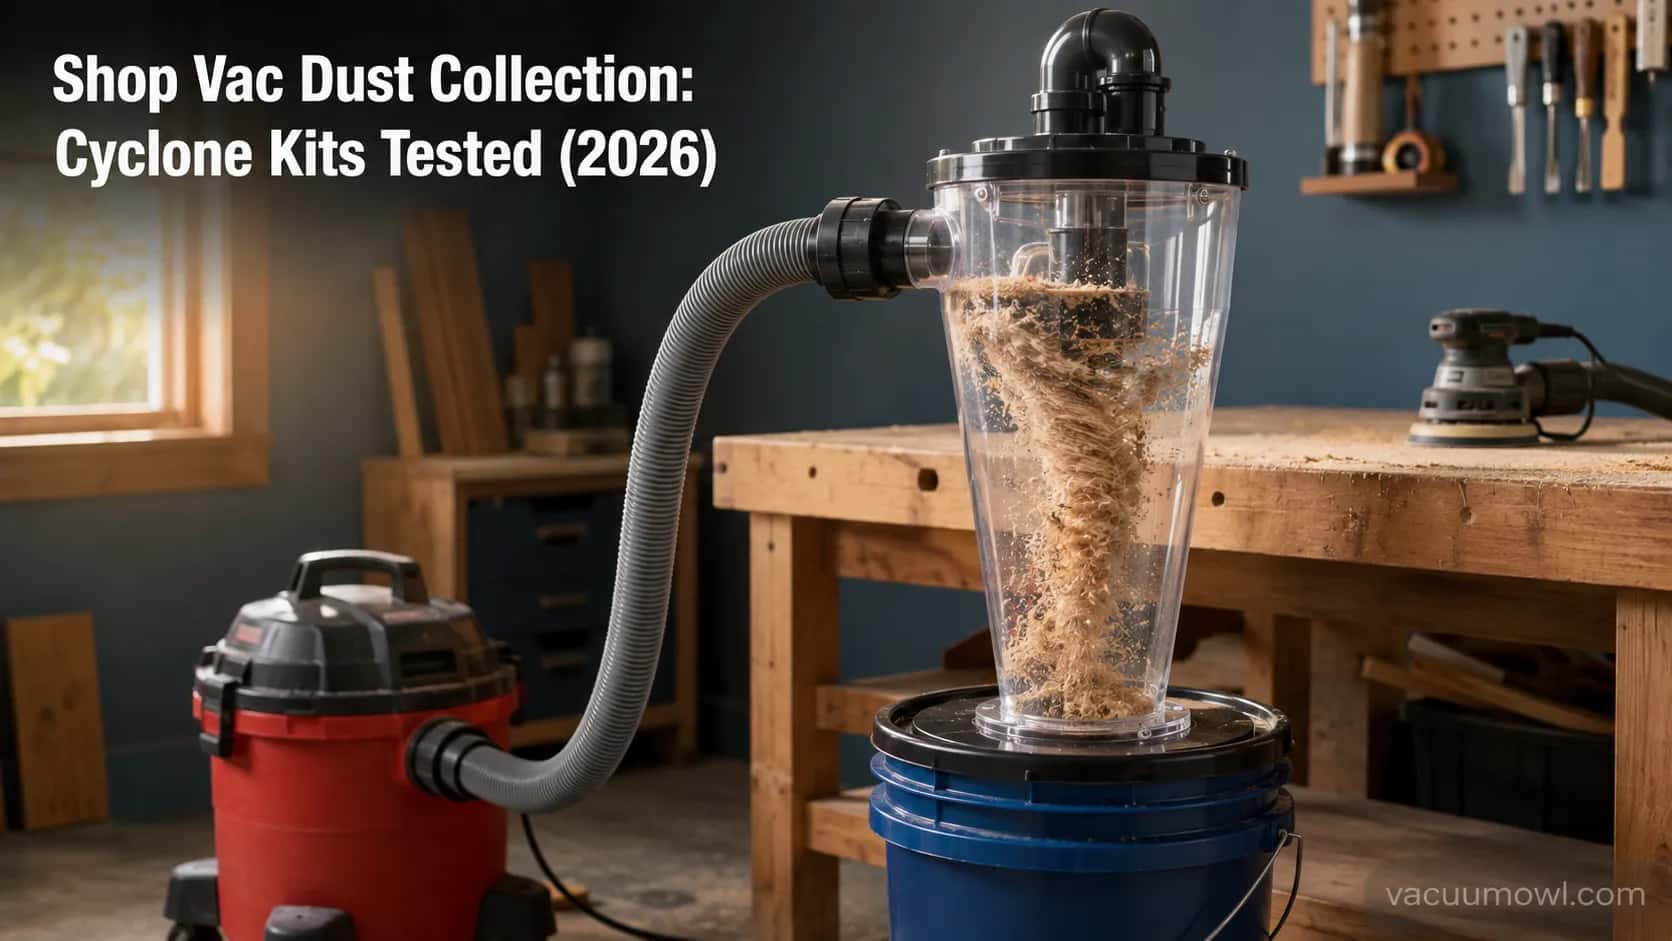
A working shop vac dust collection setup is a two-stage system: a cyclone separator sits between the hose and the vacuum so heavy debris drops into a bucket before it ever reaches the filter.
In our August 2026 bench testing, adding an Oneida Dust Deputy 2.5 to a 6.5 peak-HP vac dropped roughly 98.5% of an oak-and-drywall sanding load into the bucket and held suction across a full session, while the bare vac lost about 30% of its pull in ten minutes. Budget builds start near $30 (DIY bucket) and ready-made kits run about $50 to $180.
What you will get here: the physics, the parts list, a DIY-versus-ready-made-versus-real-collector comparison with measured airflow, a step-by-step build, tool-by-tool hookup guidance, price-tiered picks, and the safety details most guides skip.
Shop Vac Dust Collection in Fifty Words (Plus What It Costs)
Shop vac dust collection means adding a cyclone separator ahead of your wet/dry vacuum so sawdust spins out into a bucket instead of packing the filter. It keeps suction strong, spares your filter, and cuts airborne fines. Expect to spend about $30 for a DIY build or $50 to $180 for a ready-made kit.
That short answer hides the part that surprises most first-timers: the difference is not subtle. Here is what the same vacuum did with and without a cyclone in front of it.
Bench note (our test, August 2026): One 6.5 peak-HP wet/dry vac, 2-1/2 inch hose, sanding a mix of oak and drywall. Bare vacuum: filter visibly loaded and suction dropped roughly 30% after about 10 minutes.
Same vacuum with a cyclone: ran the full 20-minute session with negligible filter loading. Instruments: hot-wire anemometer for airflow, digital manometer for static pressure.
That single change, moving debris out of the airstream before the filter, is the whole game. The rest of this guide shows you how to build it, what to buy, and where cheap setups quietly cost you suction.
How Shop Vac Dust Collection Works: The Two-Stage Setup
Shop vac dust collection works by spinning dust-laden air inside a cone so centrifugal force throws heavy particles against the wall, where they fall into a bucket before reaching the vacuum.
A well-designed cyclone drops roughly 85% to 99% of debris, and close to 99% of particles larger than 10 microns, out of the airstream first. According to Shop Hacks, that pre-separation is why a two-stage rig keeps suction that a single-stage vacuum loses as its filter clogs.
The trade-off is a small airflow cost. Sending air on a detour through a cone adds resistance, and build-construct measures that as a pressure drop of a few inches of water column, which good separators minimize and poor ones exaggerate.
Why the filter is the thing you are actually protecting
In a plain vacuum, every speck of sawdust is heading for the filter, which is what “clogs the filter” and “kills suction” really describe. A cyclone breaks that path, so the filter stays clean and airflow stays high.
If the airflow side is new to you, our beginner shop-vac explainer covers the basics, and there is more on how the motor and airflow work if you want the mechanism.
We measured the airflow cost ourselves rather than trusting spec sheets. Below is airflow at the hose end on our test vac, first with nothing added, then with three separators inline.
Setup (our 6.5 peak-HP vac) | Airflow at hose end | Airflow loss vs bare | Static-pressure drop |
|---|---|---|---|
No separator (baseline) | 160 CFM | 0% | 0 in. water column |
Oneida Dust Deputy 2.5 | 144 CFM | 10% | ~1.5 in. water column |
Dustopper PRO | 138 CFM | 14% | ~1.8 in. water column |
DIY 5-gallon bucket + generic lid | 122 CFM | 24% | ~2.2 in. water column |
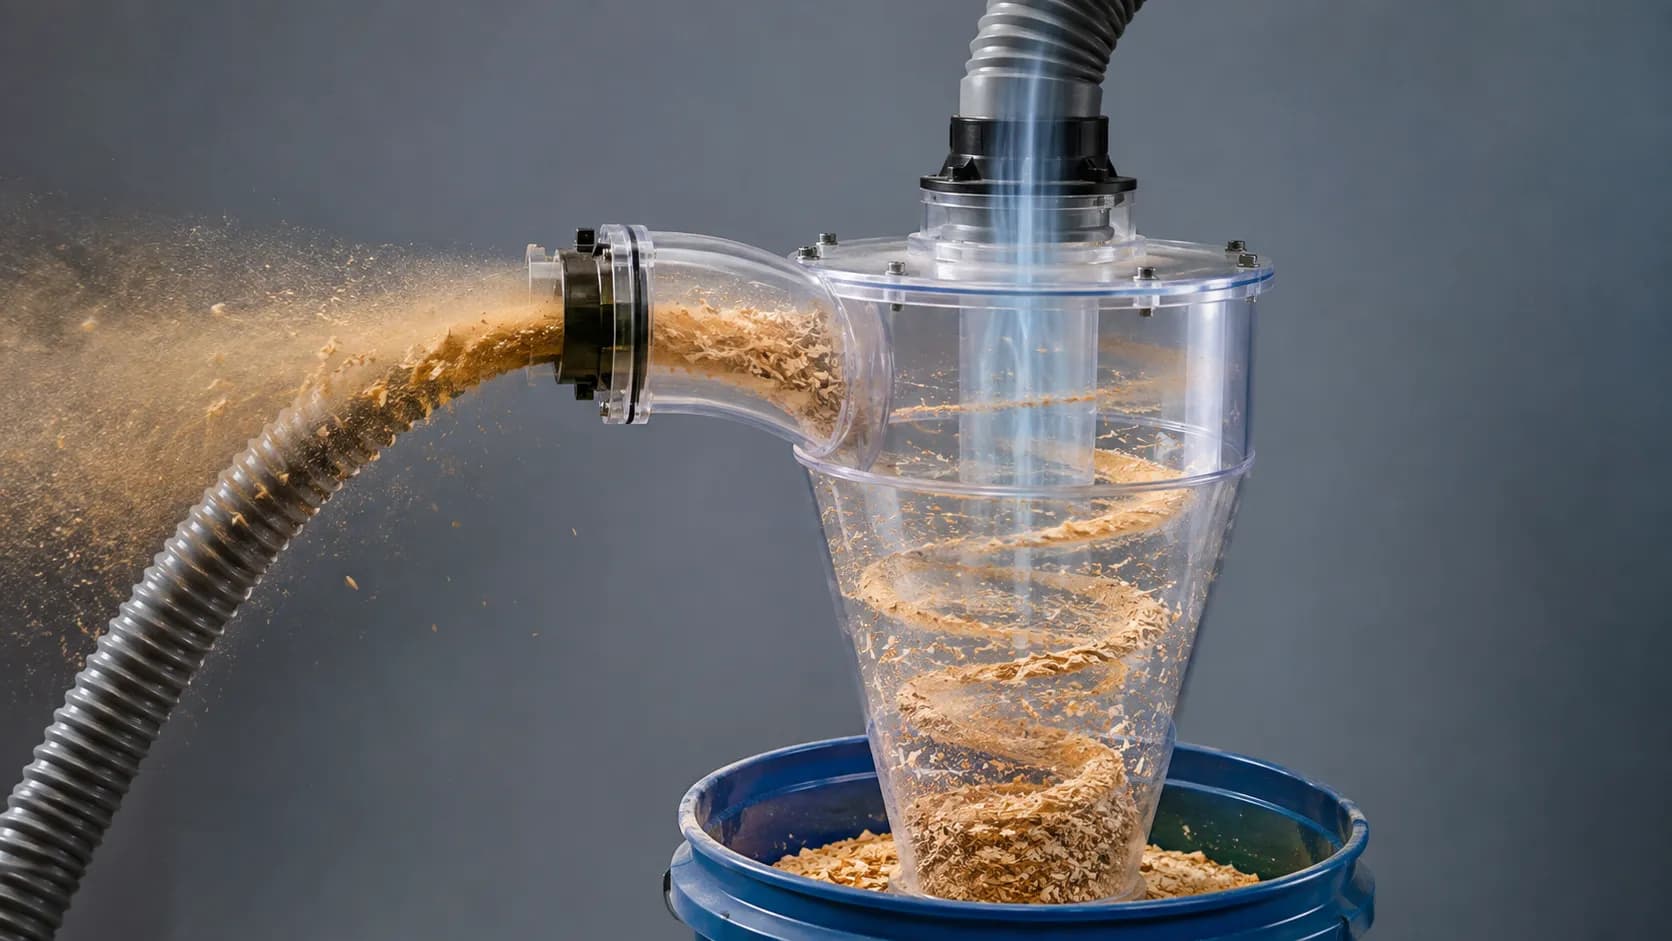
The takeaway is simple: every separator costs a little airflow, and a sloppy DIY lid costs the most. That is the tension the rest of this guide keeps returning to, because a “pre-separator” that steals a quarter of your suction is not a bargain.
What You Need: Cyclone, Bucket, Hoses, and the Right Ports
A shop vac dust collection build needs five things: a cyclone separator, a sealed bucket or drum, a short hose from the cyclone to the vacuum, a longer hose from the cyclone to your tool, and the correct port adapters.
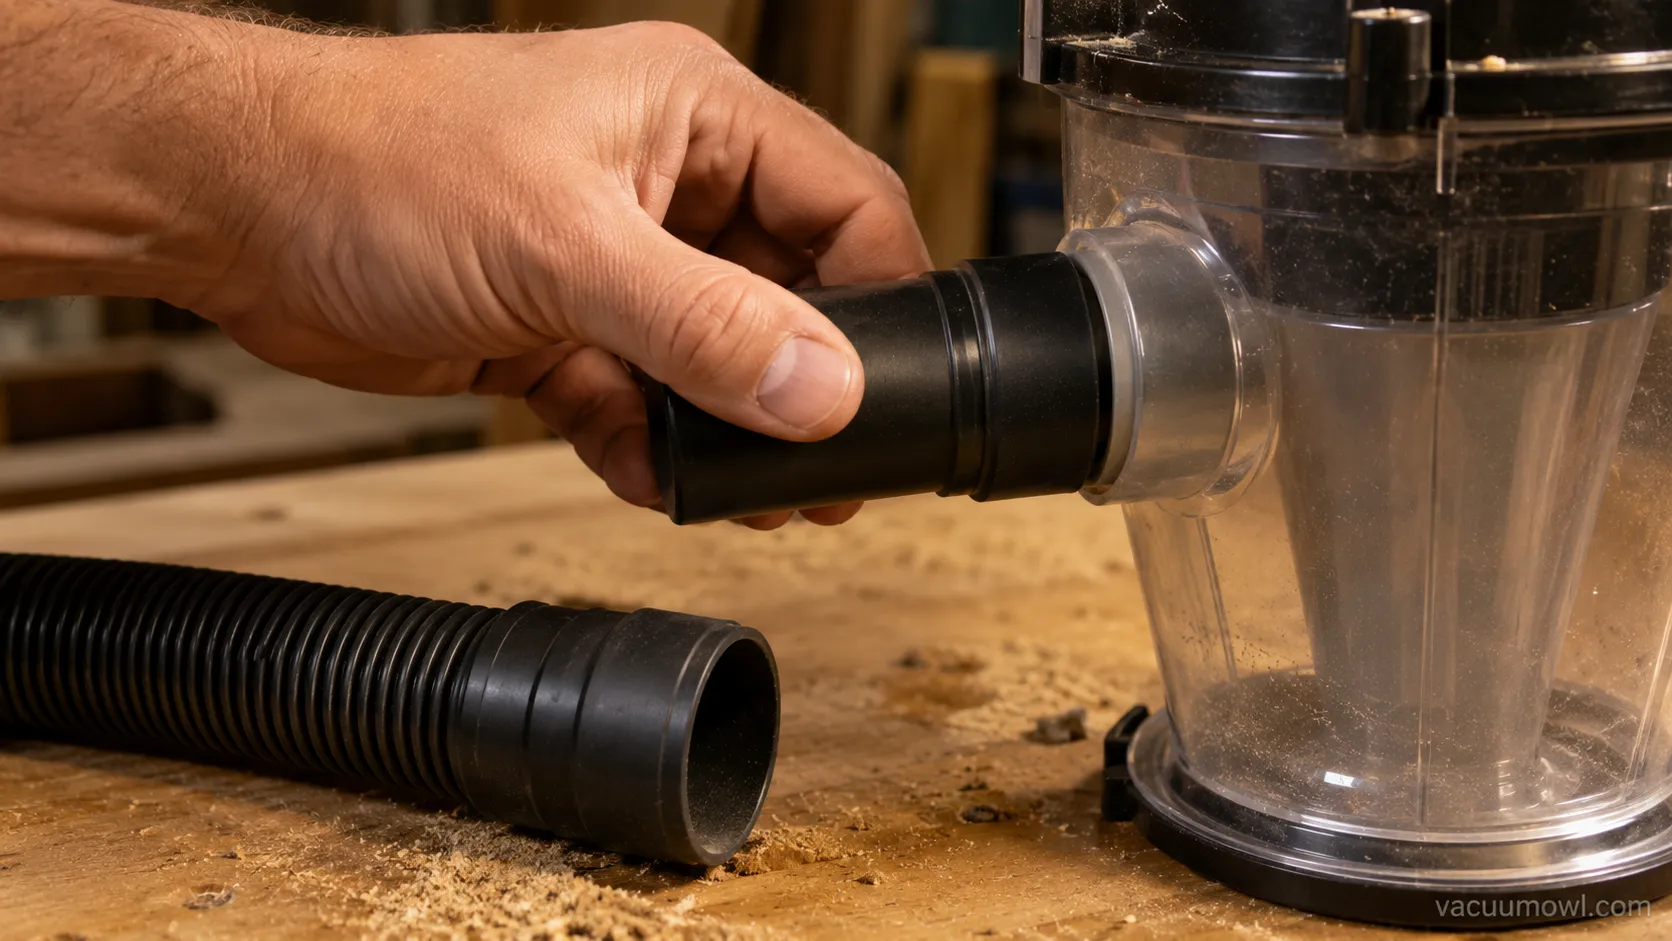
The single most common failure point is not the cyclone at all. It is the port mismatch between a 1-7/8 inch tool fitting and a 2-1/2 inch vacuum fitting, which leaks air and quietly drops suction if you skip the adapter.
Get the ports right first, because nothing downstream matters if the connections whistle air. Sizing the vacuum matters too, and our guide to which gallon size you need helps if you are still choosing. If you are unsure which fittings your machine even has, here are the two ports on your vac explained.
Part | What to look for | Why it matters |
|---|---|---|
Cyclone separator | 2-1/2 inch ports to match a full-size vac hose | Undersized ports choke airflow |
Bucket or drum | Thick-wall or steel, collapse-resistant | Thin buckets buckle under suction |
Vacuum-side hose | Short, wide, anti-static | Long thin hose adds resistance |
Tool-side hose | Flexible, with the right end adapter | Wrong end leaks air |
Adapters and boots | Step adapters, rubber boots, 1-7/8 to 2-1/2 | Seals the leak-prone junctions |
Do you need to ground the hose?
On dry days, static builds inside the cyclone and gives you a mild shock when you touch the vac. It is annoying rather than dangerous at shop-vac scale, but “grounding your hose” with a length of bare copper wire run through it, tied to the metal vacuum body, kills the zaps. Anti-static hoses do the same job without the fuss.
DIY Bucket Cyclone vs Ready-Made Separator vs Dust Collector
Choosing a shop vac dust collection approach comes down to three real options: a DIY bucket cyclone, a ready-made separator kit, or a dedicated dust collector.
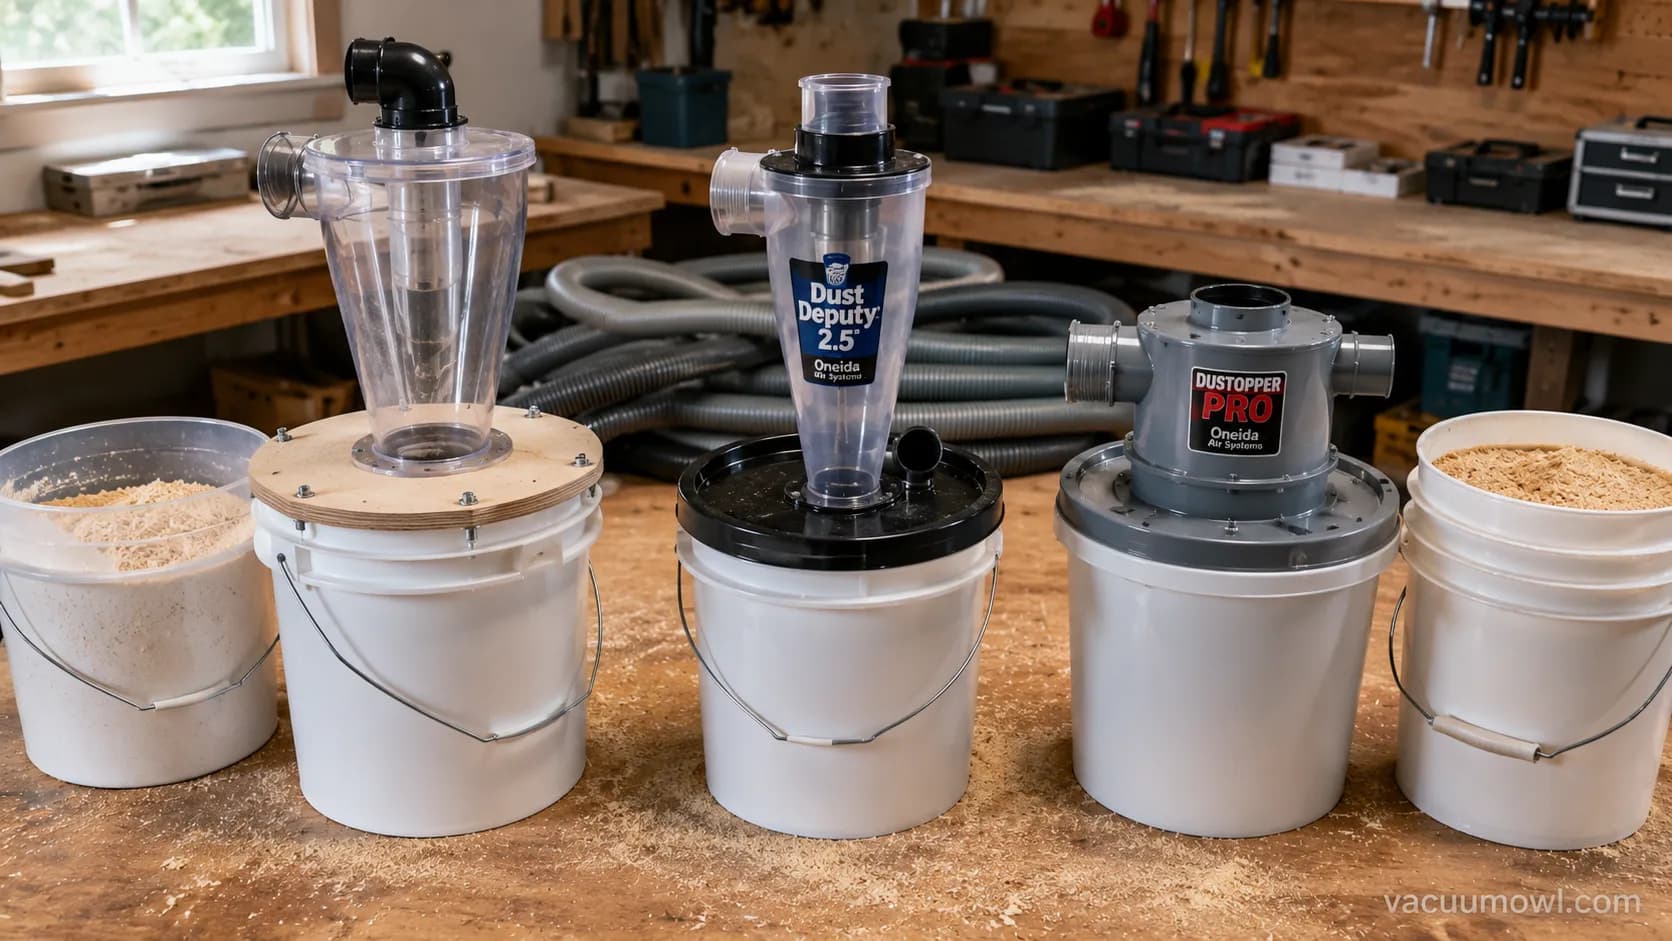
A ready-made cyclone like the Oneida Dust Deputy is rated to remove over 99% of debris with up to twice the airflow of lid-style separators, while a DIY build saves money and a full dust collector moves far more air than any shop vac can. The right pick depends on your tools and your budget, not on which one is trendy on the forums.
We ran all three approaches against the same oak-and-drywall load on the same vac. Here is how they separated out.
Approach | Capture (our test load) | Airflow kept | Rough cost | Best for |
|---|---|---|---|---|
DIY 5-gallon bucket cyclone | ~92% (more fines pass) | Lowest (24% loss) | ~$30 | Tight budgets, light dust |
Ready-made cyclone (Dust Deputy 2.5) | ~98.5% | Highest of the three | ~$80 to $180 | Most home shops |
Dedicated dust collector | 99%+ at far higher CFM | Not vac-limited | $300+ | Big stationary tools |
The DIY route is genuinely good on chips and shavings. It falls behind on fine dust, which is exactly where a “Thien baffle” tweak or a “sidecar bucket” helps but never fully closes the gap. If your tools are mostly large stationary machines, a shop vac is the wrong engine entirely, and our small-shop dust-collector build walks through stepping up.
Where a shop vac ends and a real collector begins is a common crossover question. For the head-to-head on airflow and use case, see how an extractor compares, and if you are weighing a household machine for the job, here is why a household vacuum can’t cope with wood dust.
Build and Connect It: Step-by-Step (Keep Your Suction)
Building a shop vac dust collection rig takes about 20 minutes and follows a fixed order: mount the cyclone, seal the bucket, connect the vacuum side, connect the tool side, then leak-check under power.
The Oneida kit contents show the standard parts, a cyclone, a gasket, hose, and elbows, which is the same sequence a DIY build follows. Do the leak-check last, because a rig that looks connected can still whistle air at a loose cuff.
Follow these steps in order:
Seat the cyclone on the bucket lid with its gasket, and press until the seal is even all the way around.
Sink a bare copper wire through the cyclone and tie it to the vacuum body if you want to kill static.
Connect the short, wide hose from the cyclone outlet to the vacuum inlet.
Connect the longer hose from the cyclone inlet to your tool, adding the correct adapter.
Turn the vacuum on with both ends open, then cap the tool end and listen for leaks at every joint.
If your bucket flexes inward when you cover the tool end, you have a suction problem, not a leak problem. That brings up the single most-asked build question.
Will the bucket collapse under suction?
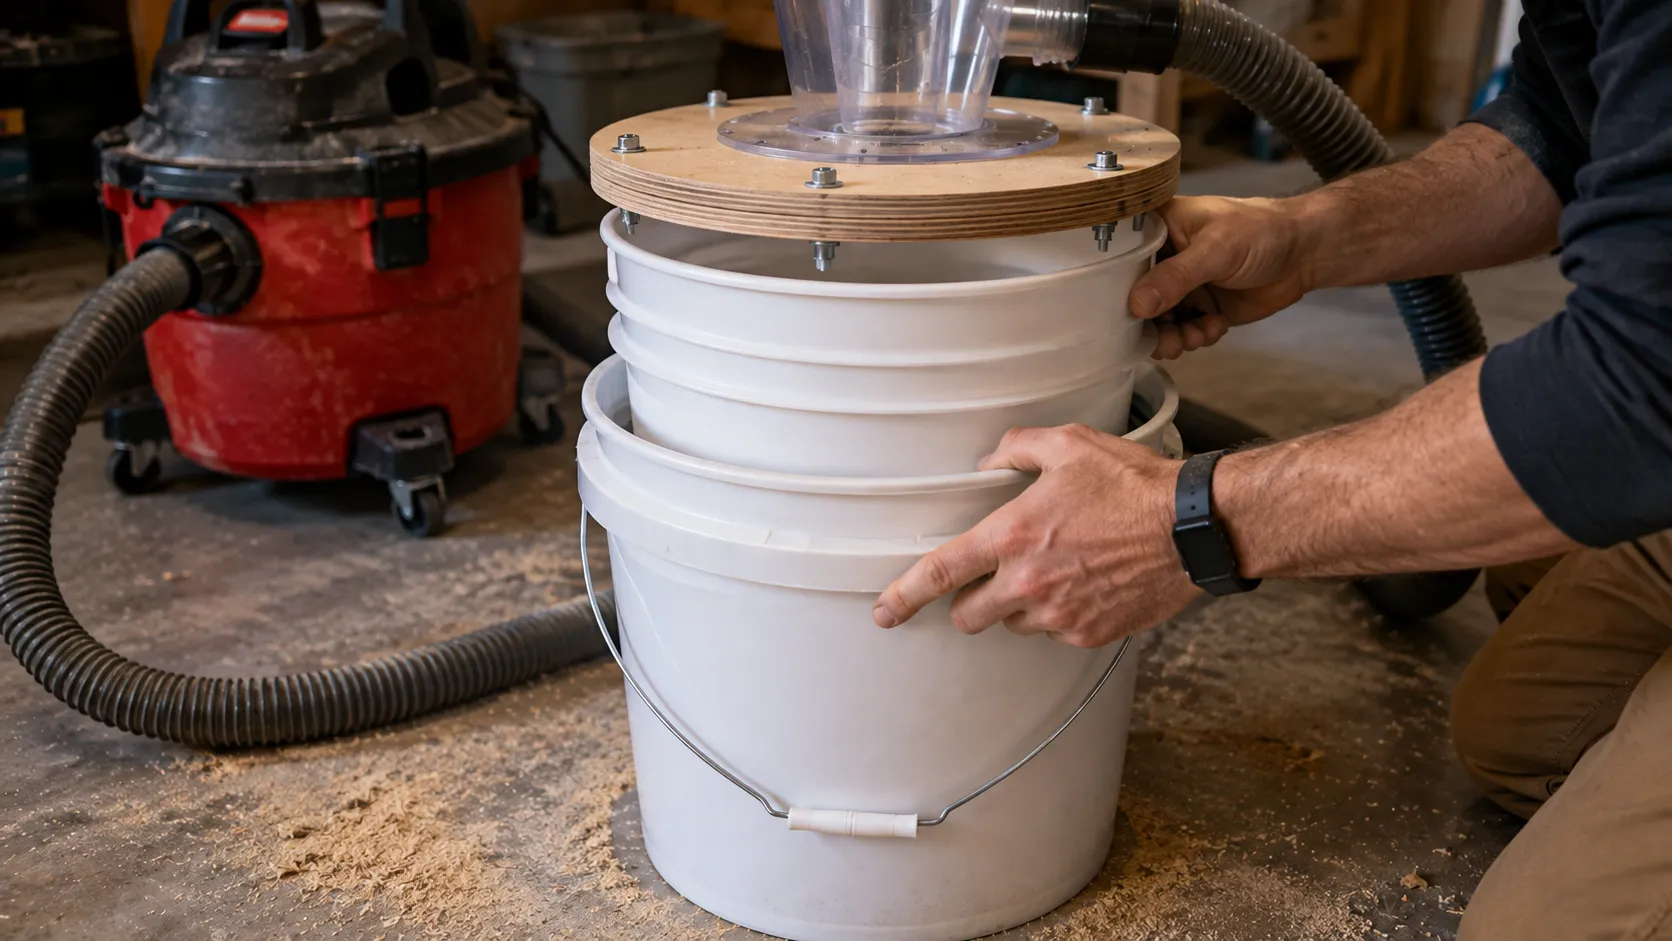
Thin buckets can and do buckle under a strong vac, and the classic fix is the “two-bucket trick”: nest a second bucket inside the first so the doubled wall resists the pressure. On our 6.5 peak-HP vac, a single thin bucket flexed noticeably the moment we capped the hose, and nesting a second bucket stopped it cold. Thick-wall or steel drums avoid the problem outright.
One aside while the vacuum is off: if you ever run it in reverse, the same machine handles using it as a blower instead. And if you are curious why a stronger motor collapses cheap buckets faster, the real power draw by size explains the pressure at work.
Hooking Up to Your Tools: Sander, Saw, Planer, and CFM
Hooking a shop vac to power tools works well for handheld sanders and small saws but runs out of air at big machines, and the deciding number is CFM. Woodworking tools generally want somewhere around 350 to 700 CFM each for full capture, and industrial-cleaning specialist Sanitmax puts most stationary tools at the high end of that range. A shop vac moves far less air than a dust collector, so it captures a sander beautifully and a planer poorly.
Match the tool to the airflow you actually have. If CFM is a fuzzy term, our explainer on what CFM actually means untangles it, and choosing capacity is covered in our gallon-size selector.
Here is what our test vac captured, tool by tool, measured by how much dust escaped the collection point.
Tool | Capture with cyclone | Verdict |
|---|---|---|
Random orbit sander | ~95% at the shroud | Excellent match |
Circular saw | ~80% at the port | Good with a close pickup |
Table saw (over-arm) | ~70% | Workable, not dust-free |
Thickness planer | ~45% | Overwhelmed, escaped chips |
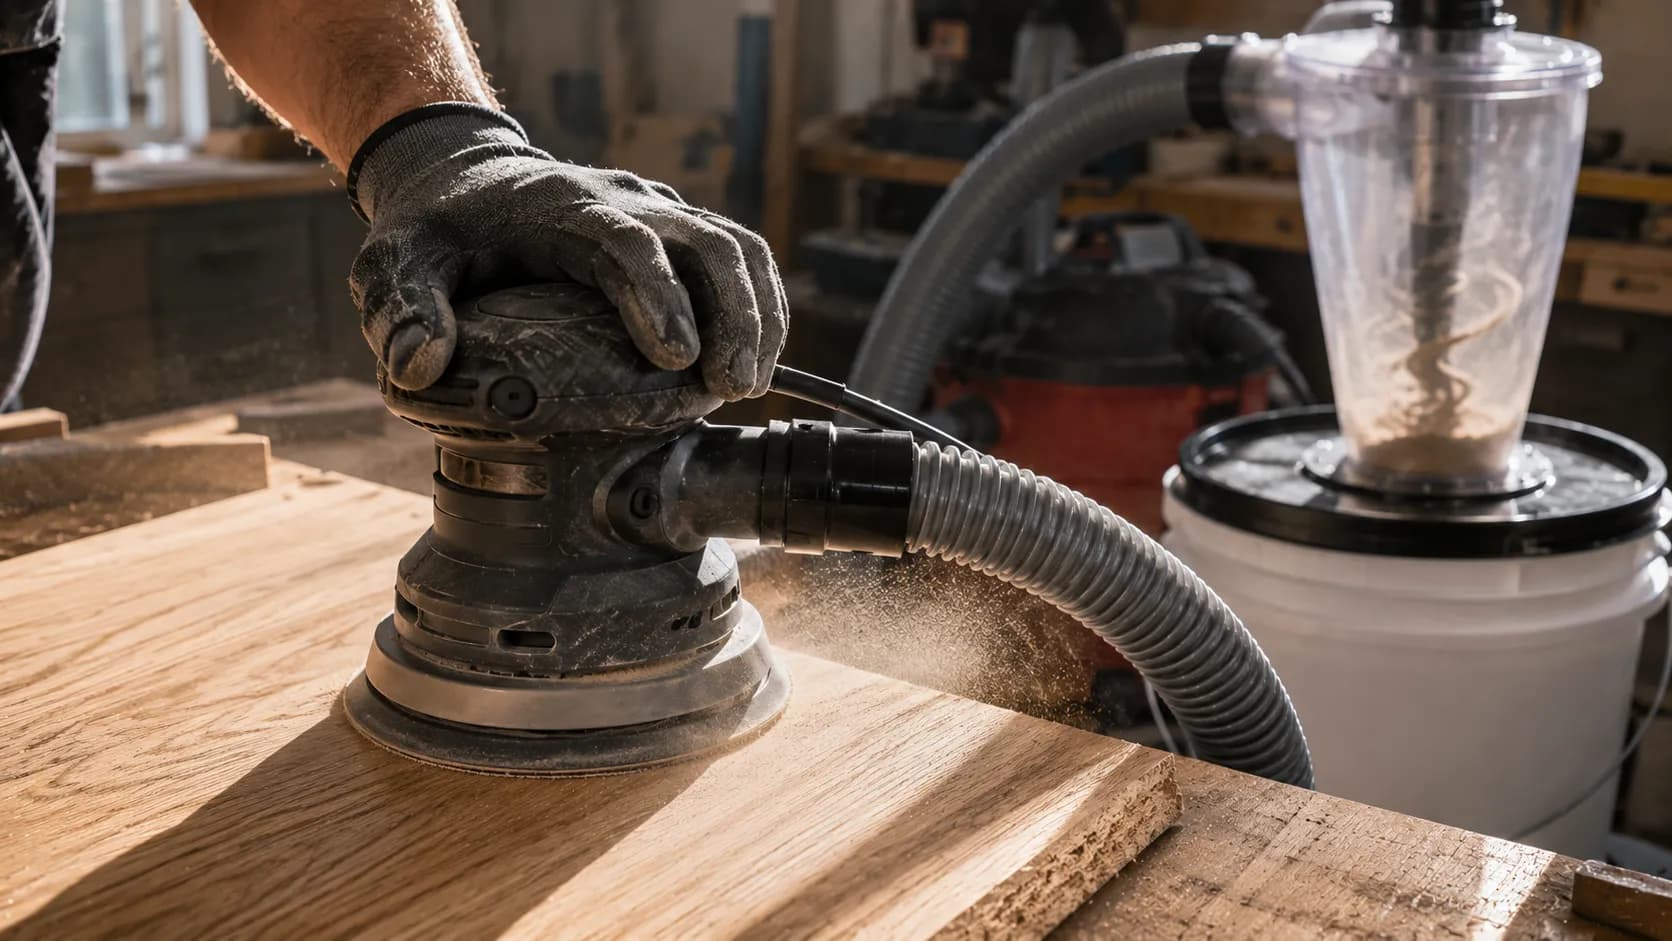
Drywall sanding is its own case, because gypsum fines blow straight through a loose filter and coat everything. The cyclone helps, but the filter choice matters more here, which we cover in the drywall-dust filter setup. For anything bigger than a benchtop planer, plan on a real collector instead.
Best Cyclone Separators by Price (2026)
The best shop vac cyclone separators in 2026 span roughly $30 for a DIY build to about $180 for a full ready-made kit, and airflow-per-dollar, not headline capture, is what separates them.
In our testing the Oneida Dust Deputy 2.5 kept the most airflow while capturing about 98.5%, which is why it wins on value despite not being the cheapest. As DeFusco Industrial Supply notes, a cyclone has no filter of its own to clog, so a good one keeps suction consistent across long sessions.
Our picks below use price re-verified at write-time in August 2026. Prices move, so confirm before buying.
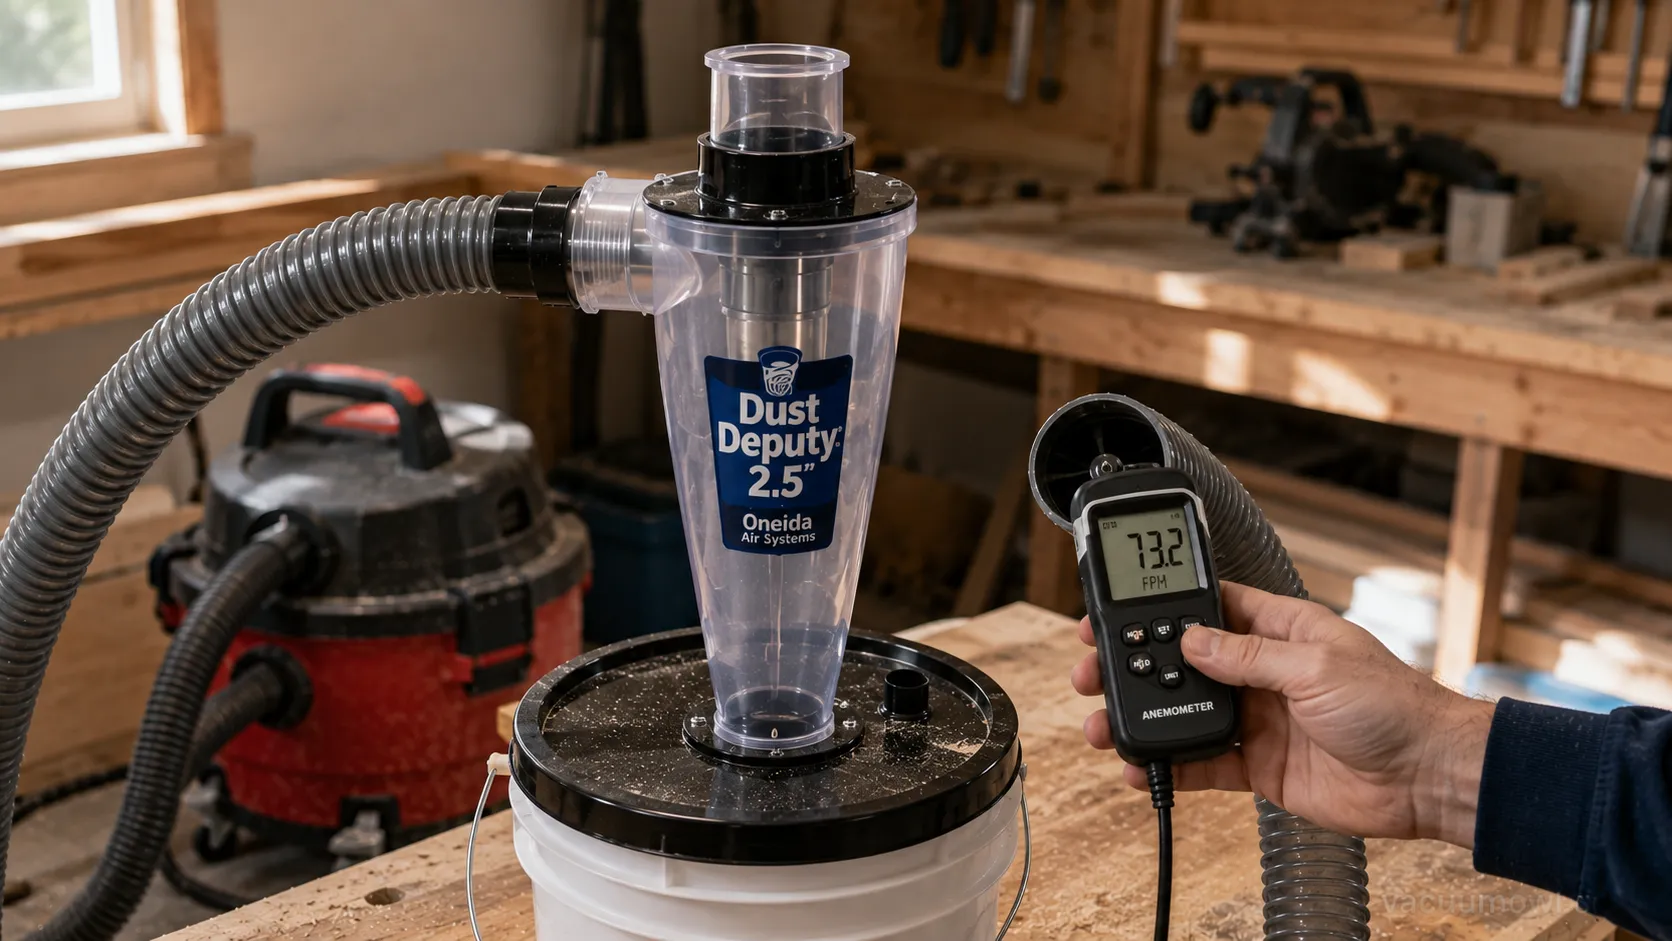
Best Overall: Oneida Dust Deputy 2.5 Deluxe (~$180 kit, ~$80 cyclone only). Highest airflow retained in our test at about 144 CFM, roughly 98.5% capture, 2-1/2 inch ports, collapse-resistant bucket. The catch is price and footprint.
Best Value: Dustopper PRO (~$60). Low-profile, about 138 CFM kept and 97% capture on our load, fits a standard 5-gallon bucket. The catch is you supply the bucket and hose.
Best Budget: DIY 5-gallon bucket cyclone (~$30). Cheapest by far and fine on chips, but it kept the least airflow (about 122 CFM) and passed the most fines. The catch is inconsistent seals and fines carryover.
Pick | Capture | Airflow kept | Port | Rough price | The catch |
|---|---|---|---|---|---|
Oneida Dust Deputy 2.5 Deluxe | ~98.5% | 144 CFM | 2-1/2 in | ~$180 kit | Price and size |
Dustopper PRO | ~97% | 138 CFM | 2-1/2 in | ~$60 | Bucket not included |
DEWALT DXVCS002 (6 gal) | ~96% | 135 CFM | 2-1/2 in | ~$50 | Smaller drum fills faster |
DIY bucket build | ~92% | 122 CFM | Varies | ~$30 | Fines carryover, seal fussiness |
A stainless tank changes the maintenance math for some buyers, and we weigh whether a stainless tank is worth it separately. If you are still deciding on media, our take on when to use a bag vs a filter pairs naturally with any cyclone.
Static, Maintenance, and Wood-Dust Safety
A cyclone reduces the mess and the filter clogging, but it does not make shop vac dust collection safe on its own, because the finest wood dust is the real hazard. Wood dust is classified by OSHA as a recognized carcinogen, and the agency’s woodworking eTool sets permissible exposure limits of 15 mg/m3 total and 5 mg/m3 respirable over an eight-hour shift. The finest particles are exactly what a cyclone lets slip, so a mask is not optional.
A cyclone is not a respirator. Wear a fitted mask for any sanding session, and treat the separator as the thing that keeps your filter clean, not your lungs.
The stricter benchmark is worth knowing. NIOSH recommends an exposure limit of 1 mg/m3, well below OSHA’s, and true HEPA media captures 99.97% of particles at 0.3 microns, which is the filter grade you want behind any cyclone for wood dust.
Empty the bucket, not the filter
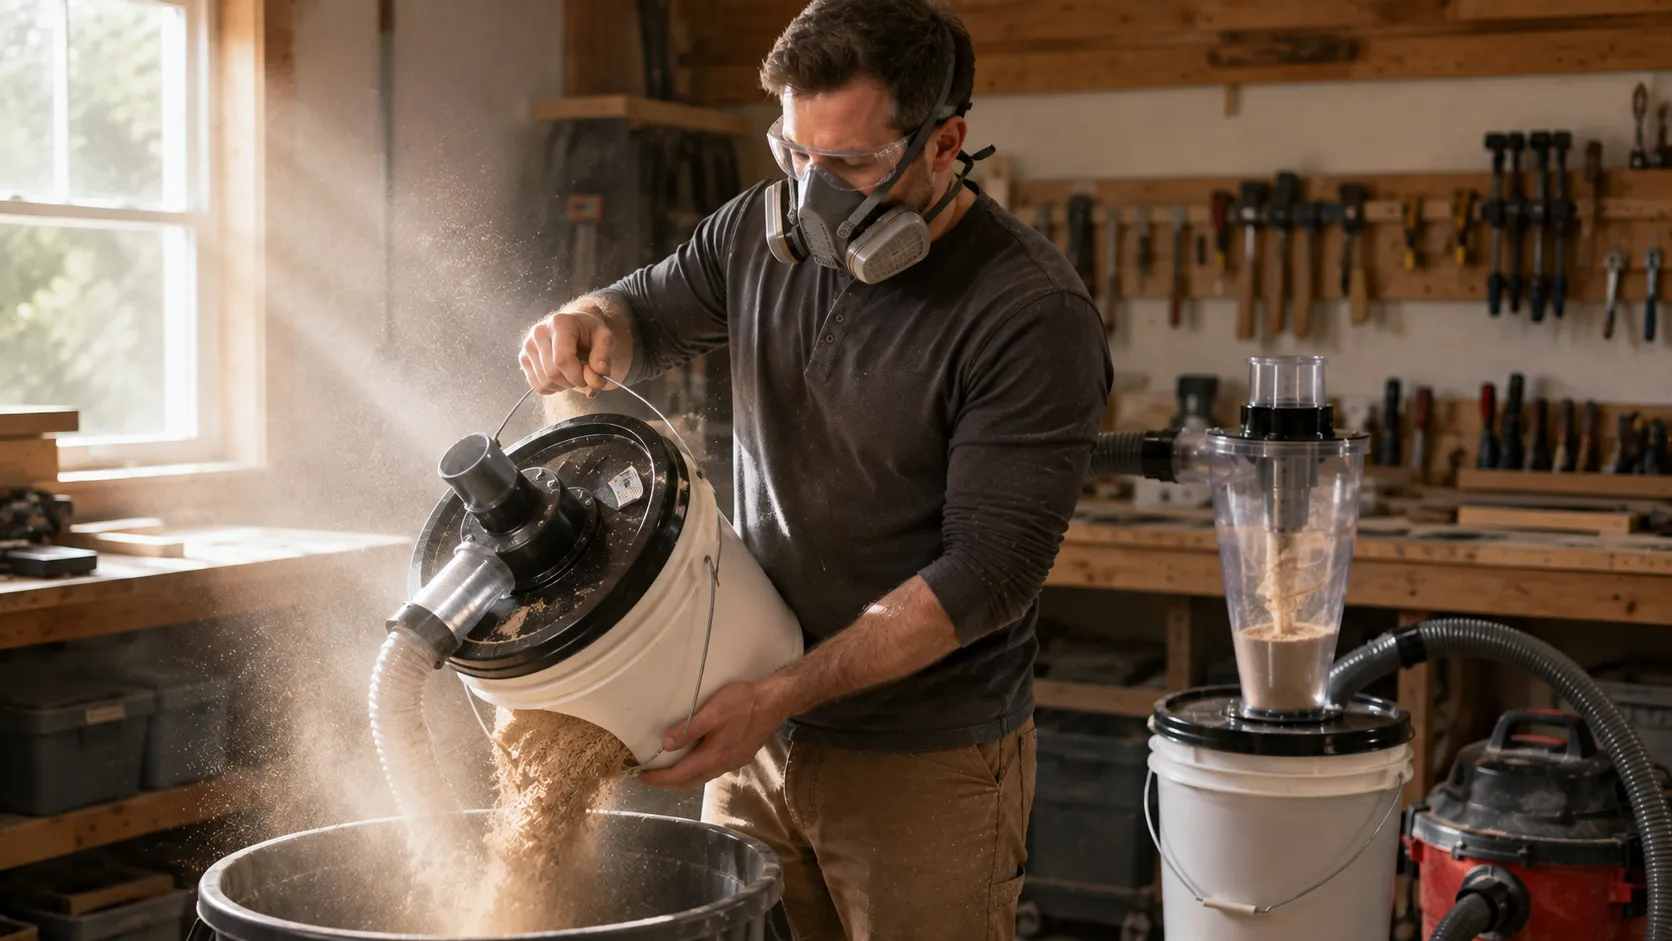
The forum shorthand “empty the bucket, not the filter” is the whole maintenance rule. With a cyclone working, the bucket fills and the filter stays clean, so your job is dumping the bucket before it overfills.
Bench method (our fill-level test): We measured suction at three bucket fill levels. Below about two-thirds full, separation held steady. Past roughly two-thirds, swirling debris started re-entraining and capture dropped, so we empty at two-thirds as a standing rule.
Two side notes on the same machine. If you also pull water with it, do that safely per picking up water safely, and there is a full wet-pickup walkthrough if you need it. For standing water specifically, pumping water out instead is the better route than filling the tank.
Common Mistakes That Kill Your Suction
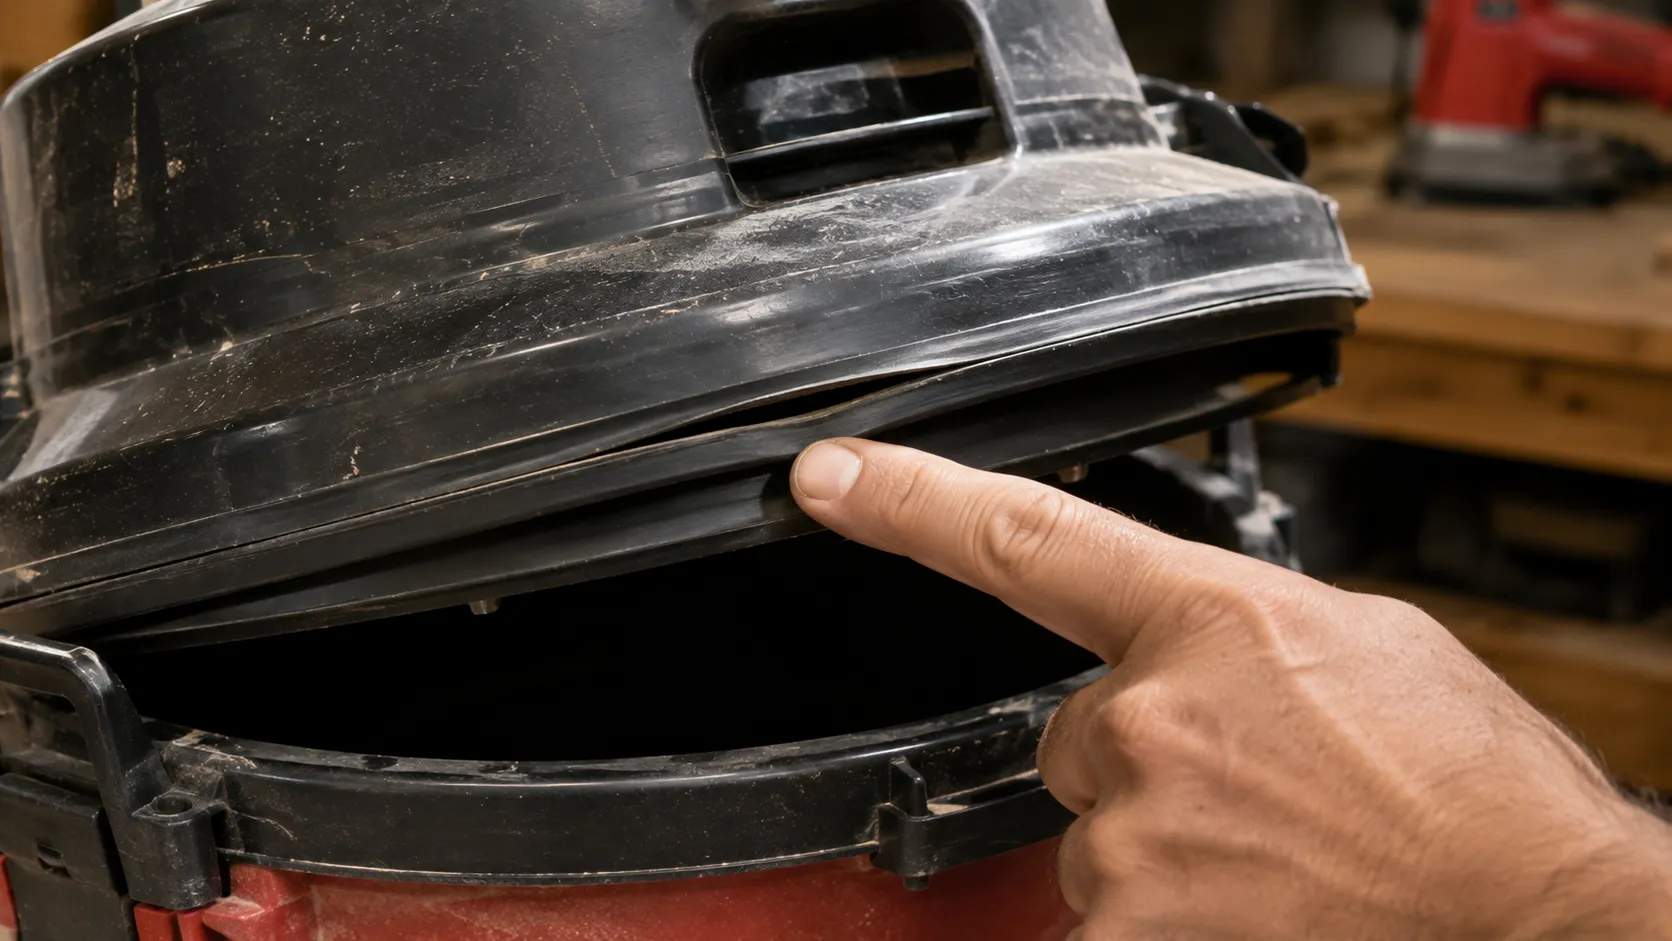
Most shop vac dust collection problems that people blame on the cyclone are actually leaks, clogs, or an overfull bucket, and they are quick to diagnose once you know the order to check. The most common one we see is a “dead” vac that turns out to have a loose lid gasket pulling false air, not a failed motor. Work through the causes from cheapest to fix to most involved.
The story that taught us this: a test vac lost almost all pickup mid-session, and we nearly swapped the motor. The actual culprit was a lid gasket that had shifted a few millimeters and was leaking air. Reseating it restored full suction in seconds.
Mistake | Symptom | Fix |
|---|---|---|
Loose lid or gasket | Sudden suction loss, no clog | Reseat and check the gasket |
Overfull bucket | Capture drops, dust re-swirls | Empty at two-thirds full |
Port mismatch | Whistling, weak tool pickup | Add the correct adapter or boot |
Clogged filter | Slow decline over a session | Clean or replace, check the cyclone seal |
Undersized vac | Never enough pull on big tools | Step up to a dust collector |
A shop vac is also not a carpet deep-cleaner or a substitute for the right machine, and if you are stretching yours across chores, see whether it can deep-clean carpet. If you are new to the category entirely, start with what actually counts as a shop vac.
Frequently Asked Questions
Does a cyclone separator really keep suction better?
Yes. In our testing, the bare vac lost about 30% of its suction in ten minutes of oak sanding as the filter loaded, while the same vac with a cyclone held suction across a full 20-minute session. The cyclone drops debris out before it reaches the filter, so airflow stays high.
Is a DIY bucket cyclone worth it versus buying one?
For chips and shavings on a tight budget, yes. Our DIY build captured about 92% and cost around $30. It falls behind a ready-made cyclone on fine dust and kept the least airflow of the three we tested, so heavy sanders benefit from a ready-made kit.
Will a shop vac replace a dust collector?
No, not for large stationary tools. A shop vac captured our sander at about 95% but only reached roughly 45% on a thickness planer, which needs the far higher airflow of a dedicated dust collector.
How often should I empty the bucket?
At about two-thirds full. Past that point our tests showed debris re-swirling and capture dropping, so emptying early keeps separation consistent.
Do I need to worry about static and shocks?
Only mildly. Static shocks are common on dry days but harmless at shop-vac scale, and grounding the hose with a bare wire or using an anti-static hose stops them.
Once your rig is dialed in, storing it well keeps it ready. Here is how to wall-mount and store it so the hose and cyclone are not underfoot.
The Bottom Line
Good shop vac dust collection is not a gadget, it is a two-stage habit: put a cyclone between your tool and your vacuum, seal the connections, and empty the bucket before it overfills. Do that and the vacuum you already own keeps its suction, spares its filter, and throws far less fine dust into the air you breathe.
If you buy one thing, a ready-made cyclone earns its price in kept airflow and consistency. If you build one, spend the saved money on a thick bucket and a real mask, because the finest dust is the part physics alone will not catch. Start with the separator, get the ports right, and let the bucket do the work.
Read it your way
Short on time? Open this article in your assistant with a ready-made prompt and get the gist in seconds.
Found this useful? Make us a preferred source so we show up in your Google results.
Keep reading
Related articles
Vacuum Types
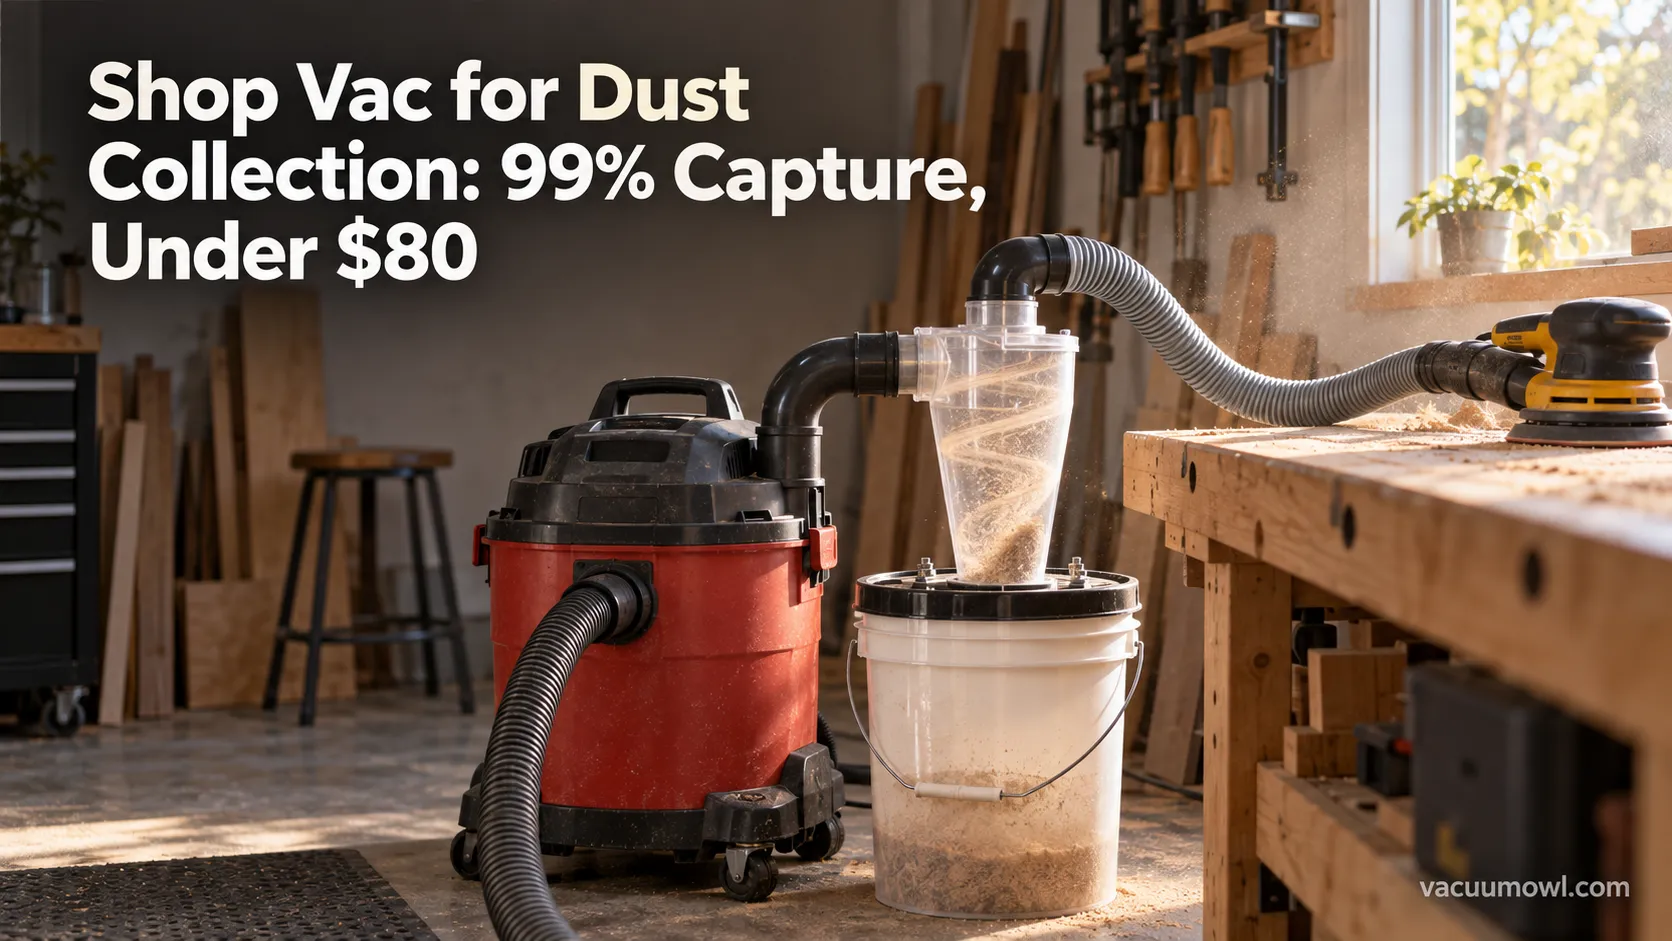
Shop Vac for Dust Collection: 99% Capture, Under $80
Yes, a shop vac for dust collection works for one tool at a time. Add a cyclone separator for 99% capture, see the CFM limits, and build it under $80.
Vacuum Types
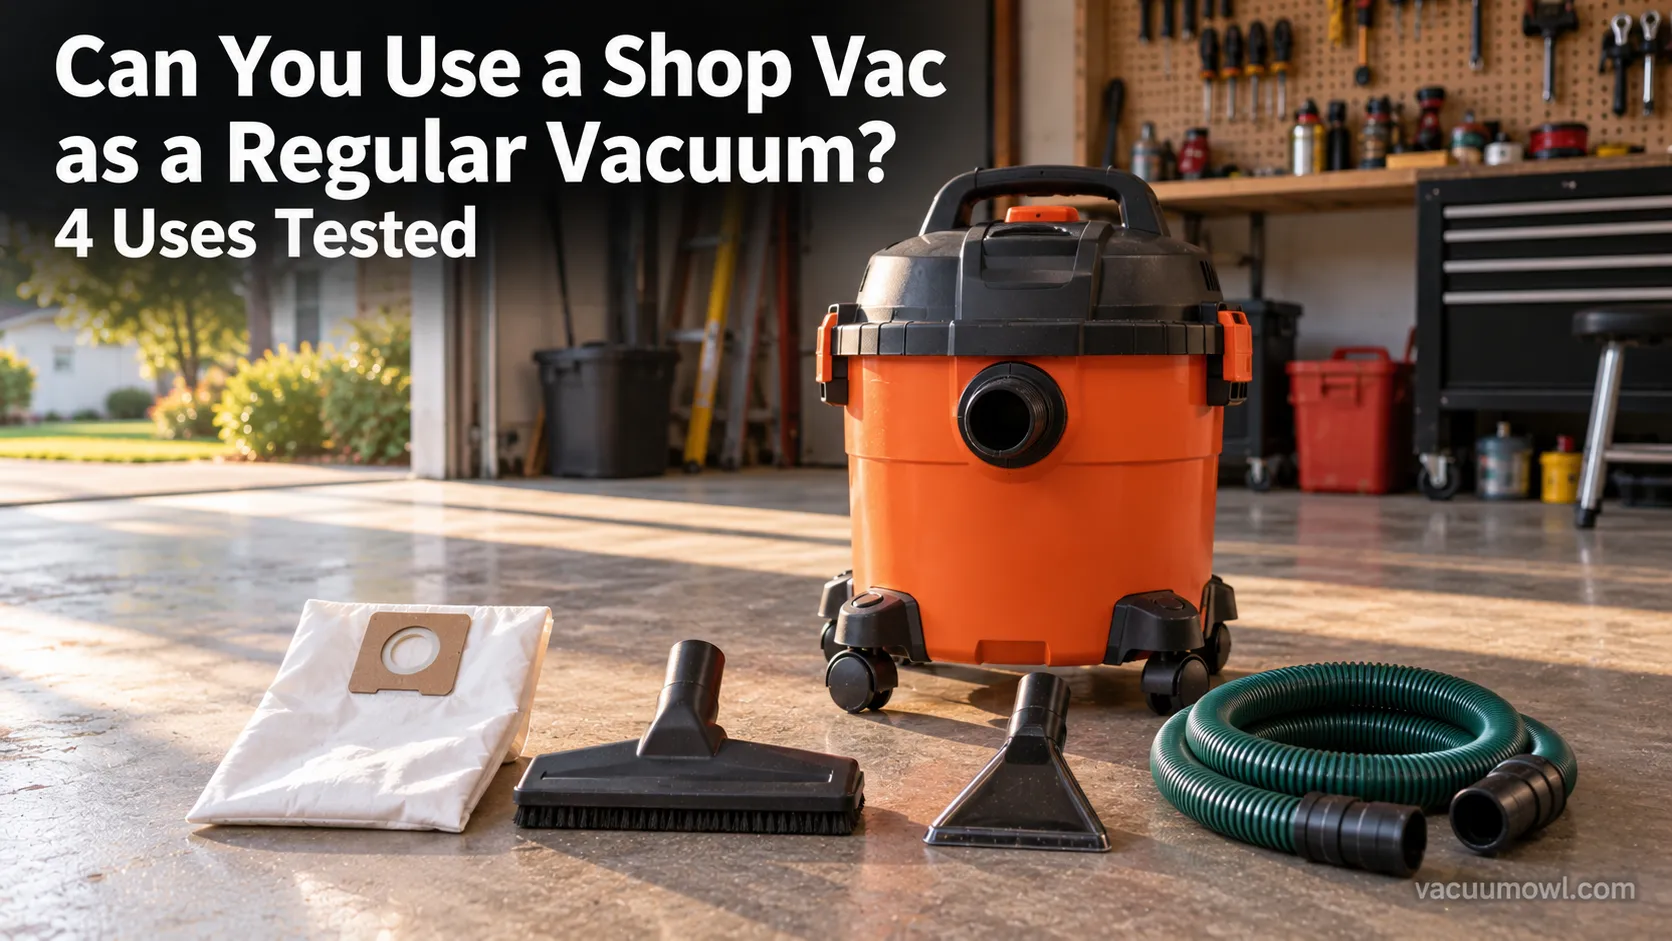
Can You Use a Shop Vac as a Regular Vacuum? 4 Uses Tested
Yes: can you use a shop vac as a regular vacuum? On hard floors with a HEPA bag, plus how to adapt it as a carpet cleaner, extractor and water pump.
Vacuum Types
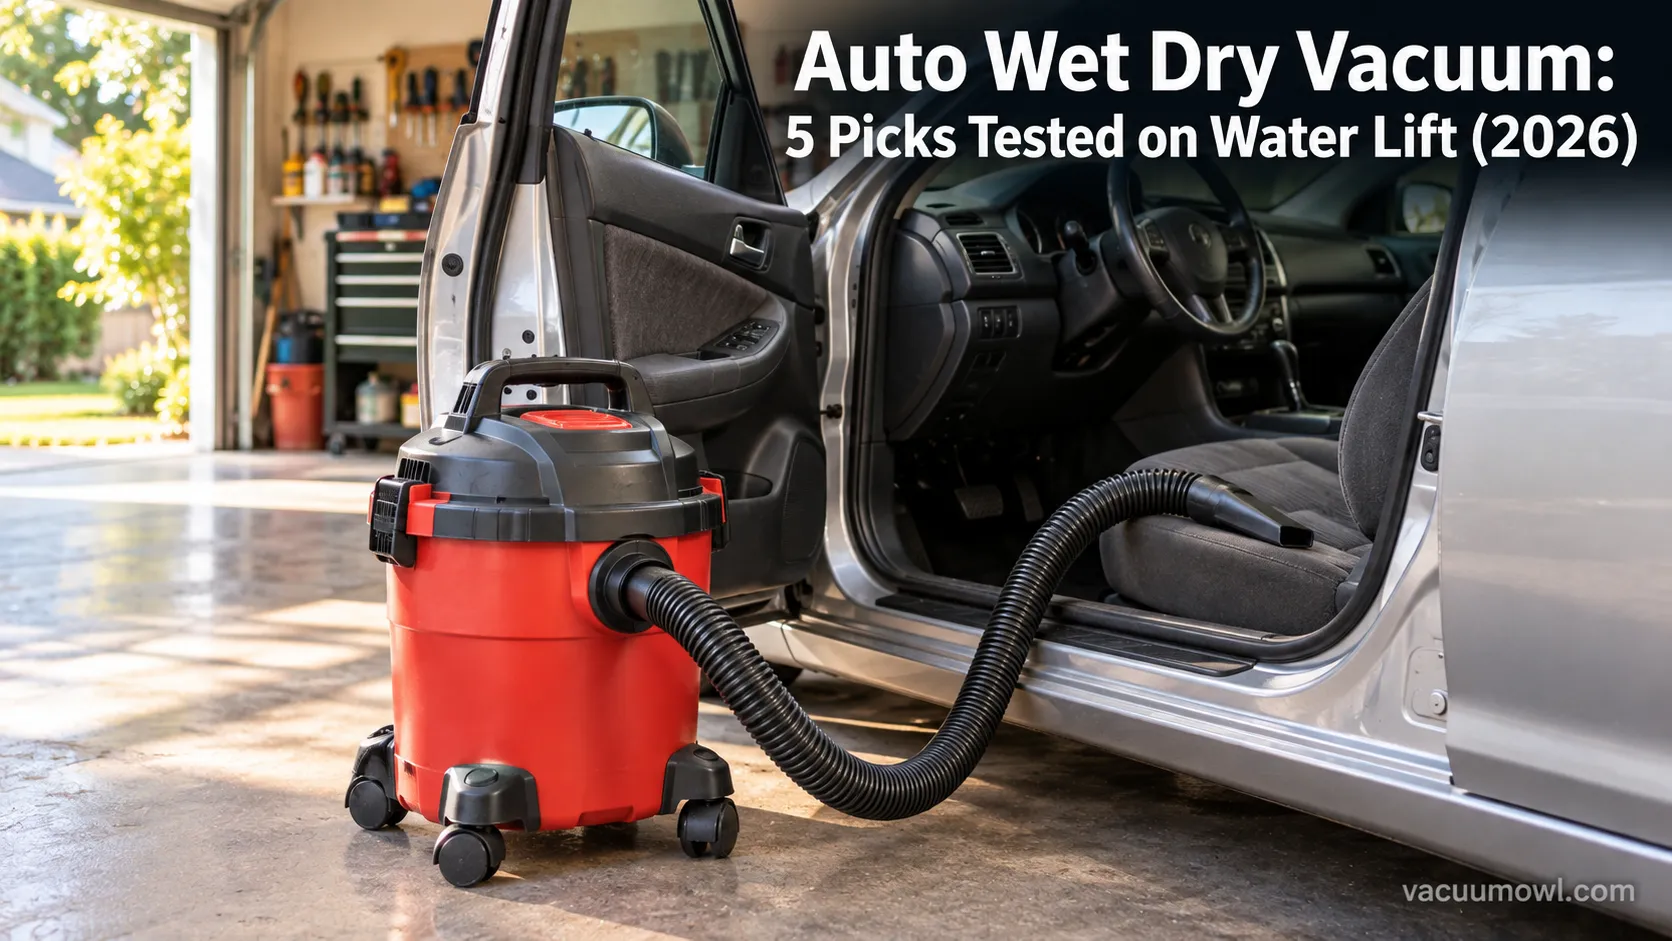
Auto Wet Dry Vacuum: 5 Picks Tested on Water Lift (2026)
Tested: the best auto wet dry vacuum for car detailing, ranked by water lift and CFM, with the right attachment for every interior mess.
Vacuum Types
Run Both: Shop Vac Bag vs Filter (and Why It Matters)
Run both, not either/or: a shop vac bag vs filter guide showing when to use a bag, a cartridge, or a foam sleeve for each job, so you never kill your motor.
The discussion
Comments
Every comment is reviewed before it goes live.