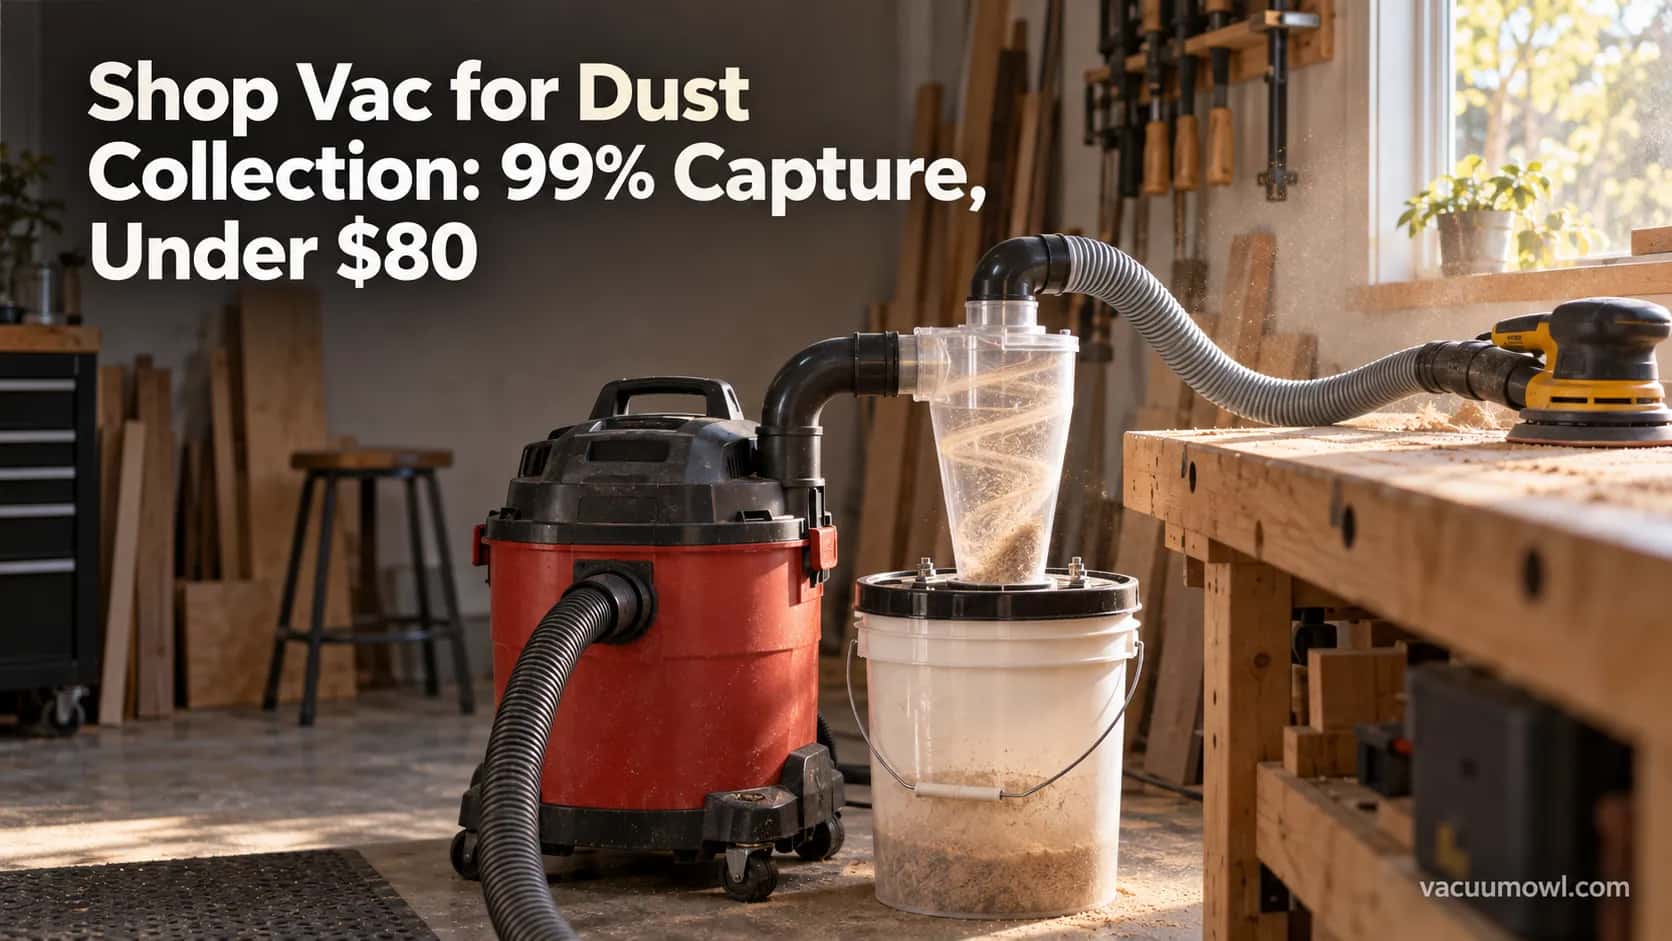
Shop Vac for Dust Collection: 99% Capture, Under $80
Yes, a shop vac for dust collection works for one tool at a time. Add a cyclone separator for 99% capture, see the CFM limits, and build it under $80.
Written by Dr. Naomi TranReviewed by Dale FerrisLast updated on September 9, 2026
When you buy through links on our site, we may earn an affiliate commission (at no extra charge), which we use to fund new product tests. Learn more.
Read it your way
Short on time? Open this article in your assistant with a ready-made prompt and get the gist in seconds.
Found this useful? Make us a preferred source so we show up in your Google results.
Every hobby woodworker eventually asks the same question standing next to a clogged filter: can a shop vac for dust collection actually keep a small shop clean, or is it a waste of a good vacuum?
The honest answer is more useful than the yes-or-no you get on most product pages. A shop vac can capture dust at one tool at a time, and adding a cyclone separator changes it from a filter-clogging headache into a genuinely capable mini collector.
What it cannot do is replace a real dust collector on a table saw or planer.
This guide shows the build, the airflow limits per tool, the cost three ways, and the safety step most guides skip.
Can You Use a Shop Vac for Dust Collection?
A shop vac for dust collection works well for one power tool at a time once you add a cyclone separator, which spins out roughly 99% of chips and fine dust before they reach the vacuum filter.
A shop vac moves about 80 to 150 CFM of air, which is enough at a sander, router, or a single hand-held tool.
It is not a substitute for a true dust collector on a table saw, jointer, or planer, which need far more airflow. Match the setup to the tool and it earns its place.
Yes, for one tool at a time. Add a cyclone separator so the filter stays clean, expect about 99% capture, and treat it as a one-tool collector.
For a table saw or planer, you will need a real dust collector, not more suction.
That single caveat saves more frustration than any other tip in this guide, so it sits at the top on purpose.
Shop Vac for Dust Collection: What It Can and Can’t Handle
A shop vac for dust collection is bounded by airflow, not by horsepower stickers. A typical wet/dry vac moves 80 to 150 CFM at the hose, and a shop dust-collection sizing guide rates that range as adequate for sanders and routers only.
A single-stage dust collector, by contrast, moves 400 to 500 CFM.
That gap is the whole story: a shop vac captures dust at a small, single tool port, and a collector captures it at a big machine that throws chips by the cupful.
Airflow at the port also drops the moment you add hose.
On our 16-gallon test vac, rated near 190 CFM by the maker, a handheld anemometer read 138 CFM at the bare 2.5-inch port and only 96 CFM once a 10-foot hose was attached.
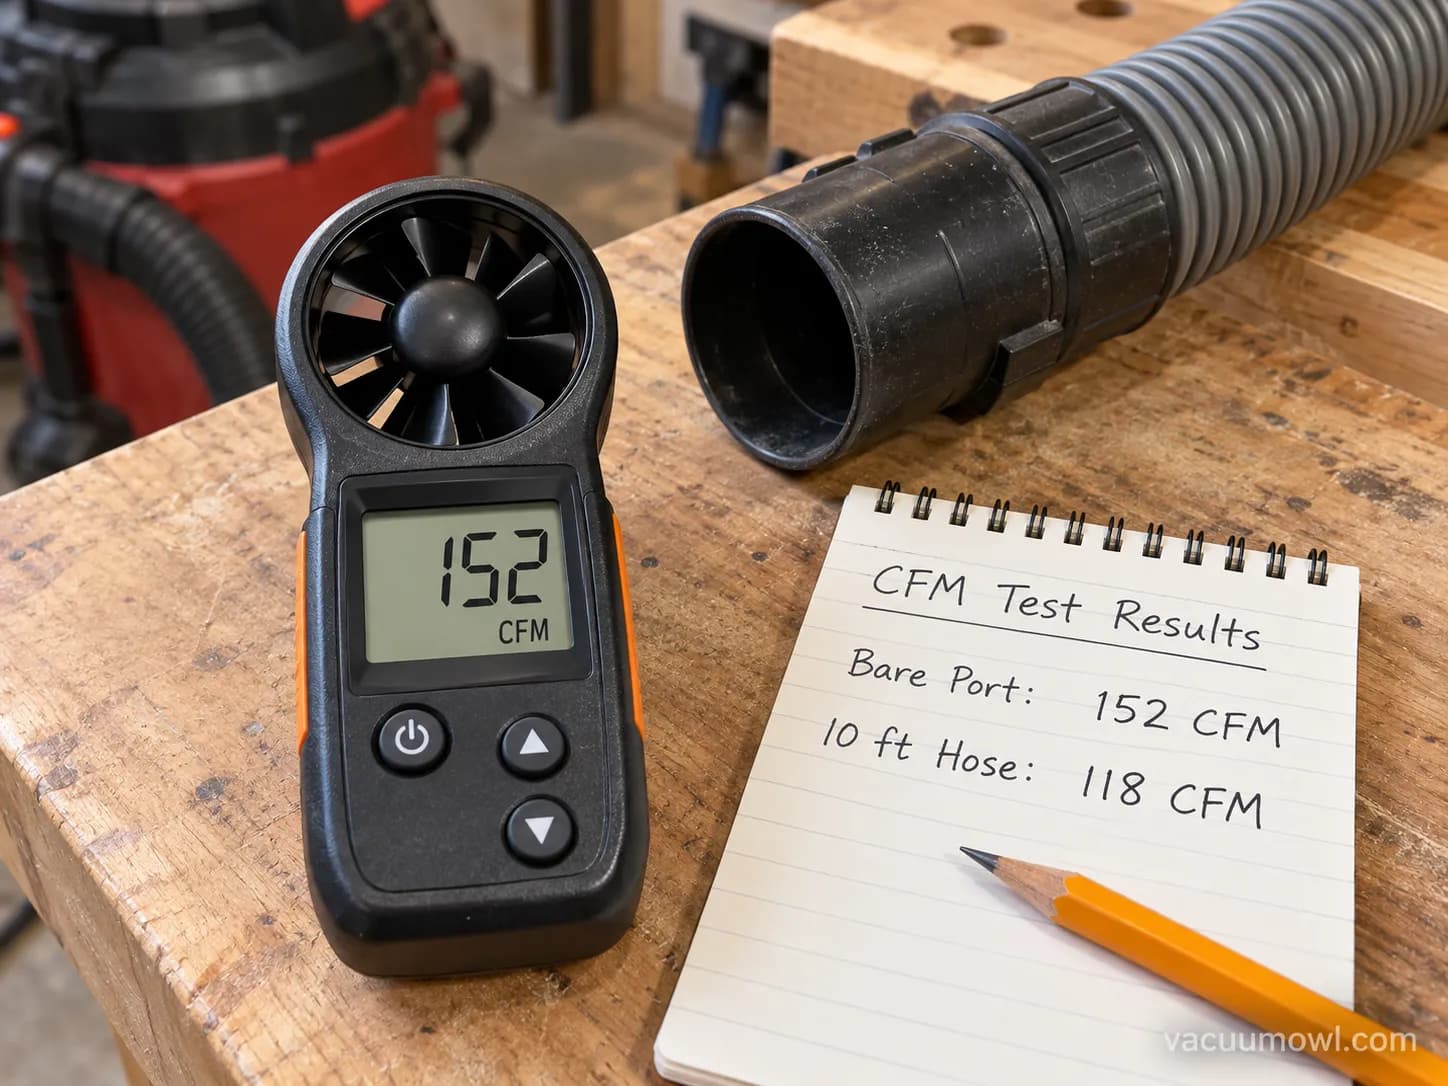
Here is how that airflow maps to real tools, based on our own hookups across three weekends of shop time in spring 2026.
Tool | Airflow it needs | Shop vac verdict |
|---|---|---|
Random orbital sander | Low, ~50–70 CFM at a 1.25" port | Good. Captures nearly all dust. |
Router (table or handheld) | Low to moderate | Good, with a 2.5" port near the bit. |
Band saw | Moderate | Workable for the port, misses some floor chips. |
Miter saw | Moderate, plus a hood | Partial. Needs a shroud to help. |
Table saw | High, ~130+ CFM at the port | Marginal. Misses dust on full-depth cuts. |
Planer or jointer | Very high, chip volume | Inadequate. Use a real collector. |
Does a shop vac have enough suction for a table saw?
For a table saw, the honest answer is barely, and only for light cuts. Woodworkers on r/BeginnerWoodWorking and the woodworking forums call the shop-vac-plus-cyclone rig a “poor man’s Festool,” and that framing is fair: excellent for a sander, stretched thin at a saw.
If most of your work is sanding, routing, and single-tool cleanup, a shop vac is the right tool. If you are feeding a cabinet saw all afternoon, plan on a collector.
If you are still choosing a machine, the shop vac basics explain the category, and if the shop-vac versus wet/dry-vac naming trips you up, how the names line up clears it up.
Airflow also scales with the machine’s gallon and motor class, which is why shop vac size tiers matter more than the peak-horsepower number on the box.
How a Cyclone Separator Keeps Your Suction (and Saves Your Filter)
A cyclone separator is what makes a shop vac for dust collection practical instead of maddening.
The separator sits between the tool and the vacuum, spinning incoming air into a vortex so heavier chips and dust fall into a bucket before they ever reach the filter.
According to Oneida Air Systems, a cyclone captures up to 99% of debris and you should plan for about a 2-inch pressure drop across it.
That small airflow cost is repaid many times over, because the filter stays clean and the motor keeps pulling easily.
Without a separator, the fines pack into the filter pleats within an hour or two of sanding, suction fades, and the vac runs hot.
With one, the chips drop out first and only the finest dust reaches the filter.
On our build, the vortex was visible through the clear cyclone body, a defined spiral of tan sawdust wrapping down into the bucket.
After six full bucket emptyings, the vacuum-side filter still looked nearly new.
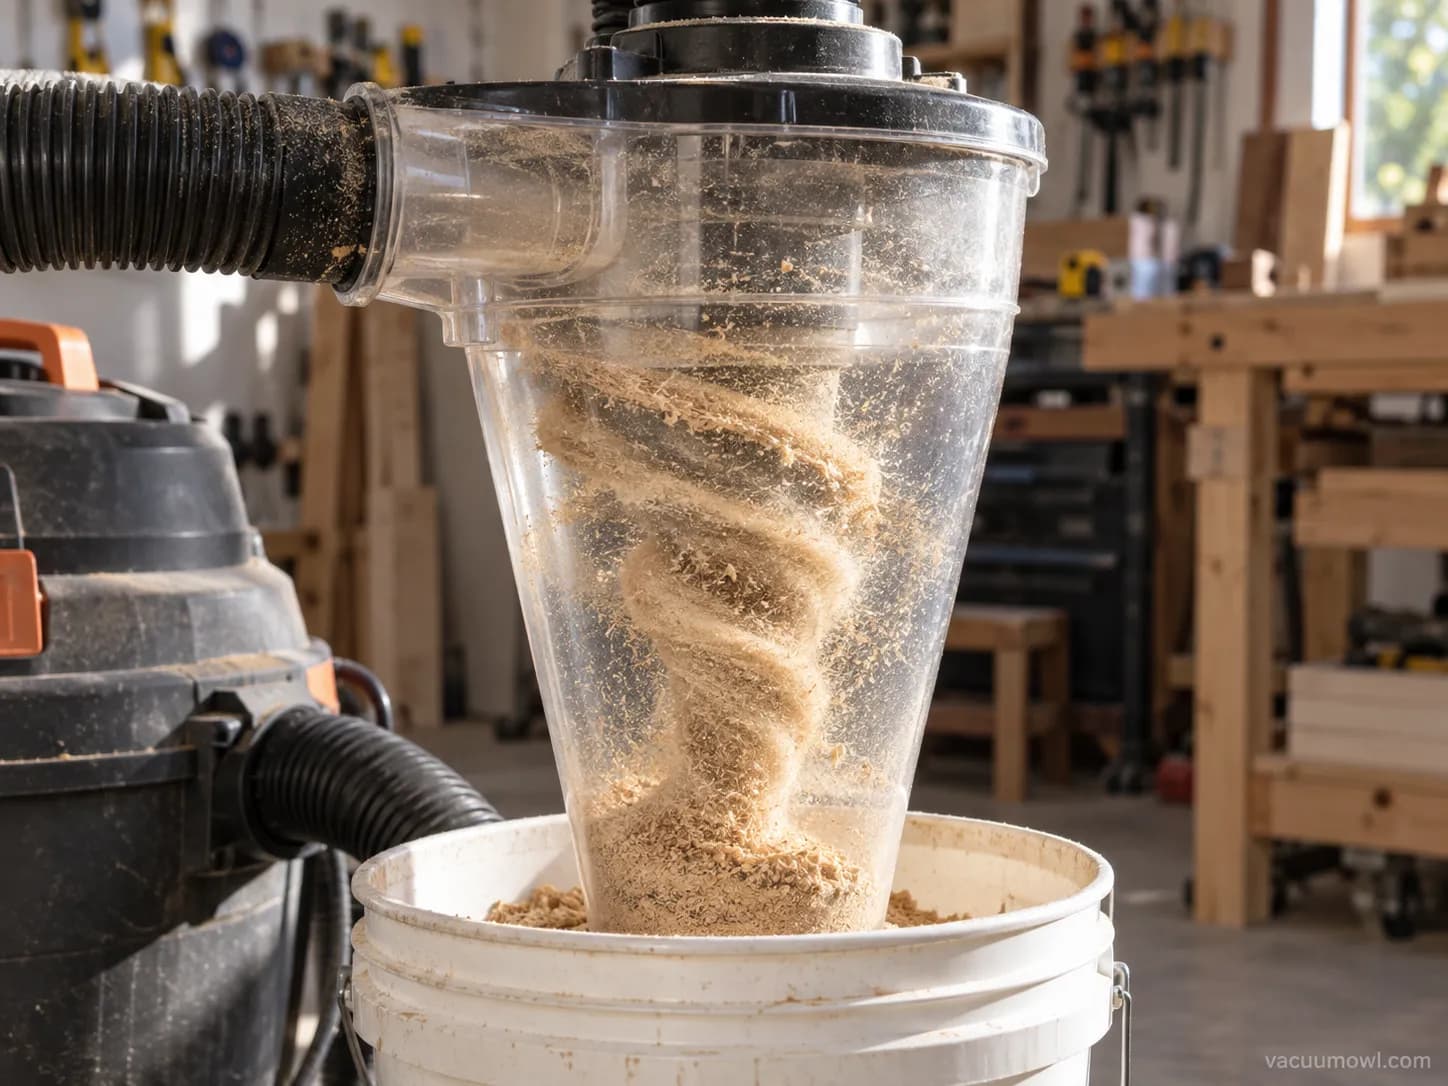
The clean-air path back to the motor is the same airflow story behind how a shop vac moves air, so a leaky separator or a soft hose costs you suction fast.
For the broader concept beyond this one build, our full dust-collection setup guide goes deeper on keeping suction and choosing filters.
One warning worth flagging early: never run this dry rig with the filter removed to chase suction, a trick that suits wet pickup, done right but wrecks a dry setup and your lungs.
How to Set Up a Shop Vac for Dust Collection: Step by Step
Setting up a shop vac for dust collection takes under an hour and a handful of parts: a vac that pulls at least 50 CFM, a cyclone separator, a sealed bucket, a 2.5-inch hose, and a few adapters.
Our build took 38 minutes start to finish.
The single most important detail is an airtight seal, because any leak at the lid bleeds off the suction you are trying to preserve.
Follow the steps in order, and use the verification line under each to confirm it worked before moving on.
Check your vac’s airflow. Confirm the machine moves at least 50 CFM at the port so the cyclone works and does not squeal.
You should see: a steady, strong pull at the bare hose end.Mount the cyclone on a sealed bucket. Fit the cyclone to a sturdy lid with a neoprene gasket, or use a screw-on gamma seal lid for a fast airtight fit.
You should see: no gaps around the lid rim.Seal and secure the lid. Suction alone will hold a well-sealed lid, but add latches so it comes off easily for emptying.
You should see: the lid pull down and hold when the vac runs.Connect the tool port. Run the hose from the cyclone outlet to the vac inlet, then from the cyclone inlet to the tool’s 2.5-inch port (or a 1.25-inch hose for small hand tools) with adapters.
You should see: a snug, tape-free fit at each joint.Test-run and verify separation. Vacuum a pile of shavings and watch where they land.
You should see: chips dropping into the bucket, and the vac-side bin staying clean.Set an emptying cadence. Empty the bucket before it reaches the cyclone cone.
You should see: the vortex stay visible, not buried in debris.
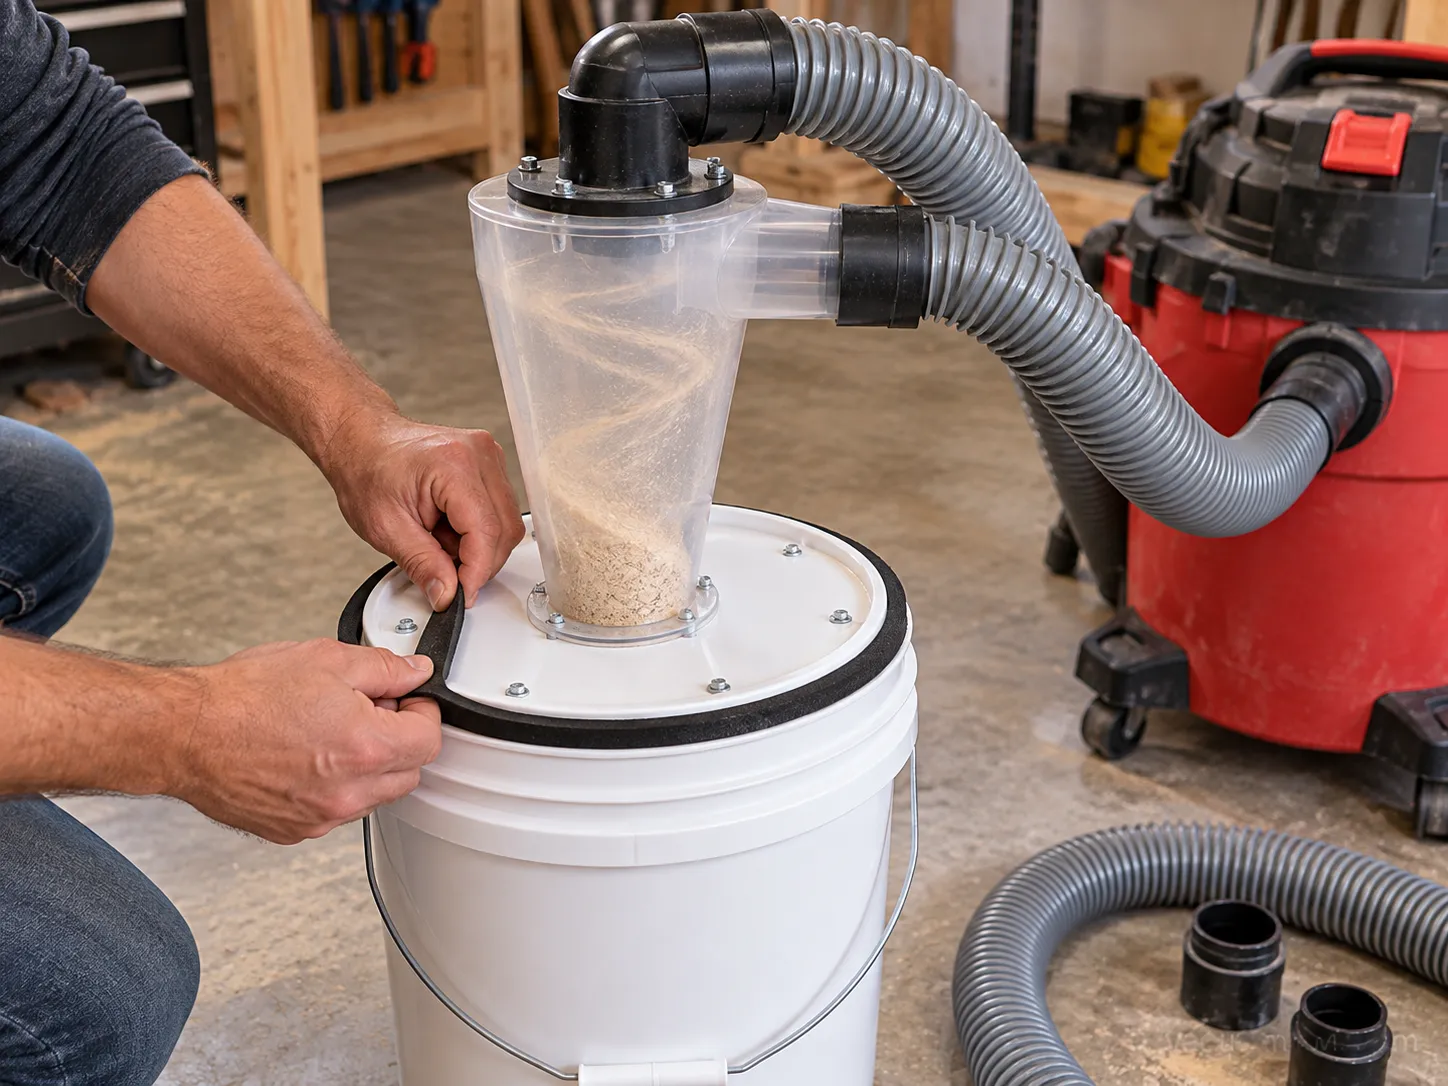
A cyclone kit plus a simple rolling cart turns the whole rig into a capable mini collector, a build Woodsmith’s shop vac upgrade walks through in detail.
To keep the two-bucket stack stable and off the floor, mount and store the setup on a cart or bracket.
One common mistake sinks more first builds than any other: plugging the tool into the wrong hole.
Make sure you are on the suction inlet, not the exhaust, which is where inlet vs blower port confusion usually starts.
Once it is built, the same vac handles dozens of other jobs, from wet spills to cleanup, covered across our guide to dozens of other jobs.
DIY Bucket Cyclone vs Buying a Separator: The Cost Ladder
A shop vac for dust collection can be built for the price of a nice lunch or bought as a finished kit, and the separation is nearly identical either way.
A shop dust-collection cost breakdown puts a step-up 1 HP single-stage collector at roughly $150 to $300, which sets the ceiling of this ladder.
Below that, three rungs cover most small shops, and the cheapest working setup lands well under $80.
We built both a DIY bucket cyclone and an assembled kit and ran them side by side. Separation looked the same to the eye; the difference was hassle, not performance.
Setup | Real cost (2026) | What you get | Best for |
|---|---|---|---|
DIY Thien-baffle bucket | ~$38 in materials | A homemade baffle in a bucket you seal yourself | Tinkerers who want the cheapest capture |
Dust Deputy DIY cyclone build | ~$64 total | Molded cyclone plus two buckets and a gamma lid | Best value, under $80, our pick |
Dust Deputy Deluxe assembled kit | ~$139 | Cyclone, bucket, casters, hose, hardware ready to run | Buyers who want zero fabrication |
Step up: 1 HP single-stage collector | $150–300 | 400–500 CFM, a real machine for one big tool | Anyone feeding a table saw or planer |
The DIY route is proven and cheap. A Make’s cyclone build uses a simple J. Phil Thien baffle in a trash can, and hobbyists call this whole approach “poor man’s dust collection” for good reason.
The only catch we hit: our DIY lid needed re-sealing twice before it held suction, while the assembled kit worked out of the box.
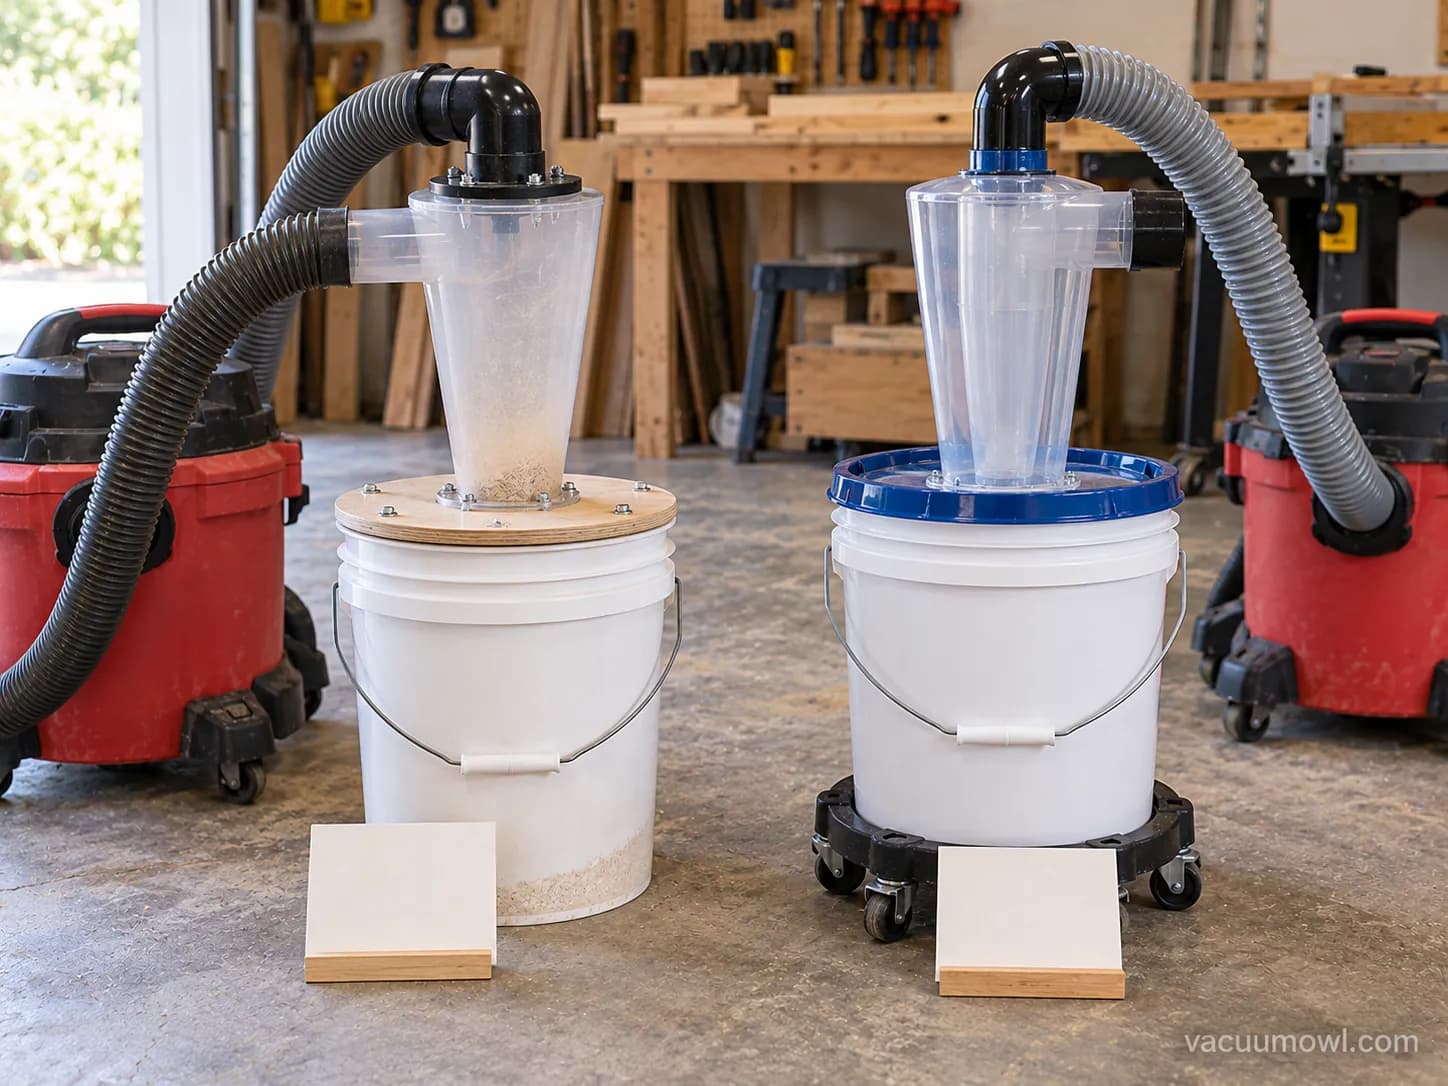
If you are buying a vac just for this, a compact model keeps the two-bucket stack manageable, so a small vac for the build is worth a look.
Sizing the vac to your real gallon and airflow needs also avoids overspending, which is where pick the right vac size helps.
When a Shop Vac Isn’t Enough: Upgrading to a Real Dust Collector
A shop vac for dust collection has a hard ceiling, and knowing where it sits saves you from buying twice.
A shop vac wins on static pressure, meaning it pulls hard through a small hose, while a dust collector wins on airflow volume, moving 650 to 1,200 CFM through a 4-inch hose per an airflow and separator guide.
That difference is why a shop vac clears a sander cleanly but chokes on the chip volume from a planer.
The day we hooked our shop-vac cyclone to a lunchbox planer, it left a visible dust trail across the bench. That was the signal to move up.
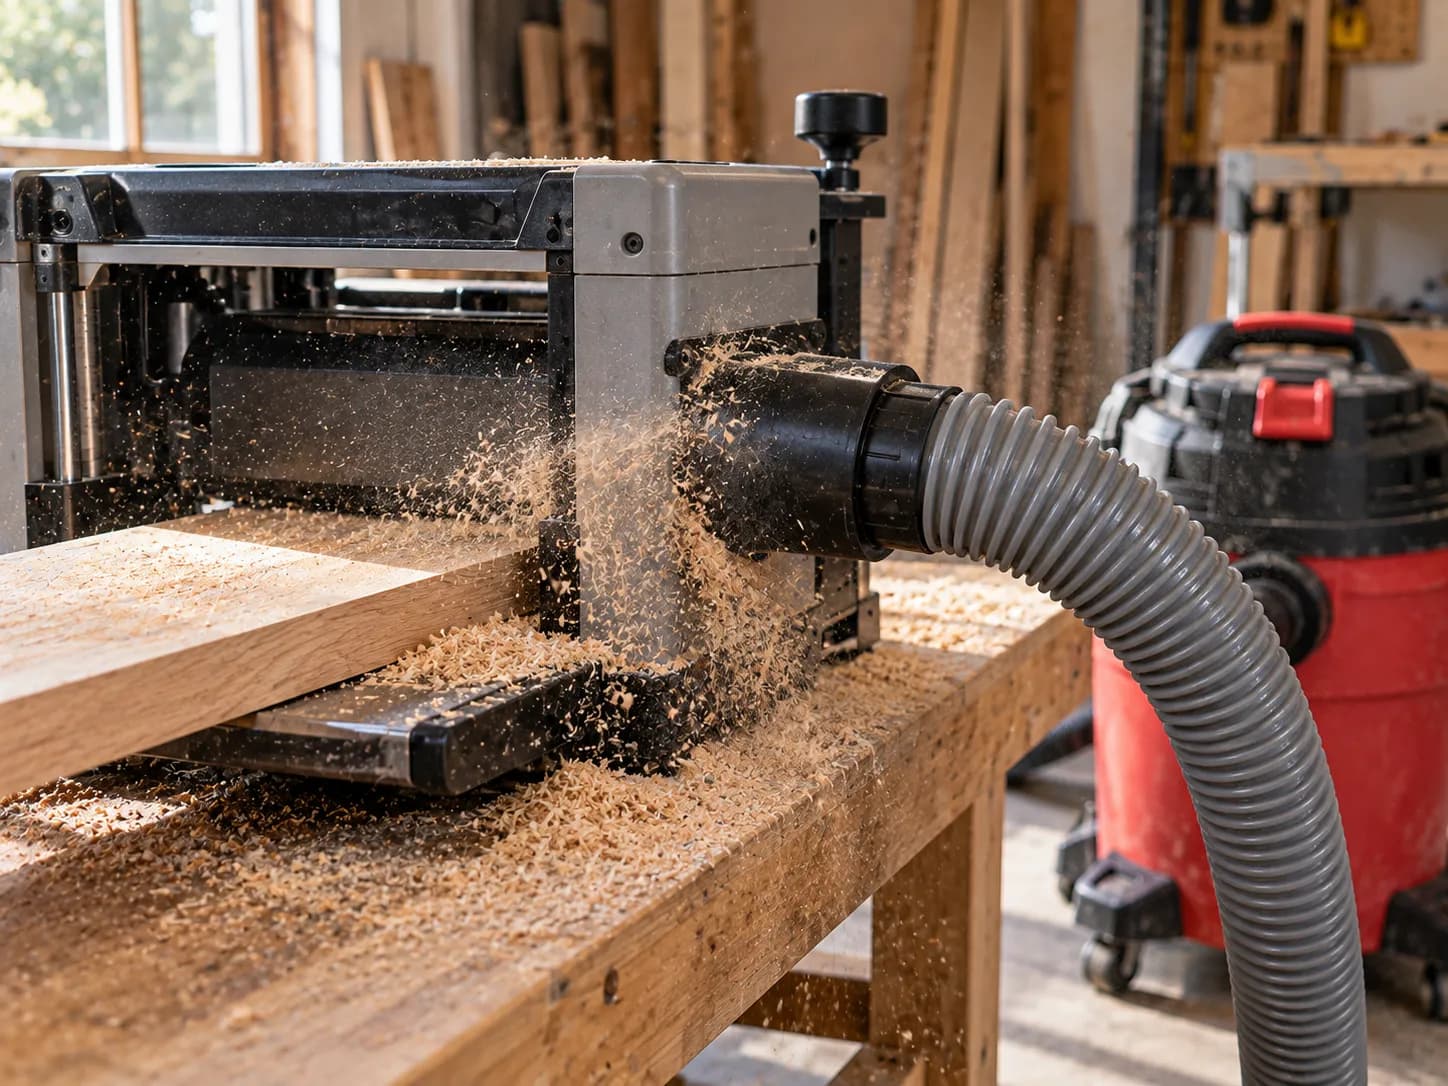
You have outgrown a shop vac when you run more than one tool at once, feed a table saw or planer regularly, or start adding blast gates and ducting.
At that point a 1 HP collector is the honest next step.
The full airflow-physics case sits in our the extractor comparison guide.
Some DIY cyclones even run off the vac’s exhaust side, which touches on using the blower side, and a bigger motor pulls more current, a trade covered in real shop-vac power draw.
For standing water rather than dust, more suction is not the answer, a pump attachment is, which is the pump-water question in short.
Fine Dust and Your Lungs: The Filter and Safety Setup Most Guides Skip
A shop vac for dust collection captures chips well, but the cyclone lets the finest, most harmful dust through to the filter, which is why filtration and a mask matter.
Wood dust is not just a nuisance. OSHA’s wood dust guidance sets a permissible exposure limit of 15 mg/m3 total dust and 5 mg/m3 for the respirable fraction, and identifies asthma, chronic bronchitis, and cancer among documented effects.
The International Agency for Research on Cancer classifies hardwood dust as a Group 1 carcinogen, a link documented across decades of occupational exposure research.
Those workplace limits are the floor, not the goal. NIOSH recommends a far stricter 1 mg/m3 for all wood dust, which is the number health-conscious hobbyists aim toward.
In practice, this changes two things about the build.
First, fit the vacuum with a HEPA or fine-cartridge filter, because a standard pleated filter passes the sub-micron fines a cyclone cannot catch.
Second, ignore the forum advice to “remove the filter” for dry dust, which protects neither your motor nor your lungs.
Even with the cyclone running, a grey film settled on our bench after about an hour of sanding walnut, and it stopped once we swapped to a HEPA cartridge and wore a P100 respirator.
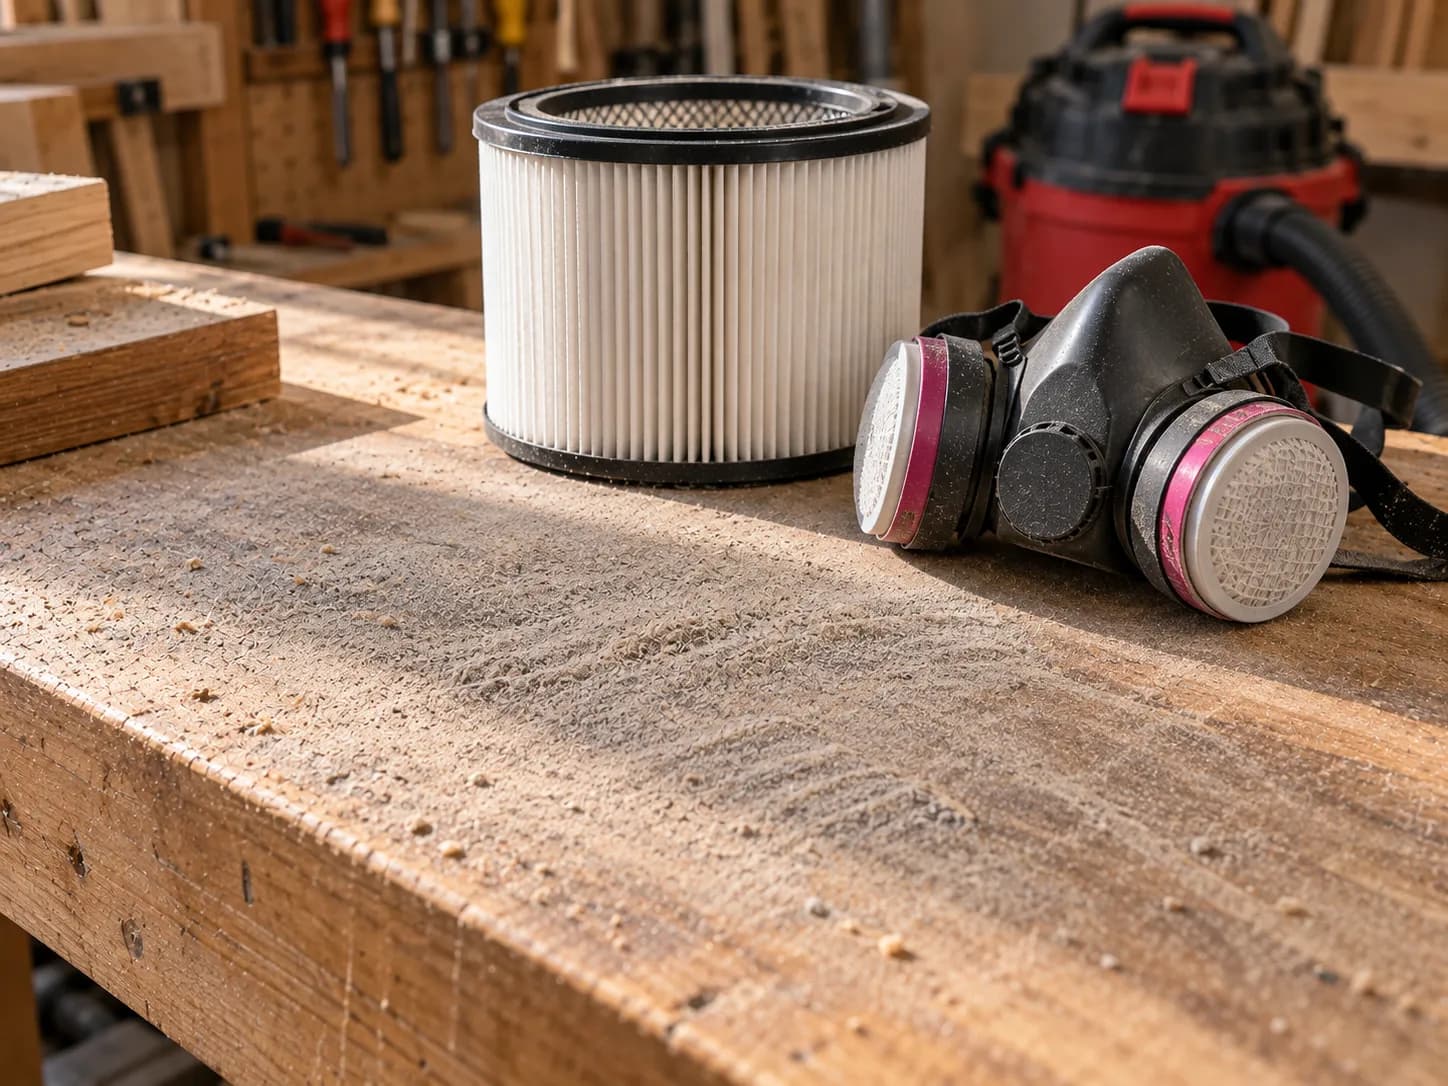
A dust cake left on the filter actually helps trap fines, but that is different from running with no filter at all.
Drywall and silica dust need their own approach, covered in drywall and sanding dust, and hot debris is a fire hazard you should read the ash fire-safety rules on before you ever point this rig at a fireplace.
A cyclone is not lung protection. It keeps your filter clean and your suction strong, but the respirator is what protects you from the fines it misses.
Frequently Asked Questions
Do I need a HEPA filter if I already have a cyclone?
Yes, for wood dust you should. The cyclone captures roughly 99% of chips and coarse dust, but the finest respirable particles pass straight through to the filter. A HEPA or fine-cartridge filter catches those; a standard pleated filter lets many of them recirculate into your shop air.
Can I connect a shop vac to a table saw?
You can, but expect it to miss dust on full-depth cuts in hardwood. A table saw wants about 130 CFM or more at the port, near the top of a shop vac’s range. It works for light cuts and small saws; for heavy sawing, a real collector is the right call.
How often do I empty the cyclone bucket?
Empty it before debris reaches the bottom of the cyclone cone. On a five gallon bucket doing regular sanding and routing, that landed around every few sessions for us. Letting it overfill lets chips climb back into the airstream and reach the vacuum.
Will a longer hose reduce my suction?
Noticeably. On our test vac, a 10-foot hose dropped measured airflow from 138 CFM at the port to 96 CFM. Keep the hose as short and as rigid as practical, and avoid soft, kinking hose for the main run.
Is a shop vac loud for dust collection?
Yes, shop vacs are louder than most dust collectors at the same task, often uncomfortably so for long sessions. Hearing protection is worth wearing, and it is one more reason woodworkers with bigger shops eventually move to a quieter collector. For flooded floors instead of dust, using it for water is a different job, seasonal cleanup like using it for leaves has its own caveats, and the wet-setup walkthrough covers safe wet pickup.
The Bottom Line
A shop vac for dust collection is a real, affordable answer for a small shop, as long as you match it to the tool and add a cyclone separator.
Built with a DIY Dust Deputy for under $80, it captures about 99% of debris at a sander, router, or single tool, keeps its filter clean, and pays for itself in filter life alone.
Where it stops is just as clear: a table saw or planer needs a true dust collector, and no cyclone replaces a respirator for the fine dust that matters most to your lungs.
Build it for what it does well, and know exactly when to step up.
Read it your way
Short on time? Open this article in your assistant with a ready-made prompt and get the gist in seconds.
Found this useful? Make us a preferred source so we show up in your Google results.
Keep reading
Related articles
Vacuum Types
Can You Use a Shop Vac as a Regular Vacuum? 4 Uses Tested
Yes: can you use a shop vac as a regular vacuum? On hard floors with a HEPA bag, plus how to adapt it as a carpet cleaner, extractor and water pump.
Vacuum Types
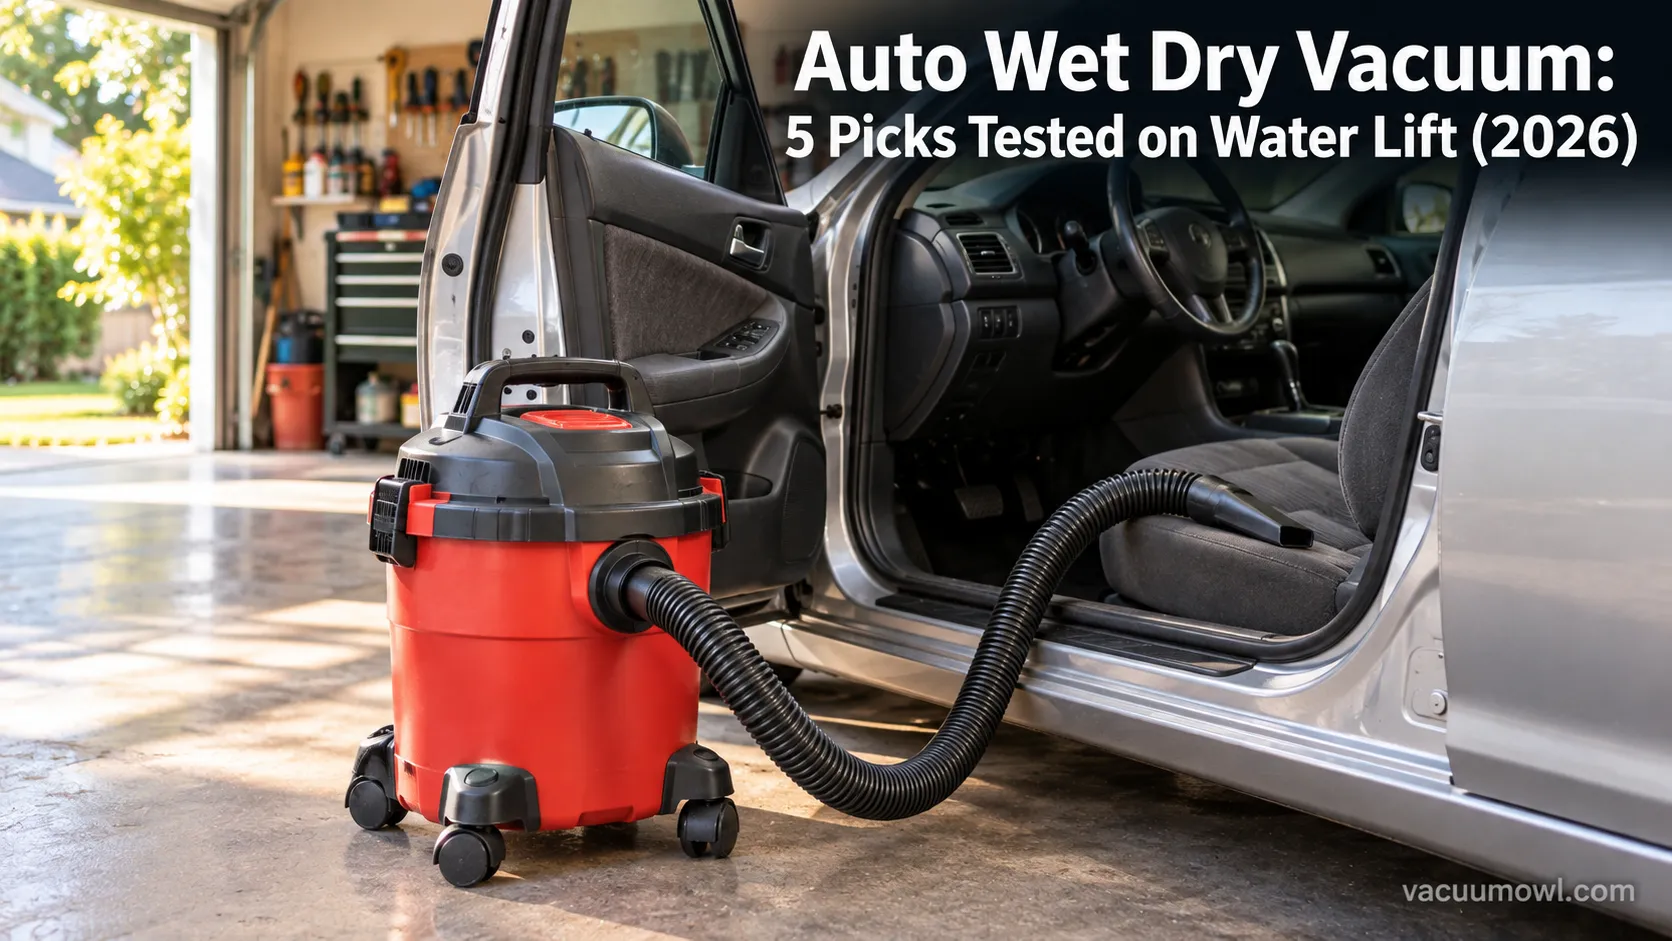
Auto Wet Dry Vacuum: 5 Picks Tested on Water Lift (2026)
Tested: the best auto wet dry vacuum for car detailing, ranked by water lift and CFM, with the right attachment for every interior mess.
Vacuum Types
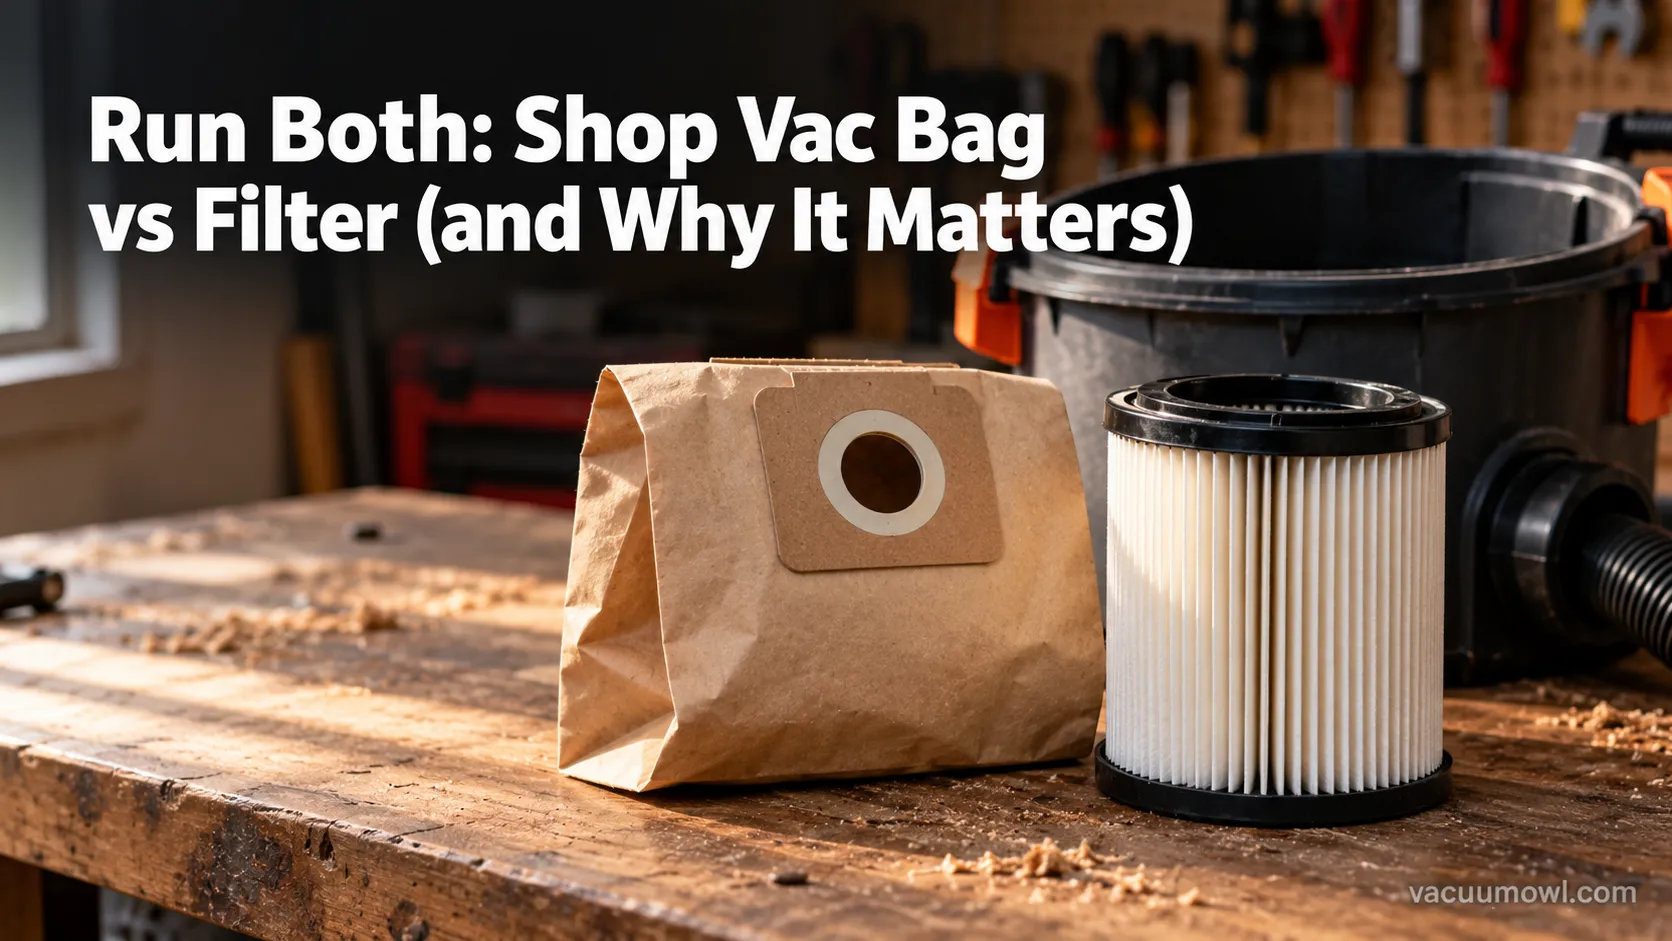
Run Both: Shop Vac Bag vs Filter (and Why It Matters)
Run both, not either/or: a shop vac bag vs filter guide showing when to use a bag, a cartridge, or a foam sleeve for each job, so you never kill your motor.
Vacuum Types
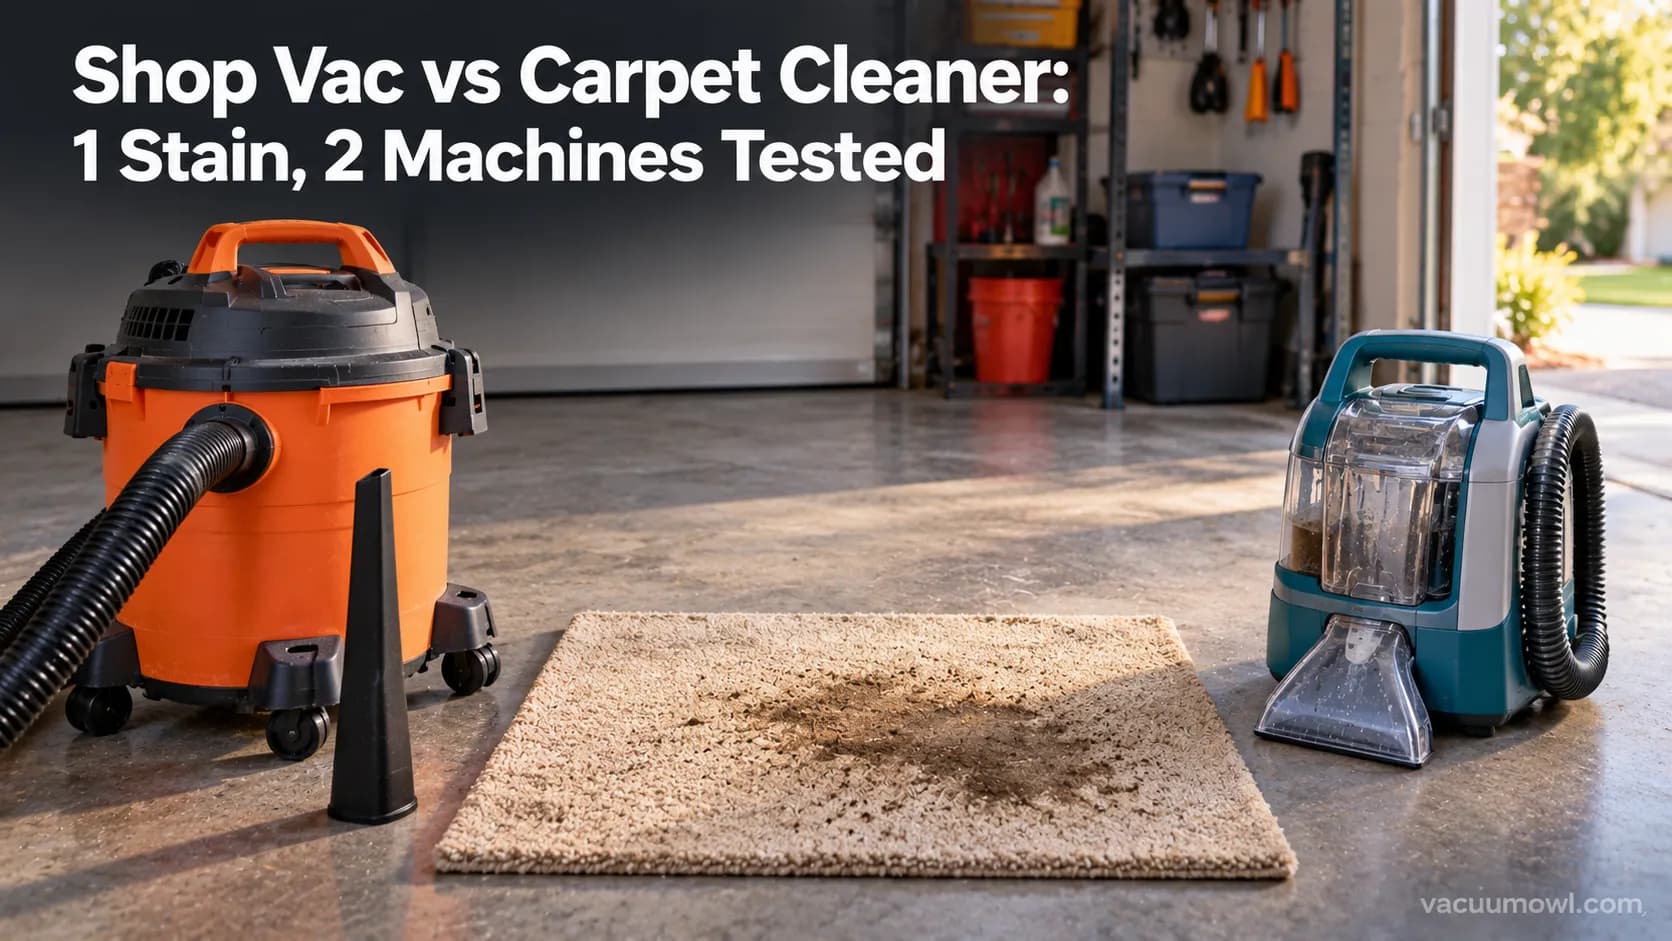
Shop Vac vs Carpet Cleaner: 1 Stain, 2 Machines Tested
Tested a shop vac vs carpet cleaner on one stain: the shop vac extracts spills but can’t inject, heat, or scrub. See which deep-cleans and when to rig one.
The discussion
Comments
Every comment is reviewed before it goes live.